Classic Stuffed Bell Peppers
Master the art of classic stuffed bell peppers with this old fashioned recipe. Loaded with seasoned ground beef and rice, these baked peppers are the ultimate family comfort food.
Prep
20 min
Cook
45 min
Total
1 hr 5 min
Servings
6
Calories
380
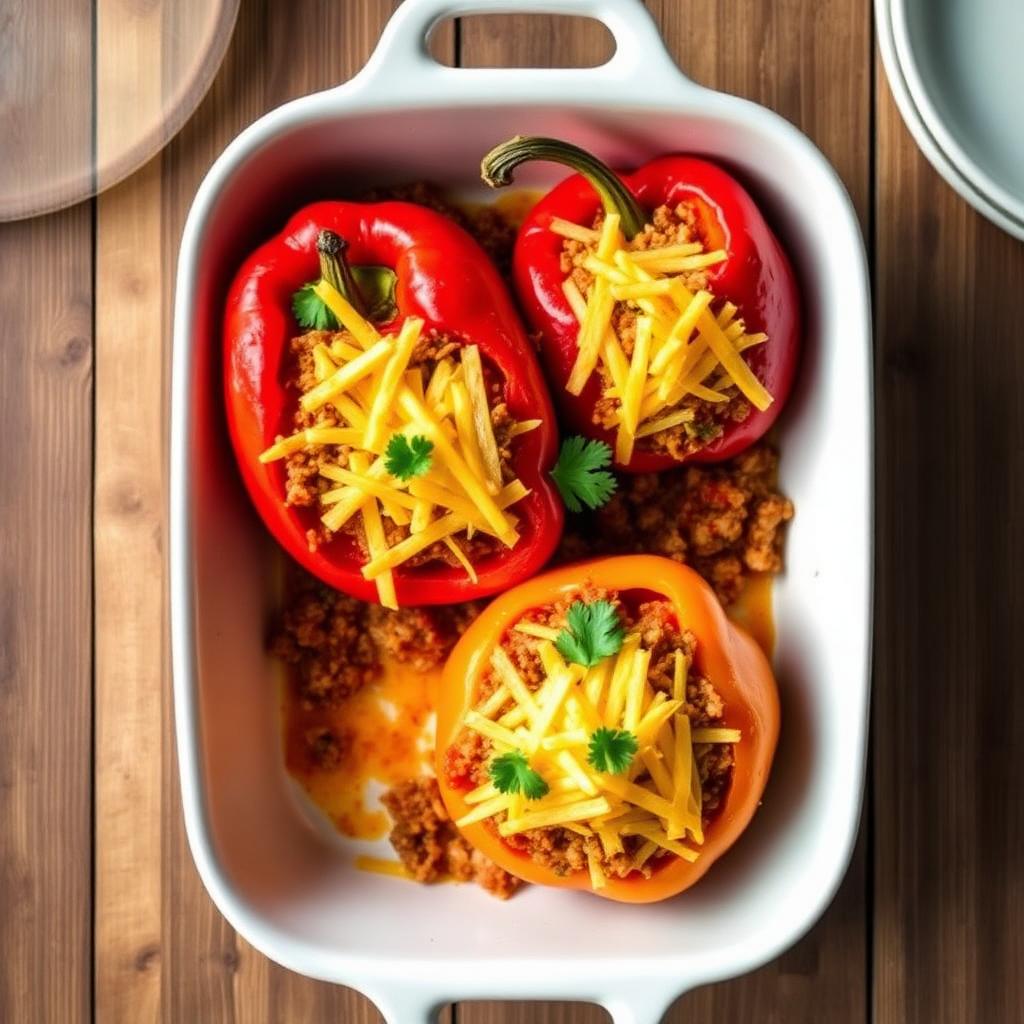
Why These Classic Stuffed Bell Peppers Work
Classic Stuffed Bell Peppers succeed because every component is seasoned and partially cooked before the peppers go into the oven. A brief 3-minute blanch gives the shells a head start, so they become tender during baking without collapsing. Meanwhile, browning the beef with the onion develops savory flavor that cannot be achieved by packing raw meat directly into the peppers.
The filling has a carefully balanced texture. Cooked long-grain white rice absorbs the beef juices and tomato sauce, drained petite diced tomatoes provide distinct bites, and cheddar added off the heat helps bind everything together. The mixture should look moist and cohesive when it leaves the skillet, but there should not be loose liquid pooling around it.
The two-stage bake is equally important. Foil traps steam during the first 30 minutes, finishing the peppers gently and evenly. Removing the foil before adding the remaining cheddar allows the cheese to melt, bubble, and lightly brown over the final 10–15 minutes. The tomato sauce beneath the peppers prevents scorching and becomes a savory pan sauce for serving.
Across eight test batches, the most reliable combination was blanching the peppers, draining the tomatoes, and resting the finished dish for 5 minutes. Skipping any one of those steps produced either firm pepper walls, excess liquid, or filling that fell apart when cut. Follow those visual and timing cues, and each pepper will be tender enough for a knife while still holding its upright shape.
Why You'll Love This Recipe
- It delivers familiar, old-fashioned comfort with seasoned beef, rice, tomato, and bubbling sharp cheddar.
- The peppers and filling cook evenly because both receive a short head start before baking.
- One filled pepper makes a satisfying, naturally portioned main course for a family dinner.
- The recipe uses straightforward supermarket ingredients and practical equipment, including one skillet and a 9×13 baking dish.
- Different bell pepper colors can be mixed in the same dish for varied sweetness and an attractive presentation.
- The filling stays cohesive rather than crumbly because cheddar is stirred into it before the peppers are stuffed.
- Leftovers reheat well, making the recipe useful for planned lunches as well as a comforting dinner.
Ingredient Notes
Bell Peppers
Choose six large peppers that feel firm, have glossy skin, and can stand reasonably upright. Similar sizes help them become tender at the same rate. Cutting off the tops rather than halving the peppers creates deep cups that contain the filling and pan sauce. Remove the seeds and pale interior membranes, but avoid cutting through the bottoms.
Ground Beef, Onion, and Garlic
Ground beef with an 85/15 ratio supplies enough fat for flavor without making the filling greasy. Break it into small, even crumbles as it browns with the finely diced onion. Drain the excess fat while retaining about 1 tablespoon for moisture and flavor. Garlic is added only after browning because 30 seconds in the hot skillet is enough to release its aroma without burning.
Cooked Rice and Tomatoes
Cooked long-grain white rice gives the filling structure while remaining separate and fluffy. Cool or room-temperature rice incorporates particularly easily. Drain the petite diced tomatoes thoroughly so their concentrated flavor remains without excess juice. The tomato sauce serves two purposes: 1/2 cup moistens the filling, while the remainder cushions the peppers in the baking dish.
Seasonings and Worcestershire
Worcestershire sauce deepens the beef flavor and adds subtle tang, while Italian seasoning supplies a familiar blend of dried herbs. Kosher salt and black pepper season the entire mixture, including the rice. After the filling simmers for 3 minutes, its aroma should be savory and tomato-rich, with no harsh raw-garlic scent.
Sharp Cheddar and Parsley
Sharp cheddar provides more pronounced flavor than a mild cheese. Stirring 1/2 cup into the hot filling creates a light binder; the remaining cheese forms the bubbling top. Freshly shredded cheese generally melts more smoothly, although packaged shreds remain convenient. Parsley is added after baking for fresh color and a clean herbal finish.
Ingredients
- 6 large bell peppers (any color), tops cut off and seeded
- 1 lb ground beef (85/15)
- 1 small yellow onion, finely diced
- 3 garlic cloves, minced
- 1 1/2 cups cooked long-grain white rice
- 1 (15 oz) can tomato sauce, divided
- 1 (14.5 oz) can petite diced tomatoes, drained
- 1 tbsp Worcestershire sauce
- 1 1/2 tsp Italian seasoning
- 1 tsp kosher salt
- 1/2 tsp black pepper
- 1 1/2 cups shredded sharp cheddar cheese
- 2 tbsp chopped fresh parsley, for serving
Instructions
- 1
Preheat the oven to 375°F. Bring a large pot of salted water to a boil. Add the seeded peppers and blanch for 3 minutes to soften — this guarantees tender peppers without a raw crunch. Drain upside down on a clean towel.
- 2
Meanwhile, brown the ground beef and onion in a large skillet over medium-high heat, 6–8 minutes, breaking up the meat with a wooden spoon. Drain excess fat, leaving about 1 tablespoon in the pan.
- 3
Add the garlic and cook 30 seconds until fragrant. Stir in the cooked rice, drained tomatoes, 1/2 cup of the tomato sauce, Worcestershire, Italian seasoning, salt, and pepper. Simmer 3 minutes so the flavors marry.
- 4
Off the heat, stir in 1/2 cup of the shredded cheddar. This binds the filling and adds instant richness.
- 5
Spread the remaining tomato sauce across the bottom of a 9×13 baking dish. Stand the blanched peppers upright in the dish and mound the filling into each one, pressing gently.
- 6
Cover tightly with foil and bake for 30 minutes so the peppers steam and finish cooking through.
- 7
Uncover, top each pepper with the remaining cheddar, and bake 10–15 more minutes until the cheese is melted, bubbly, and lightly golden.
- 8
Let the peppers rest 5 minutes before serving — this helps the filling set. Spoon the pan sauce over the top and finish with fresh parsley.
Substitutions and Swaps
Avoid replacing cooked rice with uncooked rice in this method. It will not receive enough measured liquid or controlled cooking time to hydrate properly, and it can pull moisture from the filling. If using a different cooked grain, begin with one that is tender, cooled, and not excessively wet.
| Original ingredient | Possible swap | What to expect |
|---|---|---|
| 85/15 ground beef | Lean ground beef | A slightly less rich filling; watch closely during browning so the meat does not dry out. |
| Long-grain white rice | Cooked brown rice | A nuttier, chewier filling that may feel more substantial. |
| Sharp cheddar | Monterey Jack | A milder flavor and especially smooth, creamy melt. |
| Petite diced tomatoes | Regular diced tomatoes, well drained and chopped | A similar tomato flavor with somewhat larger pieces. |
| Fresh parsley | Finely chopped fresh basil | A sweeter, more aromatic herbal finish. |
Variations to Try
For a spicier version, add crushed red pepper to the skillet with the Italian seasoning. Keep the amount modest so the sweetness of the bell peppers and tomato remains noticeable. A small amount of smoked paprika can shift the filling in a deeper, more robust direction without changing its consistency.
You can also vary the cheese profile while keeping the same total role in the recipe. Monterey Jack offers a gentle melt, while part sharp cheddar and part pepper Jack adds restrained heat. For extra browning, place the uncovered dish on an upper-middle oven rack during the final stage and remove it when the cheese has scattered golden spots.
For a coordinated comfort-food menu, serve these peppers alongside One Pot Mac and Cheese. If the family prefers a pasta centerpiece on another night, the beef-and-tomato character here makes Baked Spaghetti and Meatballs or Easy Baked Ziti a natural follow-up meal rather than a variation inside the peppers themselves.
Pro Tips from the Test Kitchen
Salt the blanching water and wait for a true boil before adding the peppers. Begin timing when they enter the water, then drain them upside down so trapped water does not dilute the filling. After 3 minutes, the walls should be brighter in color and slightly flexible but still firm enough to stand.
Brown the beef in a broad skillet over medium-high heat. Let it contact the hot surface before stirring constantly; this encourages flavorful browned patches rather than gray, steamed meat. Once the onion is tender and the pink has disappeared, drain the excess fat, leaving the specified small amount behind.
Mound the filling and press only gently. Packing it tightly can make the center feel dense and slows the movement of heat. Cover the baking dish snugly because escaping steam can leave the upper pepper walls firmer than the bottoms. After uncovering, use bubbling cheese and lightly golden edges as the final visual cues.
Baker's Tip
Test-kitchen tip: If a pepper will not stand securely, slice only a paper-thin piece from a high point on the bottom without opening a hole. Nestling all six closely in the 9×13 dish also helps them support one another during baking.
Common Mistakes to Avoid
Do not skip draining the diced tomatoes or the blanched peppers. Both carry enough liquid to loosen the filling and thin the sauce in the bottom of the dish. Let the pepper shells sit upside down on a clean towel while the beef mixture cooks; this short drainage period makes a noticeable difference.
Avoid overcooking the peppers during blanching. They still have 40–45 minutes in the oven, so they should not be completely tender after boiling. Peppers that feel limp before stuffing are more likely to split or slump as they bake. Conversely, omitting the blanch can leave the upper walls unpleasantly crunchy.
Another common error is adding the garlic at the same time as the raw beef and onion. Minced garlic can scorch during the 6–8 minute browning period. Add it afterward for just 30 seconds, then quickly stir in the remaining filling ingredients. Finally, do not skip the 5-minute rest; it allows the cheese and rice to settle so each serving holds together.
Troubleshooting Stuffed Peppers
Most stuffed-pepper problems come from excess moisture, uneven pepper size, or an incomplete foil seal. Use the following cues before changing the oven temperature or extending the baking time.
| Problem | Cause | Fix |
|---|---|---|
| Filling is watery | Tomatoes or peppers were not drained thoroughly | Drain both components well and simmer the skillet mixture for the full 3 minutes. |
| Pepper walls are still firm | The blanch was shortened or foil was loose | Blanch for 3 minutes and seal the dish tightly during the covered 30-minute bake. |
| Peppers collapse | They were over-blanched or had thin, soft walls | Use firm peppers and remove them promptly from the boiling water. |
| Filling seems dry | Beef was overcooked or too much pan fat was removed | Stop browning when no pink remains and retain about 1 tablespoon of fat. |
| Cheese does not brown | The dish remained covered or was removed too soon | Uncover fully and continue until the cheese bubbles and develops light golden spots. |
| Filling falls apart when served | The peppers were cut immediately after baking | Rest the finished dish for 5 minutes before serving. |
How to Store and Reheat
Allow leftover peppers to cool before transferring them to a covered container. Keep each pepper upright when possible and spoon a little pan sauce around it to protect the filling from drying out. Refrigerate promptly rather than leaving the dish at room temperature for an extended period.
For oven reheating, place the peppers in a small baking dish, add some reserved sauce, and cover so the filling warms through without the cheese becoming tough. Uncover near the end if you want to refresh the surface. A microwave is convenient for individual portions; use moderate power and pause as needed so the dense center heats evenly.
Cutting a pepper in half before reheating can speed the process, but it also releases more filling. Whichever method you choose, reheat until the center is steaming hot. Fresh parsley is best added after reheating, since stored parsley loses its bright appearance and clean flavor.
Make-Ahead and Meal Prep
For efficient preparation, cook the rice in advance and refrigerate it once cooled. The peppers can also be washed, topped, and seeded earlier in the day, but blanch them closer to assembly so they do not sit damp. Finely dice the onion and shred the cheddar ahead, storing each component separately under refrigeration.
To stage the meal, prepare the beef-and-rice filling, cool it promptly, and keep it covered in the refrigerator. When ready to cook, blanch and drain the peppers, spread the sauce in the dish, fill the shells, and follow the covered and uncovered baking stages. Starting with chilled filling may mean the center needs careful checking before serving.
For individual lunches, portion one cooked pepper with some of its pan sauce in each container. This keeps servings neat and makes reheating straightforward. If you are building a broader weekly dinner plan, alternate these peppers with Easy Ground Beef Tacos or Cheesy Ground Beef Casserole so similar family-friendly flavors do not feel repetitive.
What to Serve With Classic Stuffed Bell Peppers
Because each pepper already includes beef, rice, vegetables, tomato, and cheese, the best sides are simple. A crisp green salad with a tart vinaigrette cuts through the cheddar and beef, while steamed green beans, roasted broccoli, or lightly seasoned zucchini add freshness without competing with the filling.
Crusty bread is useful for collecting the tomato sauce from the plate. If you want a more generous comfort-food dinner, add a modest serving of creamy potatoes or pasta, keeping the seasoning restrained. The pepper should remain the focus rather than becoming one rich component among several.
For dessert, Classic Lemon Bars provide a bright citrus finish after the savory tomato and cheddar. At a larger gathering, the peppers can also accompany Easy Chicken Alfredo, giving guests a choice between a tomato-forward beef entrée and a creamy chicken pasta.
Nutrition and Dietary Notes
Each serving is one of six and provides 380 calories, 24g protein, 28g carbohydrates, 18g fat, 4g fiber, 9g sugar, and 690mg sodium. The ground beef and cheddar account for much of the protein and richness, while the pepper, tomatoes, onion, and rice contribute carbohydrates, fiber, and volume.
This is a balanced, substantial main dish rather than a particularly low-fat, low-sodium, or low-calorie recipe. Sodium comes from several sources, including tomato products, Worcestershire sauce, cheddar, and added kosher salt. Anyone monitoring sodium should evaluate ingredient labels and portion size according to their individual needs rather than assuming one substitution changes the whole profile.
The recipe contains dairy through the cheddar. Worcestershire sauce and other packaged ingredients can vary by brand, so people managing food allergies, gluten exposure, or other dietary restrictions should read every label. Nutrition values are useful estimates, but brands, the amount of fat drained from the skillet, and the exact size of each filled pepper can affect an individual serving.
Nutrition Facts
Per serving · 380 calories
protein
24g
carbs
28g
fat
18g
fiber
4g
sugar
9g
sodium
690mg
Related Recipes
More dinner and similar dishes you'll love.
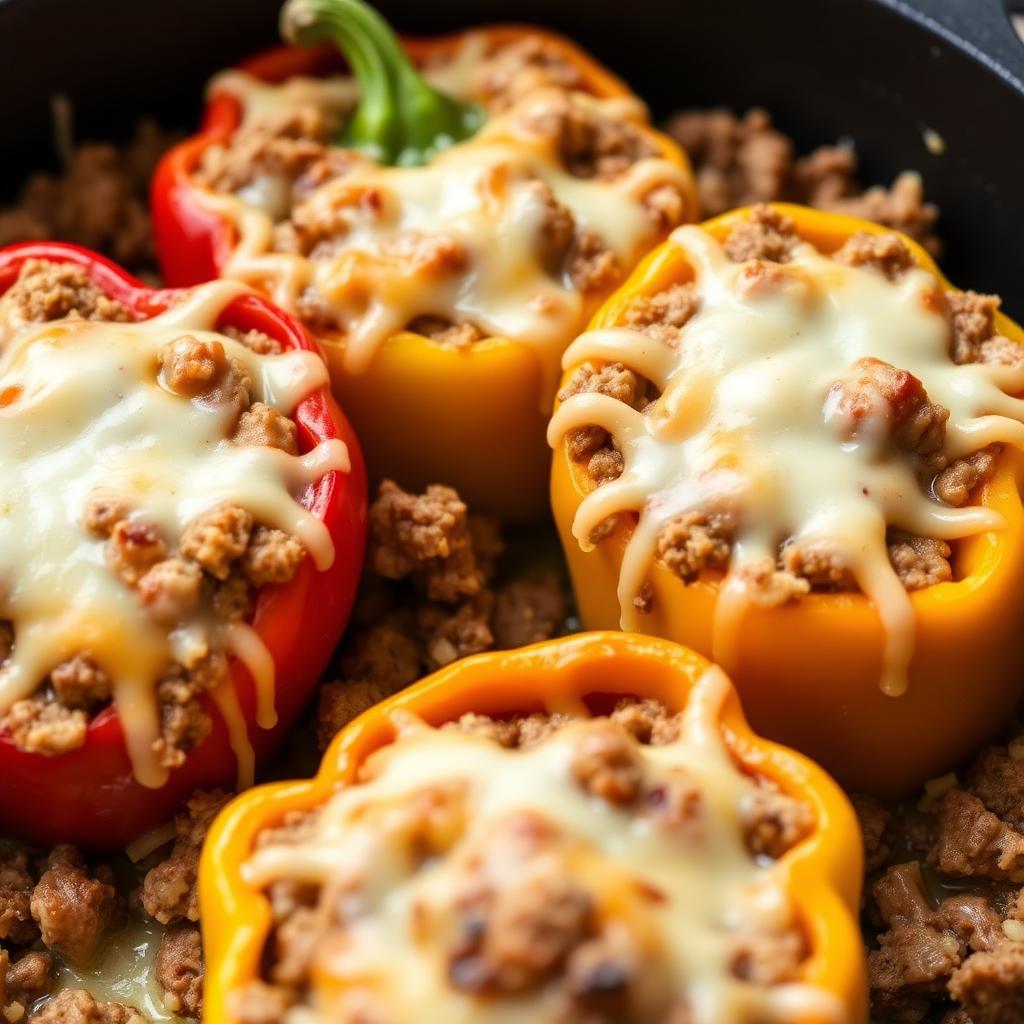
Cheesy Beef Stuffed Bell Peppers
Treat yourself to these cheesy beef stuffed bell peppers. Featuring a gooey melted cheddar topping and seasoned ground beef, this filling main course is an easy crowd-pleaser.
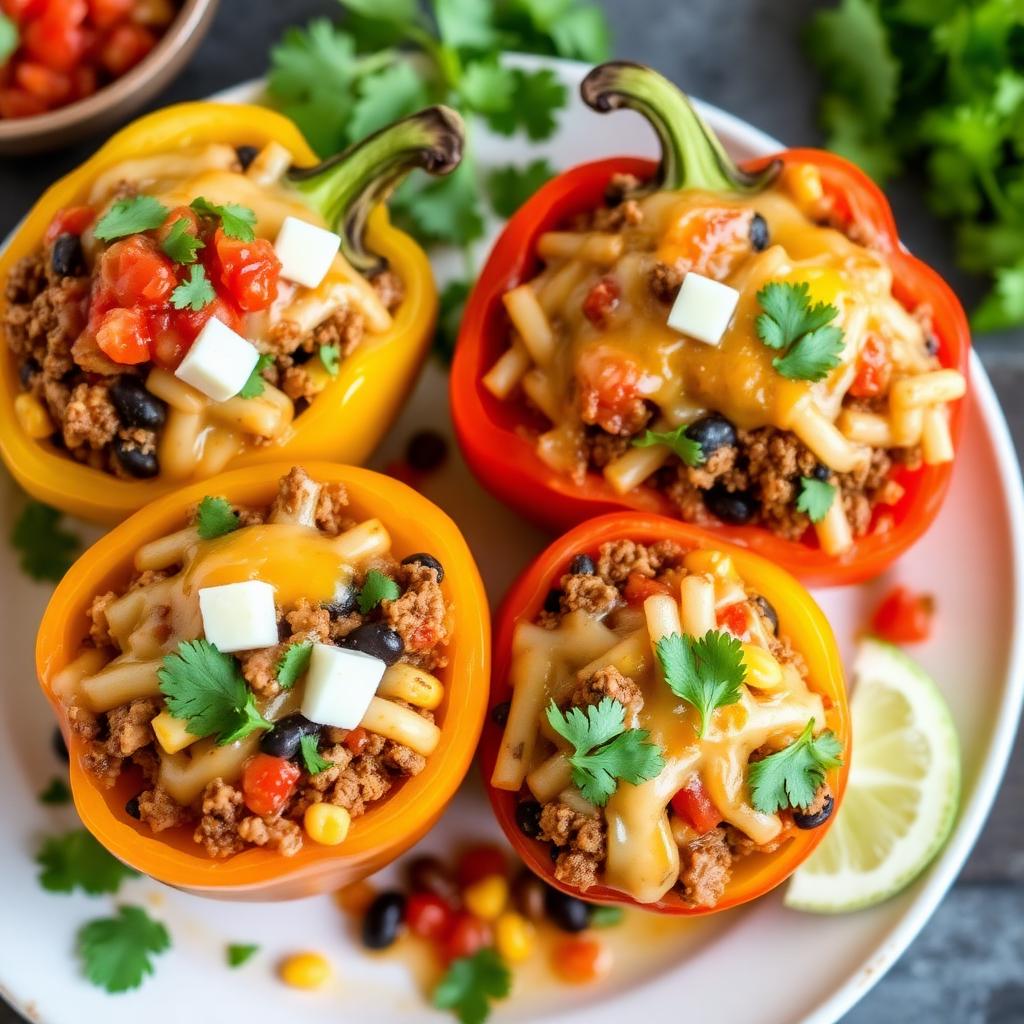
Mexican Stuffed Bell Peppers
Brighten your table with Mexican stuffed bell peppers. Filled with zesty taco meat, black beans, and corn, these peppers are finished with melted Monterey Jack for a bold dinner.
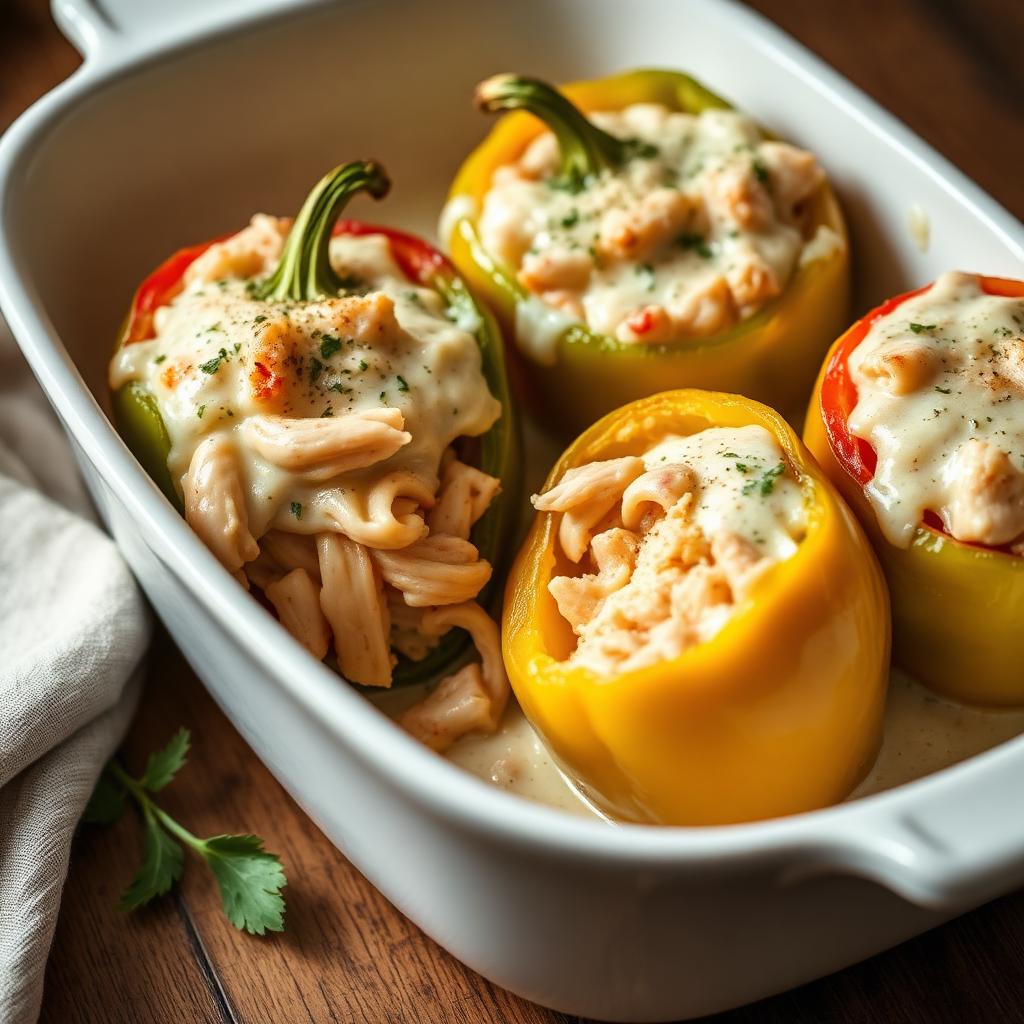
Chicken Alfredo Stuffed Bell Peppers
Indulge in creamy chicken alfredo stuffed bell peppers. This recipe combines tender chicken with a rich garlic parmesan white sauce, all baked inside sweet bell peppers.
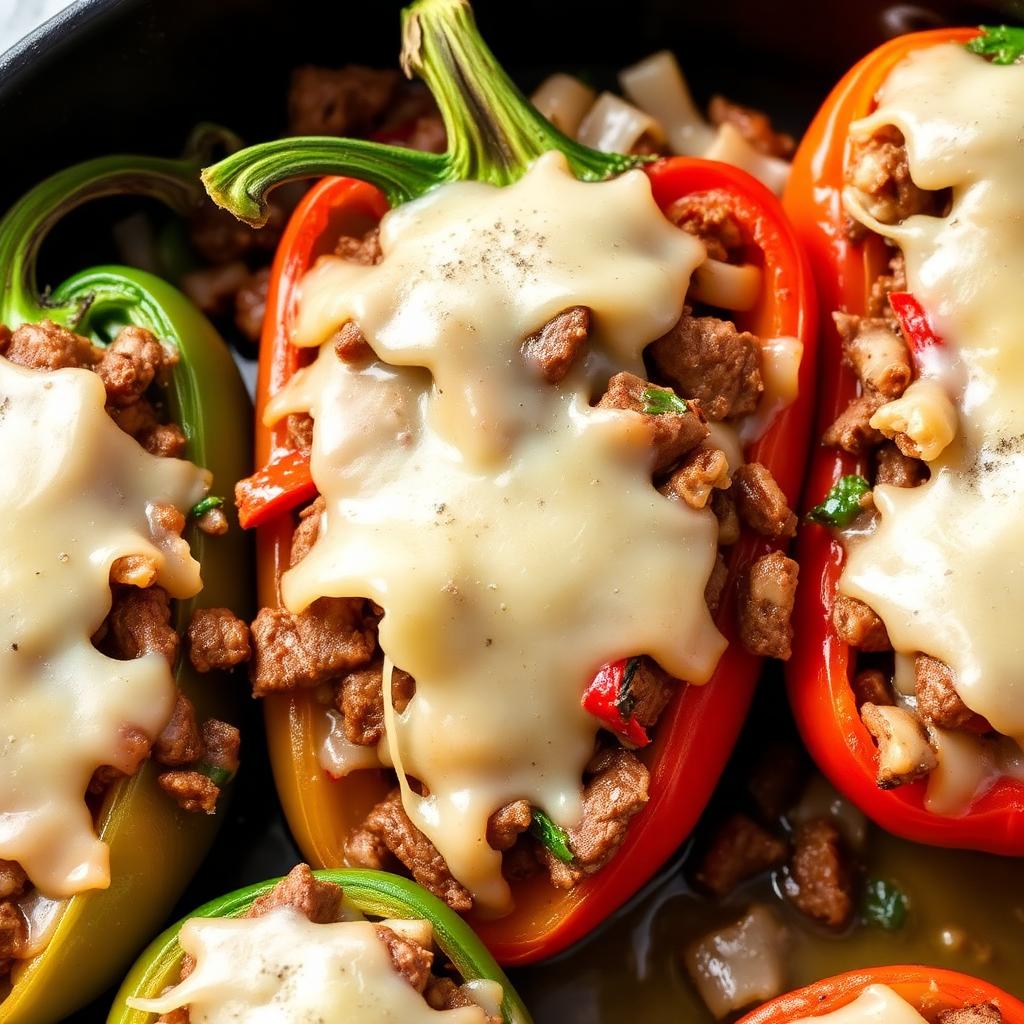
Philly Cheesesteak Stuffed Bell Peppers
Experience all the flavors of a classic sandwich with these philly cheesesteak stuffed bell peppers. This low carb steak recipe uses shaved ribeye and melted provolone.
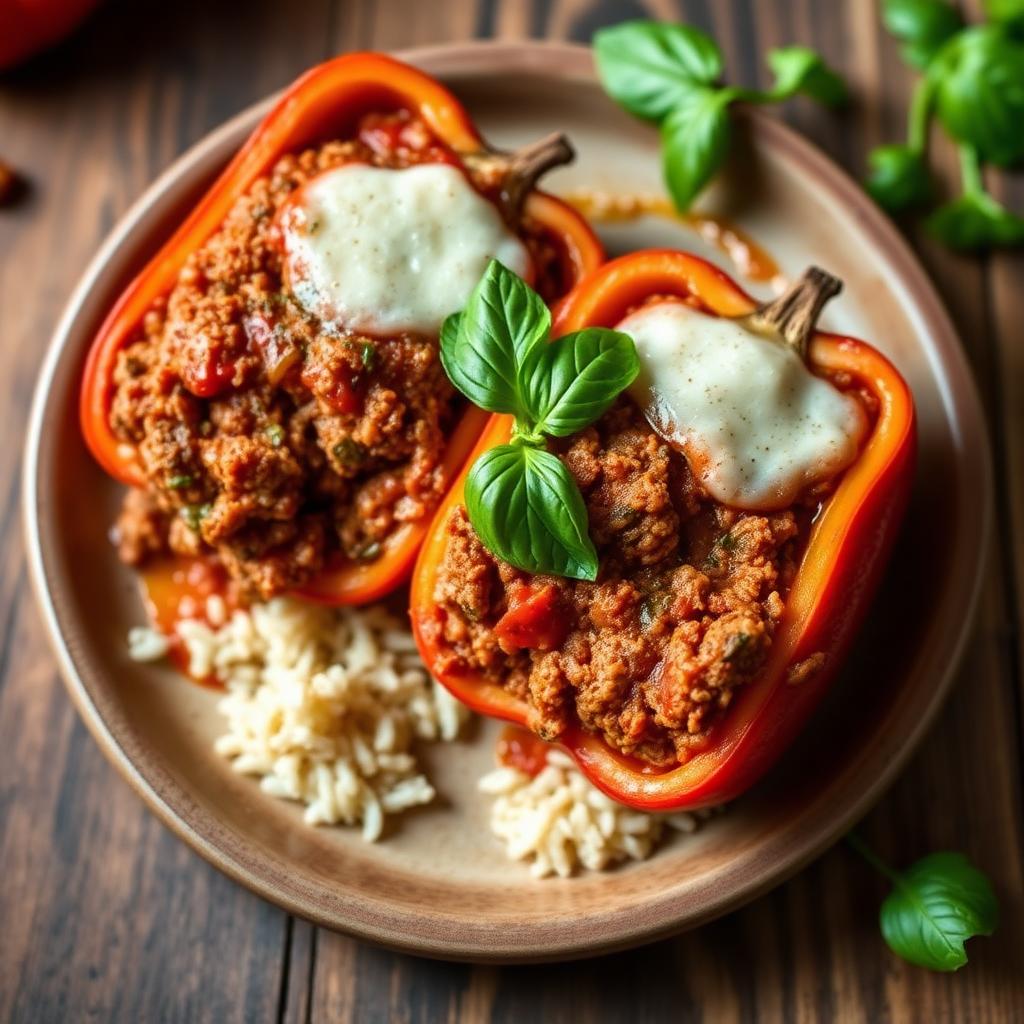
Italian Sausage Stuffed Bell Peppers
These Italian Sausage Stuffed Bell Peppers are the ultimate comfort food for a healthy lifestyle. Simmered in savory marinara with garlic and oregano, this easy baked pepper recipe is a low carb dinner your family will love.
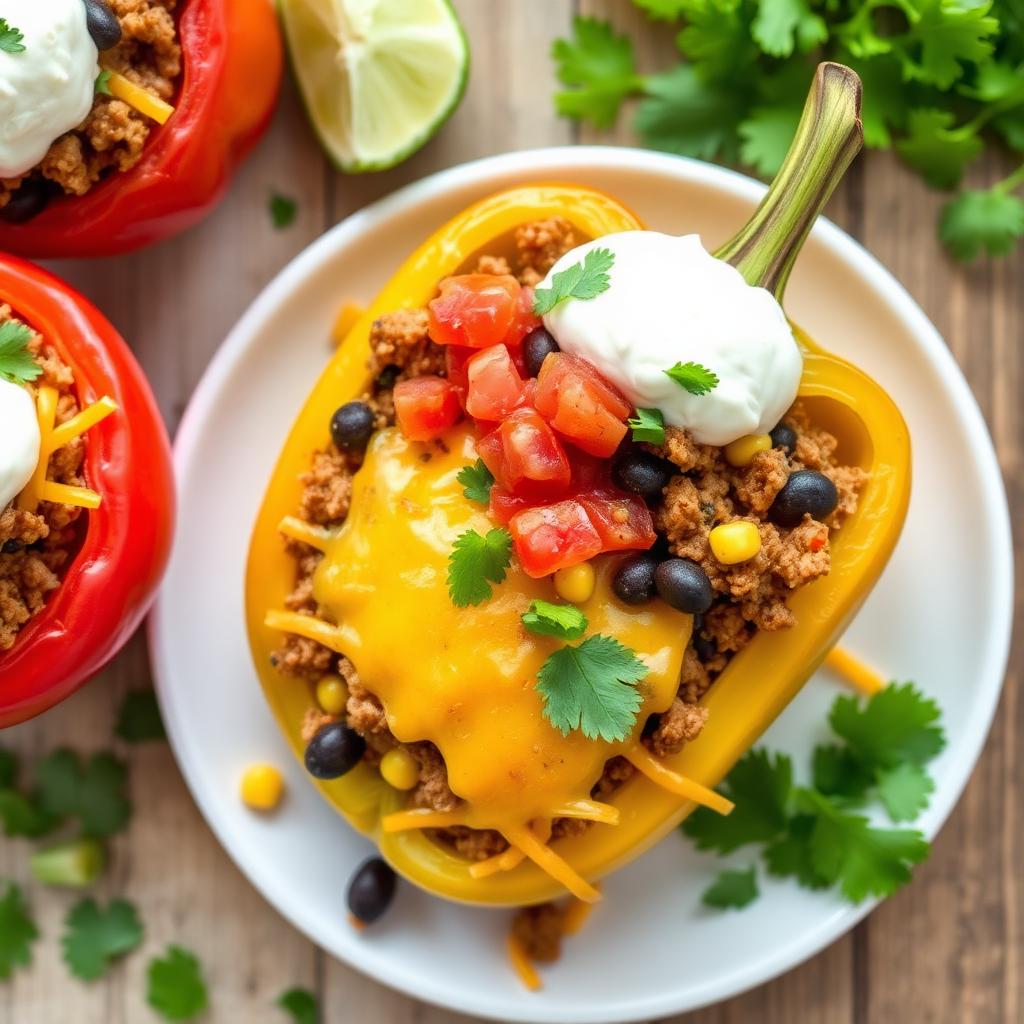
Taco Stuffed Bell Peppers
Enjoy a fresh twist on Taco Tuesday with these Taco Stuffed Bell Peppers. Loaded with lean ground beef, black beans, and melted cheese, this healthy Mexican dinner is a delicious gluten-free and low-carb alternative.
Frequently Asked Questions
Do you have to boil bell peppers before stuffing them?+
A 3-minute blanch is the difference between fork-tender and disappointingly firm peppers. If you prefer them with a little bite, skip the blanch and add 10 minutes to the covered bake time.
What's the best rice for stuffed peppers?+
Cooked long-grain white rice is classic — it stays fluffy and soaks up the tomato sauce without turning gummy. Cooked brown rice, jasmine rice, or even leftover rice all work beautifully.
Can I make classic stuffed bell peppers ahead of time?+
Yes. Assemble through the covered bake step, cool, then refrigerate up to 24 hours. Bake covered at 375°F for 40 minutes from cold, then uncover and finish with cheese.
Why are my stuffed peppers watery?+
Peppers release liquid as they bake. Draining the diced tomatoes, blanching the peppers cut-side down, and letting the finished dish rest 5 minutes all keep the sauce thick, not soupy.
Can I use ground turkey instead of beef?+
Absolutely — try our lighter version at the Healthy Turkey Stuffed Bell Peppers recipe. Add an extra tablespoon of olive oil since turkey is leaner.
What color bell pepper is best for stuffing?+
Red, yellow, and orange peppers are sweeter and mellower when baked. Green peppers are more assertive and hold their shape best. Mix colors for the prettiest presentation.
How do I store leftover stuffed peppers?+
Refrigerate in an airtight container up to 4 days, or freeze up to 3 months. Reheat covered at 350°F for 20 minutes, or microwave individual peppers 2–3 minutes.
Can I use leftover rice in stuffed bell peppers?+
Yes. Chilled leftover rice works especially well because the grains are firm and separate, making them easy to fold into the beef mixture without becoming pasty. Measure the rice after it has been cooked, and break up any cold clumps before adding it to the skillet. The rice should smell fresh and should have been cooled and refrigerated promptly after its original cooking. Avoid rice that is unusually wet, heavily seasoned, or already mixed with sauce, since it can alter the filling’s moisture and flavor.
How can I keep stuffed peppers standing upright?+
Select peppers with broad, relatively level bases and arrange all six snugly in the 9×13 baking dish so they support one another. If one rocks badly, remove only a paper-thin sliver from the highest point on its base, taking care not to cut a hole into the cavity. The tomato sauce also helps cushion the peppers. Pack the filling gently rather than forcing it downward, since heavy pressure can split a softened shell or make a slightly unstable pepper tip.
Should the beef be fully cooked before the peppers are stuffed?+
Yes. Brown the beef with the onion for the full 6–8 minutes, breaking it into small crumbles and cooking until no pink remains. This develops browned flavor, allows you to drain excess fat, and ensures the filling heats evenly. The oven stage is intended to tenderize the peppers, meld the filling, and melt the cheese rather than cook a dense mass of raw meat. Fully browning the beef also lets the garlic cook briefly without burning and gives you better control over the finished texture.
Can I freeze cooked stuffed bell peppers?+
Cooked stuffed peppers can be frozen, although thawed pepper walls will usually be softer than freshly baked ones. Cool them promptly, wrap or contain them individually with a little pan sauce, and freeze in airtight containers. Thaw in the refrigerator before reheating for the most even result. Reheat covered so the rice and beef do not dry out, then uncover briefly to refresh the cheese. Freezing the peppers upright helps preserve their shape and keeps the filling from spilling into the container.
How do I know when stuffed peppers are done?+
After the covered 30-minute bake and the final uncovered 10–15 minutes, the pepper walls should yield easily when pierced with a small knife but still hold their shape. The filling should be steaming hot in the center, and the cheddar should be fully melted, bubbling, and lightly golden in spots. If the cheese is ready but the pepper still feels too firm, loosely cover the dish again and continue briefly. Let the finished peppers rest for 5 minutes before cutting into one.
Can I cut the peppers in half instead of leaving them whole?+
The recipe is designed for whole peppers with the tops removed, which creates deep cups and protects the filling during the covered bake. Halved peppers have more exposed filling, sit lower in the sauce, and generally soften differently, so they may not follow the same timing. If presentation and predictable texture matter, keep them whole. Whole peppers also support a generous mound of filling and make six clearly defined servings, while the snug arrangement helps them remain upright in the baking dish.
Why is tomato sauce spread under the stuffed peppers?+
The tomato sauce beneath the peppers does more than prevent sticking. It cushions the bases from direct heat, supplies moisture during the covered baking stage, and catches flavorful juices released by the beef and vegetables. As the dish bakes, those elements combine into a savory pan sauce that can be spooned over each serving. Placing all the sauce in the filling would make the mixture too loose, while omitting the bottom layer could leave the bases drier and more prone to scorching.
Can I assemble stuffed peppers in a disposable foil pan?+
A sturdy disposable 9×13-style foil pan can work, but place it on a rimmed baking sheet before filling it. The peppers, sauce, and filling are heavy, and a flexible pan can buckle when moved. Keep the peppers snug and cover the pan tightly with foil during the first baking stage. Because lightweight metal can transfer heat differently from a heavier baking dish, watch the sauce around the edges and use tenderness, a steaming center, and bubbling cheese as your primary doneness cues.

Recipe by Sarah Mitchell
Recipe developer · Practical family cooking
Get more recipes like this
Get a free collection of 15 easy family recipes delivered to your inbox.
You May Also Like
Hand-picked favorites from across RecipeNest.

The Best Chocolate Chip Cookies
Stop searching for the best chocolate chip cookies. This recipe delivers a soft, chewy texture with buttery edges and gooey chocolate in every bite — the ultimate homemade cookie experience.
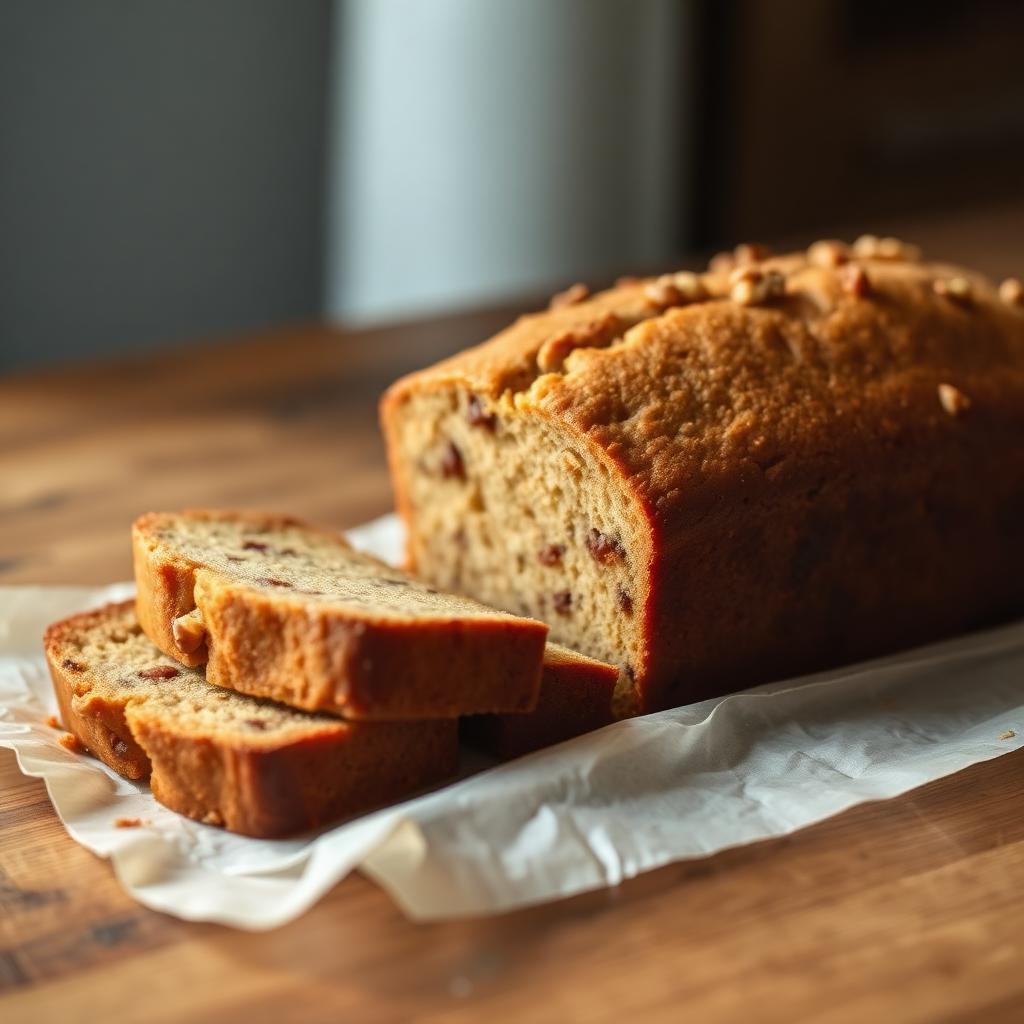
The Best Moist Banana Bread
Discover how to make the best moist banana bread using only one bowl. This homemade banana bread recipe delivers a soft, bakery-style loaf that is perfect for utilizing overripe bananas.
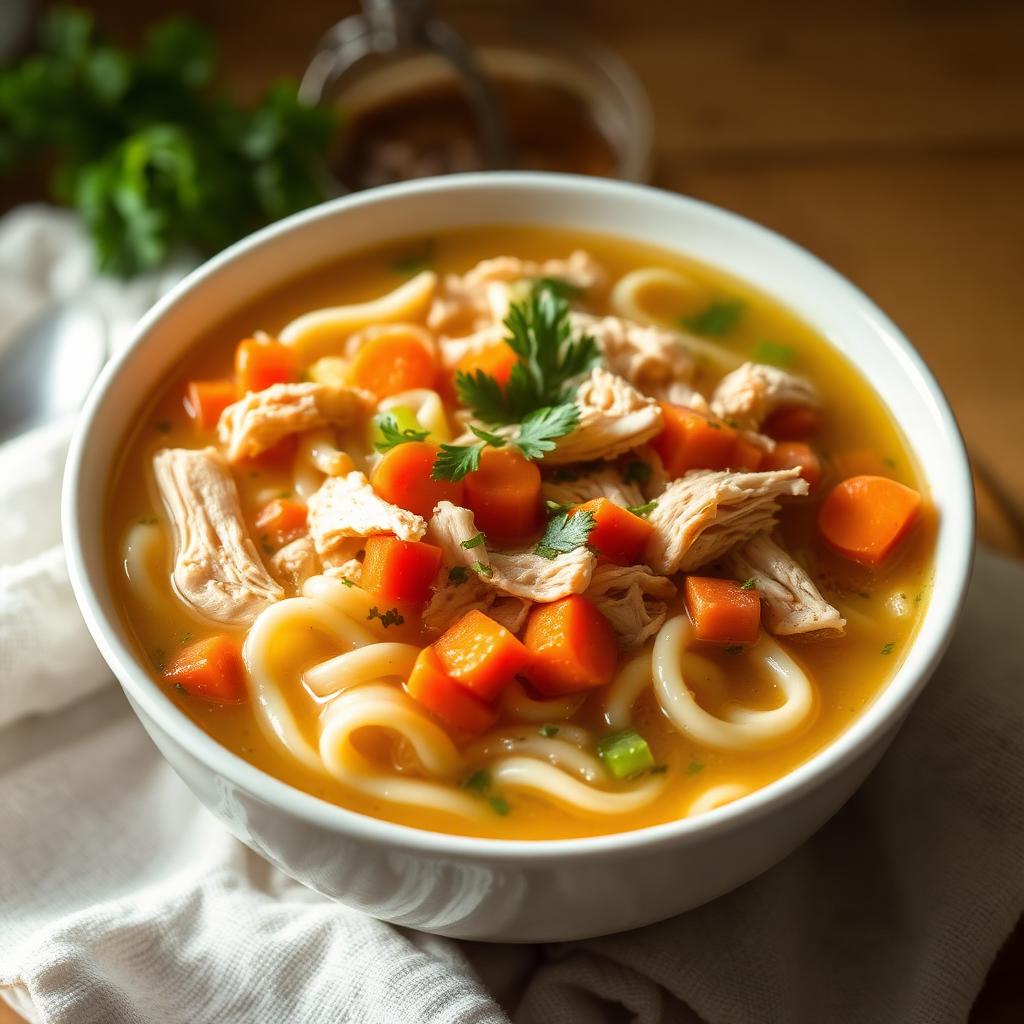
Classic Chicken Soup
This classic chicken soup recipe is the ultimate homemade chicken noodle soup — cozy, restorative, and ready in under an hour. Made with tender shredded chicken, egg noodles, carrots, celery, and fresh herbs in a golden broth, this old-fashioned chicken soup is the go-to comfort food for cold days and sick days alike.
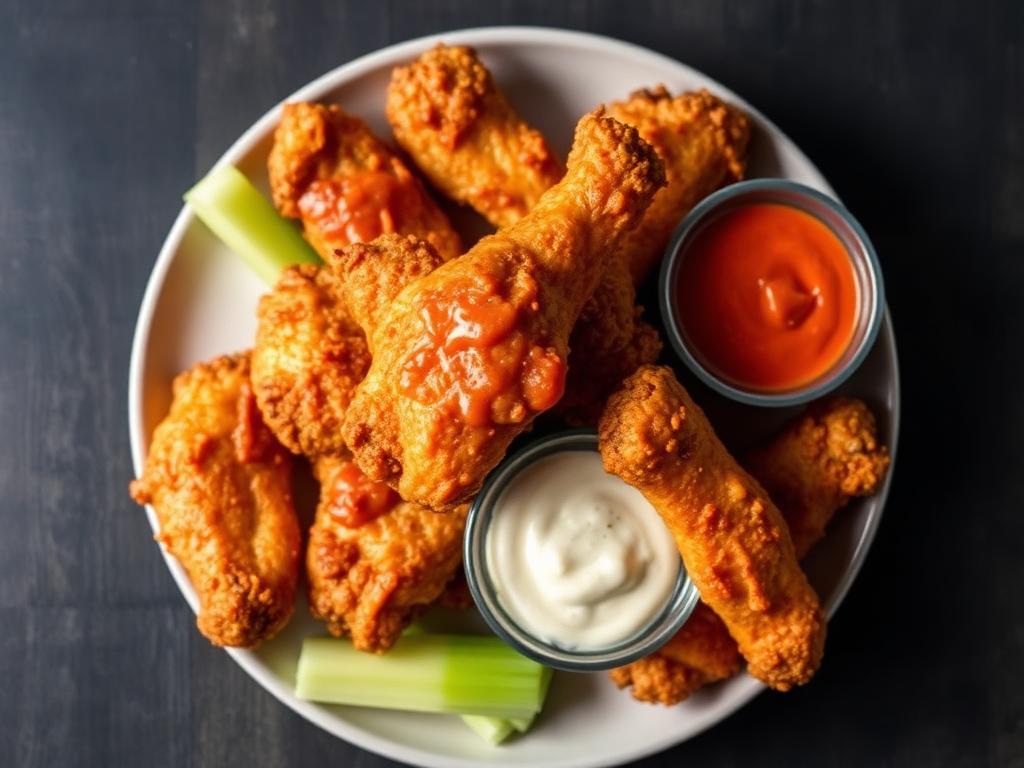
Crispy Air Fryer Chicken Wings
Stop settling for soggy wings and try these air fryer chicken wings. These crispy wings use no flour or breading, making them the perfect keto chicken wings for your next party.