The Best Chocolate Chip Cookies
Stop searching for the best chocolate chip cookies. This recipe delivers a soft, chewy texture with buttery edges and gooey chocolate in every bite — the ultimate homemade cookie experience.
Prep
15 min
Cook
12 min
Total
27 min
Servings
24
Calories
180
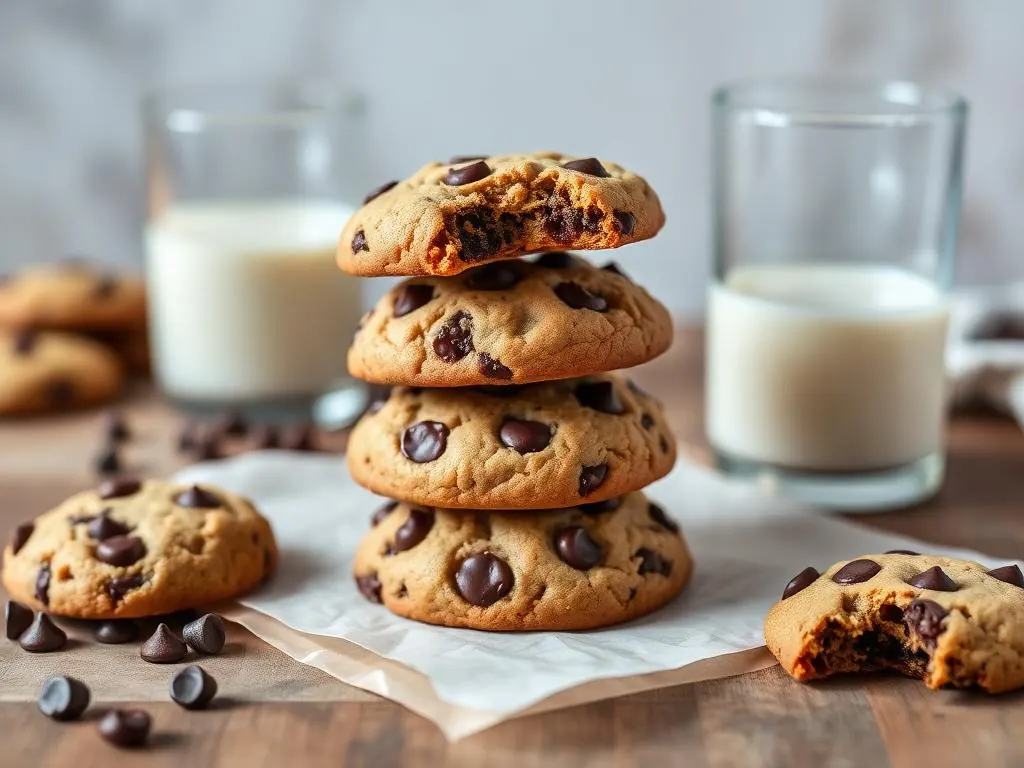
Why This The Best Chocolate Chip Cookies Works
This recipe achieves the quintessential chocolate chip cookie texture—crispy edges giving way to a soft, chewy center—through a careful balance of key ingredients and techniques. The combination of 3/4 cup granulated sugar and 3/4 cup packed brown sugar is intentional; granulated sugar helps the cookies spread and creates those delicate, crisp peripheries, while the molasses in the brown sugar provides moisture, a deeper caramel flavor, and that signature chewiness. Creaming these sugars with one cup of softened butter until light and fluffy isn't just about mixing; it's about aeration. This step whips tiny air pockets into the fat, which are then fortified by the eggs. These air pockets expand in the 375°F oven, providing lift and preventing the cookies from becoming dense or greasy.
The chemistry continues with the leavening. One teaspoon of baking soda, an alkali, reacts with the acidic brown sugar when heated. This reaction produces carbon dioxide gas, which helps the cookies rise and spread just enough. It also promotes the Maillard reaction, contributing to the beautiful golden-brown color and rich, roasted flavor. The proportion of 2 1/4 cups of all-purpose flour provides the perfect structure—enough to hold the shape without making the cookie dry or cakey. It’s the ideal scaffold for the melted pools of chocolate and pockets of buttery dough.
Finally, the baking instructions are precise for a reason. Baking at a moderately high temperature of 375°F ensures the exterior sets quickly, locking in the moisture and preventing excessive spread. The 10–12 minute window is critical; this timing cooks the edges to a perfect golden crisp while leaving the center slightly underdone when you pull them from the oven. The final five minutes of cooling on the hot baking sheet is an essential part of the cooking process. This residual heat gently finishes cooking the center, setting it to a perfectly soft and chewy consistency without ever letting it become hard or overbaked.
Why You'll Love This Recipe
- Perfectly Balanced Texture: You get the best of both worlds with delightfully crisp edges and a wonderfully soft, chewy middle in every single bite.
- Classic, Nostalgic Flavor: This recipe delivers that timeless, comforting taste of a homemade chocolate chip cookie, rich with butter, vanilla, and brown sugar.
- Quick and Easy to Make: With only 15 minutes of prep time and common pantry ingredients, you can satisfy a cookie craving in under 30 minutes from start to finish.
- Completely Customizable: This is a fantastic base recipe that you can easily adapt with different mix-ins like nuts, other chocolate varieties, or a sprinkle of sea salt.
- Reliably Consistent Results: The specific ingredient ratios and clear instructions have been tested to produce bakery-quality cookies every time, eliminating guesswork.
- Makes a Generous Batch: Yielding about 24 cookies, it’s perfect for sharing with family, bringing to a potluck, or stocking your cookie jar for the week.
Ingredient Notes
Butter
We call for one cup of unsalted butter that is properly softened to room temperature. 'Softened' is key; it should yield to a gentle press without being greasy or melted. This state allows the butter to trap air effectively when creamed with the sugars, which is the foundation for a light, chewy texture. If your butter is too cold, it won't cream properly, and if it's melted, the cookies will spread excessively and become flat and greasy. Unsalted butter allows you to control the total salt content, which is important for balanced flavor, but if you only have salted, you can use it and reduce the added salt to 1/2 teaspoon.
Brown and Granulated Sugars
The use of both granulated and brown sugar (3/4 cup each) is the secret to the perfect cookie texture and flavor profile. Granulated white sugar contributes to the crispiness of the edges and encourages spread. Light brown sugar, with its molasses content, is the star player for moisture and chewiness. It also imparts a subtle, warm caramel note that is characteristic of a classic chocolate chip cookie. Using only white sugar would result in a crisper, flatter cookie, while using only brown sugar would make them much softer and cakier.
Eggs
Two large eggs act as a crucial binder, holding the dough together and providing structure. They also contribute richness, flavor, and moisture. For the best results and easiest incorporation, ensure your eggs are at room temperature before you begin. You can quickly bring cold eggs to room temperature by placing them in a bowl of warm (not hot) water for 5–10 minutes. This prevents them from causing the creamed butter to seize and curdle, ensuring a smooth, homogenous dough.
Vanilla Extract
Two teaspoons of pure vanilla extract might seem like a lot, but it is essential for rounding out and enhancing all the other flavors in the cookie. It bridges the gap between the rich butter, sweet sugars, and decadent chocolate, adding a layer of aromatic depth that imitation vanilla simply cannot replicate. Think of it not as a standalone flavor, but as a background note that makes the primary flavors of butter and chocolate sing. For this classic recipe, the quality of your vanilla makes a noticeable difference.
All-Purpose Flour
The 2 1/4 cups of all-purpose flour form the backbone of the cookie. It provides the structure that contains the melting butter and expanding air pockets. The key to success is measuring it correctly. We strongly recommend the 'spoon and level' method: use a spoon to fluff the flour in its bag or canister, then gently spoon it into your measuring cup until it mounds over the top. Use the straight edge of a knife to sweep off the excess. Scooping directly with the measuring cup can compact the flour, resulting in up to 25% more flour than intended, leading to dry, dense, and cakey cookies.
Chocolate Chips
Two cups of chocolate chips ensure you get a generous amount of chocolate in every cookie. The classic choice is semi-sweet, as its slight bitterness beautifully balances the sweetness of the dough. However, you are free to use milk chocolate for a sweeter, creamier taste, or bittersweet/dark chocolate for a more intense and complex flavor. You can also use chocolate chunks, which create larger, more dramatic pockets of melted chocolate throughout the cookie.
Cookie Doneness Guide
| Visual Cue | Resulting Texture |
|---|---|
| Edges are pale, center looks wet and raw. | Gooey and underbaked. The cookie may fall apart and have a raw flour taste. |
| Edges are light golden brown, top is puffed, center looks soft and slightly underdone. | The Perfect Texture. The residual heat will finish cooking the center on the pan, resulting in a soft, chewy middle and crisp edges. |
| Edges and top are a deep, uniform golden brown. | Crisp and crunchy. The cookie will be drier and harder throughout, losing its soft center. |
| Edges are dark brown or browning quickly at the bottom. | Overbaked and potentially burnt. The cookie will be hard and may have a bitter taste. |
Baker's Tip
For ultimate chewiness, always err on the side of caution and pull the cookies from the oven when the centers still look a touch doughy. They don't firm up until they cool, and that 5-minute rest on the hot pan is a critical part of the cooking process.
Ingredients
- 2 1/4 cups all-purpose flour
- 1 tsp baking soda
- 1 tsp salt
- 1 cup butter, softened
- 3/4 cup granulated sugar
- 3/4 cup brown sugar
- 2 eggs
- 2 tsp vanilla
- 2 cups chocolate chips
Instructions
- 1
Preheat oven to 375°F.
- 2
Cream butter and sugars until fluffy.
- 3
Beat in eggs and vanilla.
- 4
Mix in flour, baking soda, and salt.
- 5
Fold in chocolate chips.
- 6
Drop tablespoons onto baking sheets; bake 10–12 minutes until golden at edges.
- 7
Cool on pan 5 minutes.
Pro Tips from Our Test Kitchen
- Use a Cookie Scoop: For uniformly sized and shaped cookies that bake evenly, use a medium (1.5-tablespoon) cookie scoop. This simple tool is the secret to a professional-looking batch.
- Chill the Dough: While not required, chilling the dough for at least 30 minutes (or up to 72 hours) makes a world of difference. It solidifies the butter, which minimizes spread, and allows the flavors to meld for a richer, more complex taste.
- The 'Pan-Banging' Trick: For cookies that have a flatter profile with rippled edges, you can gently but firmly tap the baking sheet on the counter once or twice immediately after removing it from the oven. This deflates the puffed center and creates a denser, chewier texture.
- Sprinkle with Flaky Sea Salt: Immediately after the cookies come out of the oven, sprinkle a tiny pinch of flaky sea salt (like Maldon) on top of each one. The salt enhances the chocolate flavor and provides a sophisticated contrast to the sweetness.
- Room Temperature is Non-Negotiable: Ensure your butter and eggs are truly at room temperature. Cold ingredients don't emulsify properly, which can result in a dense, greasy cookie. Let them sit on the counter for at least an hour before you begin.
- Cool Sheets Only: Never place cookie dough on a warm or hot baking sheet. This will cause the butter to melt prematurely, leading to excessive spread. If you're baking in batches, allow your baking sheets to cool completely or run them under cold water and dry them before the next round.
Substitutions
Flour
For an even chewier cookie, you can substitute bread flour for all-purpose flour. Bread flour has a higher protein content, which develops more gluten, resulting in a delightfully chewy texture. We do not recommend using cake flour, as it will make the cookies too soft and delicate.
Butter
If you only have salted butter, you can use it in place of unsalted. Simply reduce the added salt in the recipe from 1 teaspoon to 1/2 teaspoon. For a dairy-free version, a high-quality vegan butter stick that is firm at room temperature can be substituted, though the final texture may vary slightly.
Sugars
You can use all brown sugar for a softer, chewier, more caramel-flavored cookie, or all granulated sugar for a thinner, crisper cookie. If you only have light brown sugar, you can use it. Dark brown sugar can also be used for an even richer molasses flavor and softer texture.
Eggs
For an egg-free version, you can try a commercial egg replacer or a 'flax egg' (1 tablespoon ground flaxseed mixed with 3 tablespoons water, rested for 5 minutes). Be aware that this will alter the texture, likely making the cookies a bit denser and chewier.
Chocolate Chips
Feel free to swap the semi-sweet chocolate chips with any variety you prefer. Milk chocolate, bittersweet (60-70% cacao), white chocolate, or even peanut butter chips all work wonderfully. You can also use an equivalent weight of chopped chocolate bars for larger, more luxurious puddles of melted chocolate.
Recipe Variations
Walnut or Pecan Chocolate Chip
For a classic crunch, fold in 1 cup of toasted and chopped walnuts or pecans along with the chocolate chips. Toasting the nuts in a dry skillet for 5-7 minutes before adding them deepens their flavor significantly.
Triple Chocolate Chunk
Turn these into a chocoholic's dream by using a mix of different chocolates. Reduce the semi-sweet chips to 1 cup and add 1/2 cup of white chocolate chips and 1/2 cup of dark chocolate chunks. The variety of sweetness and textures is fantastic.
Spiced Chocolate Chip
Add a teaspoon of ground cinnamon and a 1/4 teaspoon of freshly grated nutmeg to the dry ingredients for a warm, spiced version that's perfect for autumn or the holidays. The spice pairs beautifully with the brown sugar and chocolate.
Cookie Bars
For an even easier, no-scoop version, press the entire batch of dough into a greased and parchment-lined 9x13 inch baking pan. Bake at 350°F (a slightly lower temp) for 20-25 minutes, or until golden and set. Let them cool completely before cutting into squares. This is a great shortcut, much like our simple and delicious "No-Bake Cheesecake Bars".
Mocha Chocolate Chip
Intensify the chocolate flavor by adding 2 teaspoons of instant espresso powder to the dough. Dissolve the powder in the 2 teaspoons of vanilla before adding it to the creamed butter mixture. It won't make the cookies taste like coffee, but it will make the chocolate taste richer. This deep flavor is a perfect counterpoint to a rich dessert like our "Classic Chocolate Layer Cake".
S'mores Cookies
For a fun twist, replace 1 cup of the chocolate chips with 1 cup of coarsely chopped milk chocolate. Fold in 1 cup of mini marshmallows and 1/2 cup of crushed graham crackers at the very end of mixing. The marshmallows will toast and melt, creating a gooey, campfire-inspired treat.
Common Mistakes to Avoid
| Mistake | What Happens | How to Fix |
|---|---|---|
| Using melted or overly soft butter. | The fat cannot hold air when creamed. Cookies will spread excessively and have a greasy, flat texture. | Use butter that is softened to a cool room temperature (around 65°F). It should give slightly when pressed but not be oily. |
| Overmixing after adding flour. | Develops too much gluten in the dough, resulting in tough, dense, and bready cookies instead of tender ones. | Mix the dry ingredients in on low speed only until the last streaks of flour just disappear. |
| Using hot baking sheets. | The butter in the dough melts instantly upon contact, causing the cookies to spread out and become thin and flat before they can set. | Always allow baking sheets to cool to room temperature between batches. You can speed this up by rinsing them with cold water. |
| Measuring flour by scooping the cup. | This compacts the flour, adding too much to the recipe. The result is dry, cakey, and puffy cookies that don't spread enough. | Use a kitchen scale for accuracy (270g), or use the 'spoon and level' method: spoon flour into the cup and sweep it level. |
| Baking until the cookies look 'done' in the oven. | Cookies continue to cook from residual heat on the pan. If they look fully done in the oven, they will be hard and crunchy once cooled. | Pull the cookies out when the edges are golden brown but the centers look puffy and slightly underbaked. |
Baker's Tip
One of the easiest mistakes is not preheating the oven fully. Placing cookies in an oven that isn't at 375°F will drastically alter the bake time and texture, often leading to pale, doughy, or overly spread cookies.
Troubleshooting
Help, My Cookies Spread Into Thin Crisps!
This is the most common cookie problem and it usually points to one of three things. First, your butter was too soft or even melted. It should be softened but still cool to the touch. Second, you might be placing your dough on a warm baking sheet from a previous batch. Always use cool sheets. Finally, consider chilling your scooped dough for 30 minutes before baking to solidify the fat.
Why Are My Cookies Puffy and Cakey?
A cake-like texture is almost always the result of too much flour. Did you scoop your measuring cup directly into the flour bag? This compacts it. Try weighing your flour (270g) or using the spoon-and-level method next time. Over-creaming the butter and sugar for too long (e.g., more than 5-7 minutes) can also incorporate too much air, leading to a cakey rise rather than a chewy spread.
My Cookies Are Hard and Dry, Not Chewy.
This is a classic sign of overbaking. Remember that cookies are not meant to look fully 'done' when you pull them from the oven. The edges should be set and golden, but the center should still look soft. They will firm up as they cool on the pan and then the wire rack. Next time, try shaving a minute or two off the bake time.
All My Chocolate Chips Sank to the Bottom.
If your chocolate chips are congregating at the bottom, it's likely your dough was a bit too soft when it went into the oven, allowing the heavy chips to sink as the butter melted. A quick fix for next time is to toss your chocolate chips with 1 tablespoon of flour from the measured amount before folding them in. This light coating helps them stay suspended in the dough during baking.
Serving Suggestions
The ultimate way to serve a warm chocolate chip cookie is, of course, with a tall glass of cold milk. It's a timeless pairing for a reason. For a more decadent dessert, serve a cookie (or two!) slightly warmed in a bowl with a scoop of high-quality vanilla bean ice cream. The contrast of the warm, chewy cookie and the cold, creamy ice cream is pure bliss. A drizzle of hot fudge or caramel sauce over the top takes it to the next level.
These cookies are also a fantastic afternoon pick-me-up alongside a hot cup of coffee or a latte. Their buttery sweetness is a perfect counterpoint to the bitterness of the coffee. For parties or gatherings, arrange them on a dessert platter. They look wonderful next to a variety of textures and flavors, like our tangy "Classic Lemon Bars" or some rich, fudgy brownies. You could even build a dessert board featuring these cookies, fresh fruit, and other handheld treats like our "No-Bake Cheesecake Bars" for a fun, interactive dessert experience.
Storage Instructions
- Room Temperature: Store cooled cookies in an airtight container at room temperature for up to 5 days. Adding a slice of bread to the container can help maintain their softness.
- Refrigerating: We don't recommend storing baked cookies in the refrigerator, as the cold air can dry them out and make them hard. The dough, however, can be refrigerated for up to 3 days.
- Freezing Baked Cookies: Place cooled cookies in a single layer on a baking sheet to flash-freeze for one hour. Then, transfer them to a zip-top freezer bag or airtight container. They will keep for up to 3 months.
- Freezing Cookie Dough: Scoop dough balls onto a parchment-lined baking sheet and freeze until solid. Transfer the frozen dough balls to a freezer bag. You can bake them directly from frozen; just add 2-3 minutes to the baking time.
- Thawing and Reheating: Thaw frozen cookies at room temperature for about an hour, or revive a day-old cookie by microwaving it for 10-15 seconds for a fresh-from-the-oven experience.
Make-Ahead Tips
This recipe is fantastic for making ahead, and in our opinion, the cookies are even better for it. The dough can be made, covered tightly, and refrigerated for up to 72 hours. This chilling period, known as 'hydrating the flour,' allows the liquid in the recipe to fully absorb, which results in less spread and a more concentrated, complex flavor with deeper notes of caramel and butterscotch.
For longer-term planning, the dough freezes beautifully. Our preferred method is to scoop the dough into individual balls, place them on a parchment-lined baking sheet, and freeze them until solid, about 1-2 hours. Once frozen, transfer the dough balls to a labeled freezer-safe bag. They can be stored for up to 3 months. When you're ready for a fresh cookie, you can bake them directly from frozen. Simply place them on a baking sheet and add about 2-3 minutes to the original 10-12 minute bake time. There's nothing better than having the ability to bake a single, perfect cookie on a moment's notice.
How We Tested This Recipe
Here in the RecipeNest Test Kitchen, developing 'The Best' version of a classic is a task we take seriously. This recipe underwent 11 distinct test batches to land on the final, perfected version. Our primary goal was to achieve that elusive texture: a cookie that was decidedly chewy and soft in the center with satisfyingly crisp, buttery edges. Our first few batches experimented with different ratios of brown to white sugar; a higher brown sugar ratio was too soft and cakey, while more white sugar made them too thin and crisp. The 1:1 ratio proved to be the sweet spot. We also tested the recipe using both a stand mixer and a hand mixer to ensure the instructions were accessible for any home baker, finding that the 3-minute creaming time was consistent for both.
We baked on standard aluminum baking sheets, both with parchment paper and a silicone mat. We found parchment paper promoted slightly better browning on the bottoms, which is what we recommend for optimal results. A major breakthrough came when testing the impact of chilling the dough. We baked batches immediately, after 30 minutes of chilling, after 24 hours, and after 72 hours. The 30-minute chill provided a noticeable improvement in reducing spread, but the 24-hour chill was the unanimous favorite for flavor development, confirming our recommendation for those with the time to spare. We also tested various oven temperatures, finding that 375°F provided the fastest set time for the edges, preventing the dreaded over-spread. This recipe is the culmination of that rigorous, flour-dusted testing process, designed to be foolproof and delicious for you at home. We believe it lives up to its title, even holding its own on a dessert table next to showstoppers like "The Best Moist Banana Bread".
Nutrition Facts
Per serving · 180 calories
protein
2g
carbs
24g
fat
9g
fiber
1g
sugar
16g
sodium
120mg
Related Recipes
More desserts and similar dishes you'll love.
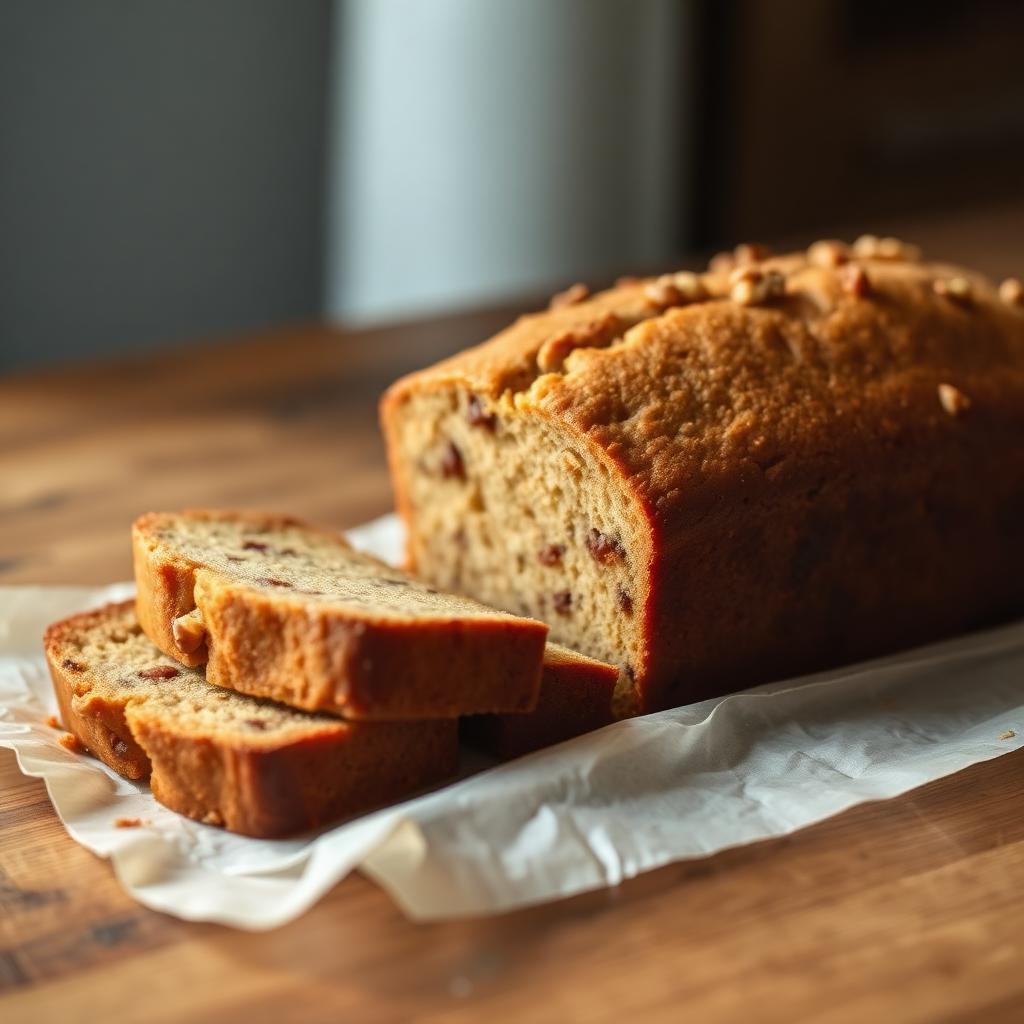
The Best Moist Banana Bread
Discover how to make the best moist banana bread using only one bowl. This homemade banana bread recipe delivers a soft, bakery-style loaf that is perfect for utilizing overripe bananas.
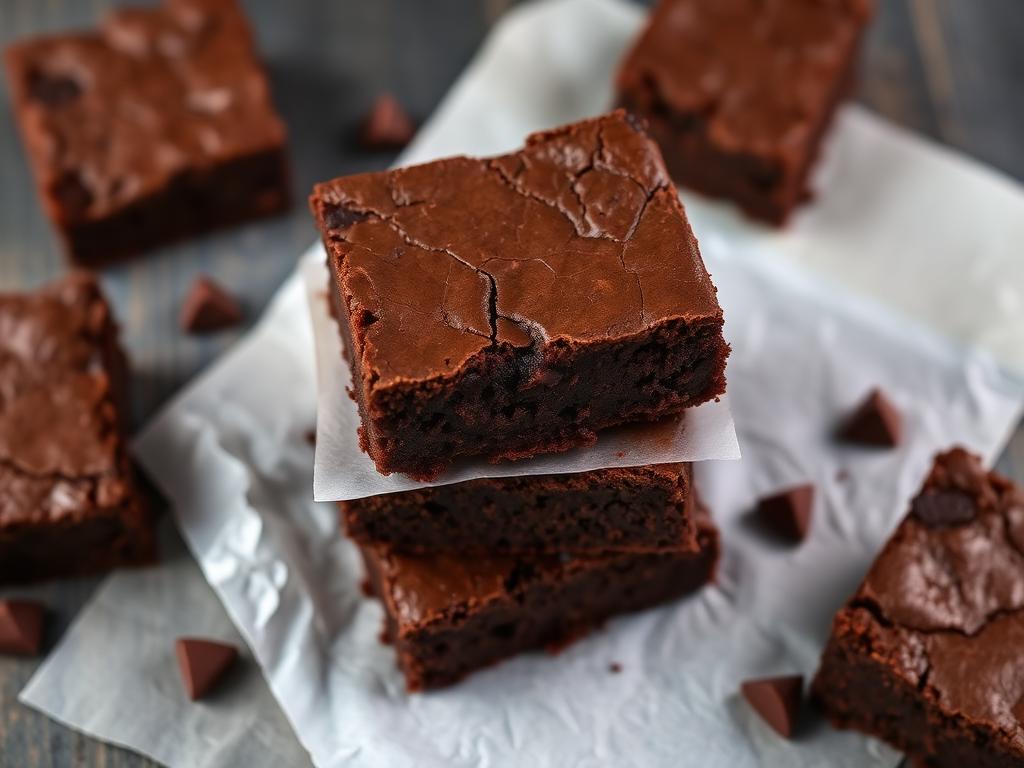
Fudgy Chocolate Brownies
These fudgy chocolate brownies are incredibly dense and rich with a signature crackly top. This simple one-bowl recipe means you can have homemade brownies ready for the oven in minutes.
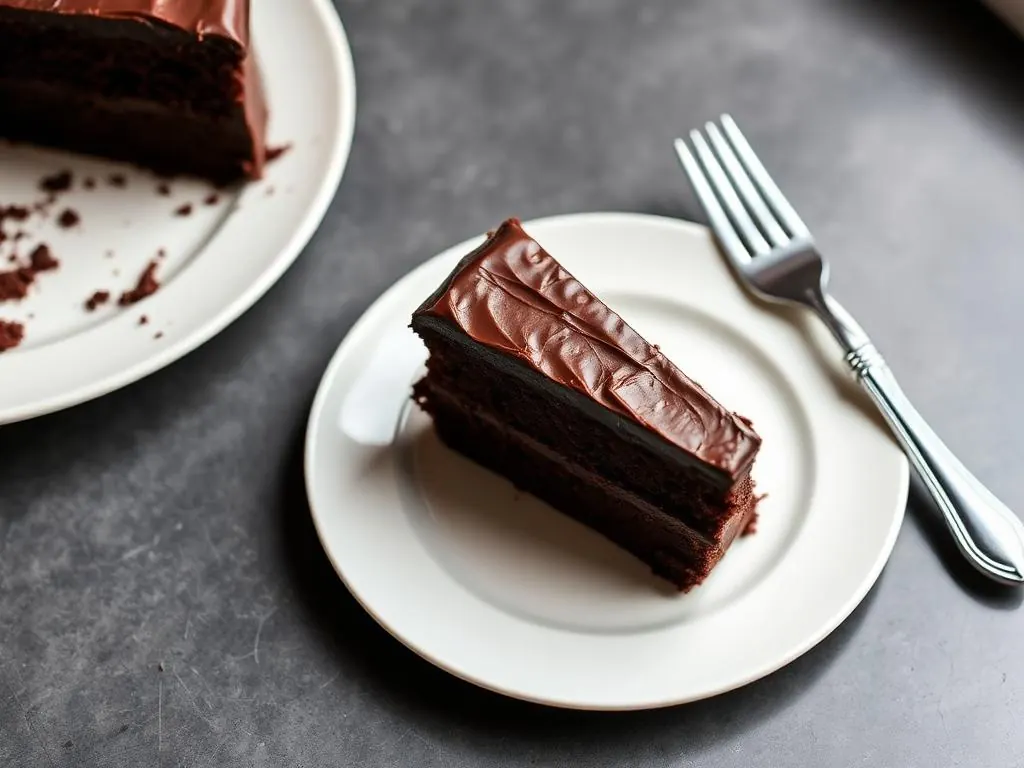
Classic Chocolate Layer Cake
This classic Chocolate Layer Cake is incredibly moist and decadent. Covered in a rich chocolate buttercream, this from-scratch cake is the perfect centerpiece for birthdays and celebrations.
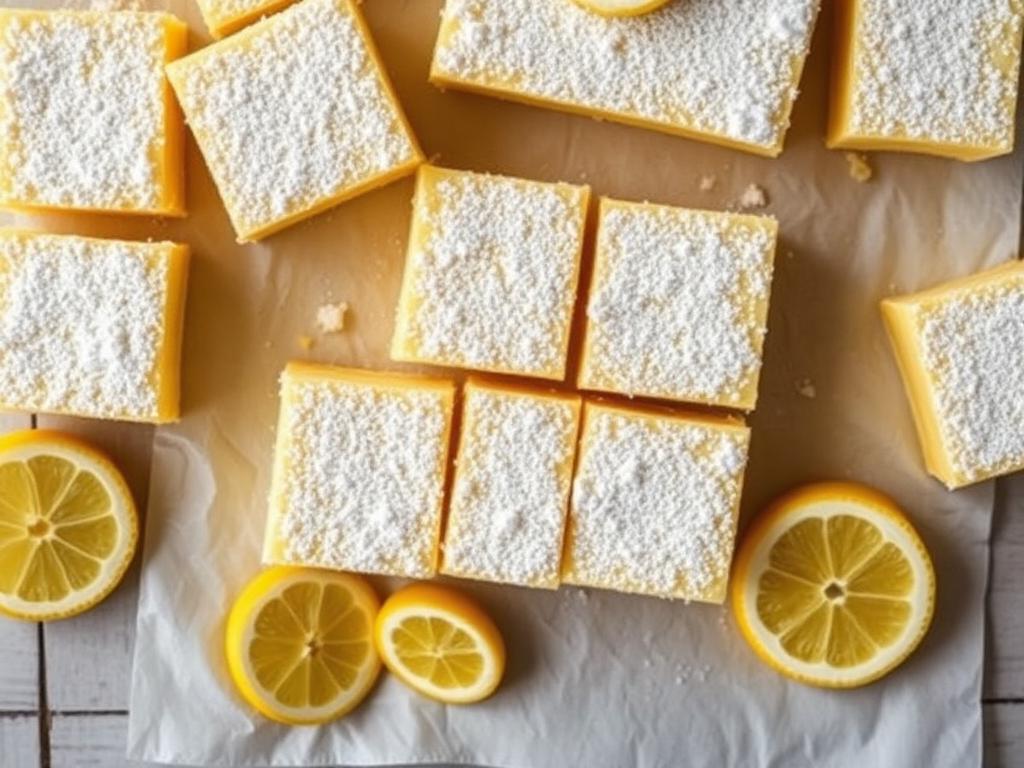
Classic Lemon Bars
These classic lemon bars strike the perfect balance between a buttery shortbread crust and tangy lemon curd. This easy lemon dessert is a staple recipe for citrus lovers everywhere.
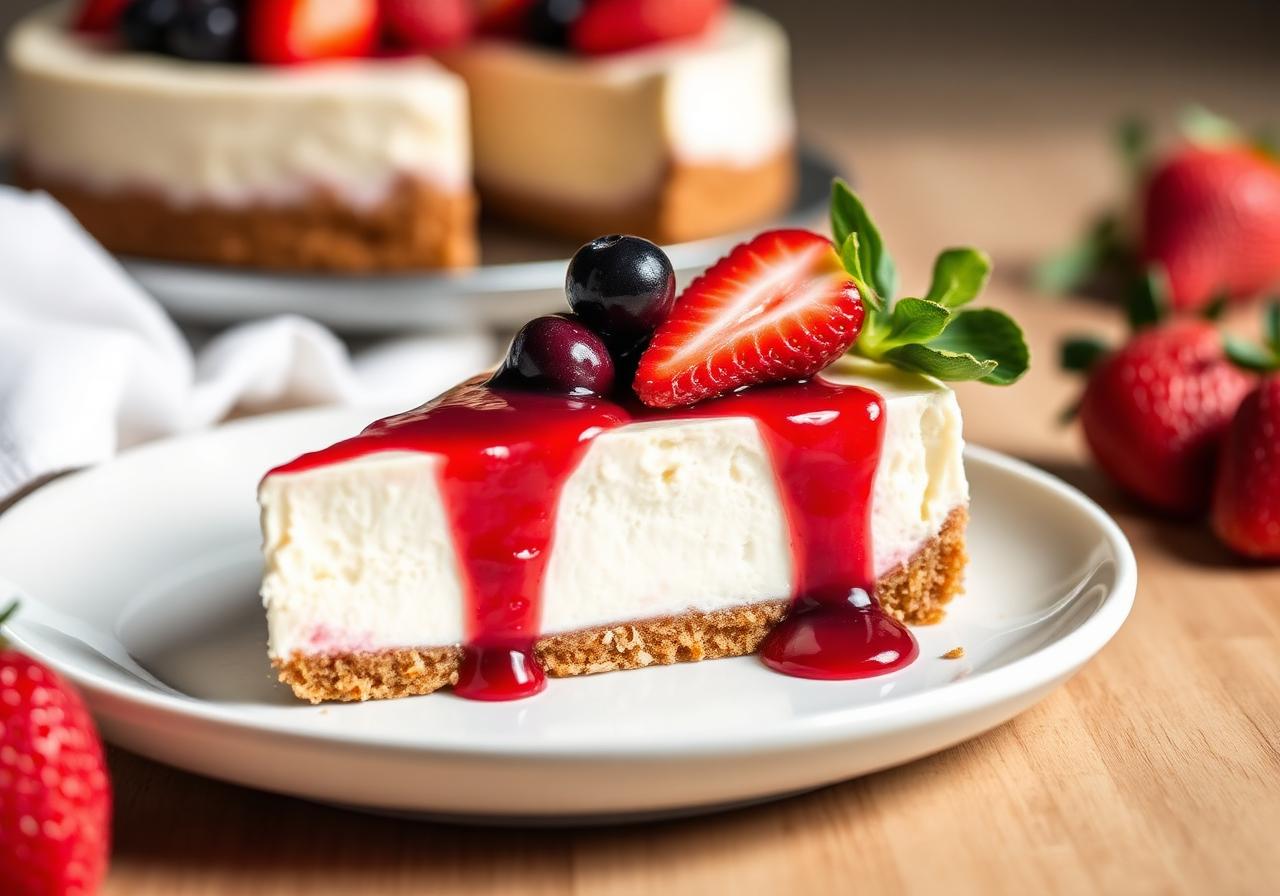
High Protein Cottage Cheese Cheesecake
This healthy Cottage Cheese Cheesecake delivers 22g of protein per slice without sacrificing flavor. A creamy, high-protein dessert featuring a classic graham crust that the whole family will love.
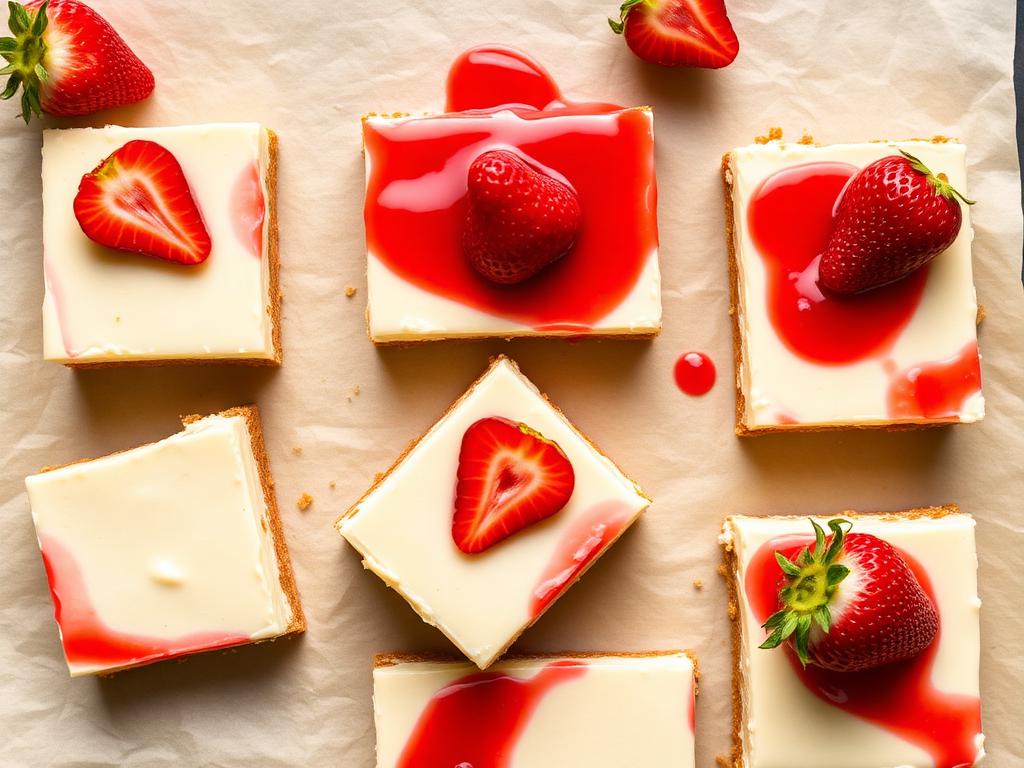
No-Bake Cheesecake Bars
Indulge in these creamy no-bake cheesecake bars, the perfect easy no bake dessert for hot days. Featuring a classic graham cracker crust and fresh berry topping, they are incredibly simple to make.
Frequently Asked Questions
Can I make chocolate chip cookies ahead of time?+
Yes — store in an airtight container in the fridge for up to 3 days. Reheat gently to preserve texture and flavor.
Can I freeze chocolate chip cookies?+
Most components freeze well for up to 3 months. Cool completely before freezing and thaw overnight in the refrigerator.
What can I serve with this chocolate chip cookies?+
Pair with a simple green salad, crusty bread, or roasted vegetables for a complete meal the whole family will love.
Why use both granulated and brown sugar?+
This recipe uses an equal blend of granulated and brown sugar to create the perfect texture. Granulated sugar contributes to crisp, golden-brown edges and helps the cookies spread. Brown sugar, thanks to its molasses content, adds crucial moisture, a delicious chewiness, and a deeper caramel flavor profile. This combination gives you the best of both worlds in one cookie.
Can I use salted butter instead of unsalted?+
Yes, you can substitute salted butter if that's what you have on hand. Since salted butter contains an unknown amount of salt, we recommend reducing the added salt in the recipe from 1 teaspoon down to 1/2 teaspoon. This will help prevent your cookies from tasting overly salty and ensure a balanced flavor.
What is the best way to measure flour for this recipe?+
For the most accurate and consistent results, we strongly advise using the 'spoon and level' method. Use a spoon to fluff up the flour in its container, then gently spoon it into your measuring cup until it's mounded over the top. Use the back of a knife to sweep off the excess. This prevents packing the flour, which can lead to dry, cakey cookies.
How do I know when the butter and sugar are 'creamed until fluffy'?+
You're looking for a visible change in both color and texture. The mixture will transform from a dense, yellow paste into a much paler, off-white color. It will also increase in volume and have a light, aerated appearance, similar to whipped frosting. This process, which incorporates air for leavening, typically takes a full 2-3 minutes with an electric mixer on medium speed.
My cookies turned out flat. What did I do wrong?+
Flat cookies are most often caused by butter that was too soft or melted when it was mixed. Your butter should be at room temperature, but still firm enough to hold its shape. Another common reason is placing dough on a hot baking sheet, which melts the butter too quickly. Always allow your baking sheets to cool completely between batches.
Can I make this dough without an electric mixer?+
Absolutely, though it will require a bit more elbow grease. The most strenuous part is creaming the butter and sugar, which you can do with a sturdy whisk or wooden spoon; be prepared to mix vigorously for about 5-7 minutes to incorporate enough air. The remaining steps can easily be completed with a spatula.
Is it necessary to chill the dough?+
While the recipe can be made without chilling for a quick batch, we highly recommend chilling the dough for at least 30 minutes. Chilling solidifies the butter, which prevents the cookies from spreading too much in the oven. As an added bonus, it also allows the flavors to meld and deepen, resulting in a more delicious and chewier final product.

Recipe by Sarah Mitchell
Recipe developer · Practical family cooking
Get more recipes like this
Get a free collection of 15 easy family recipes delivered to your inbox.
You May Also Like
Hand-picked favorites from across RecipeNest.
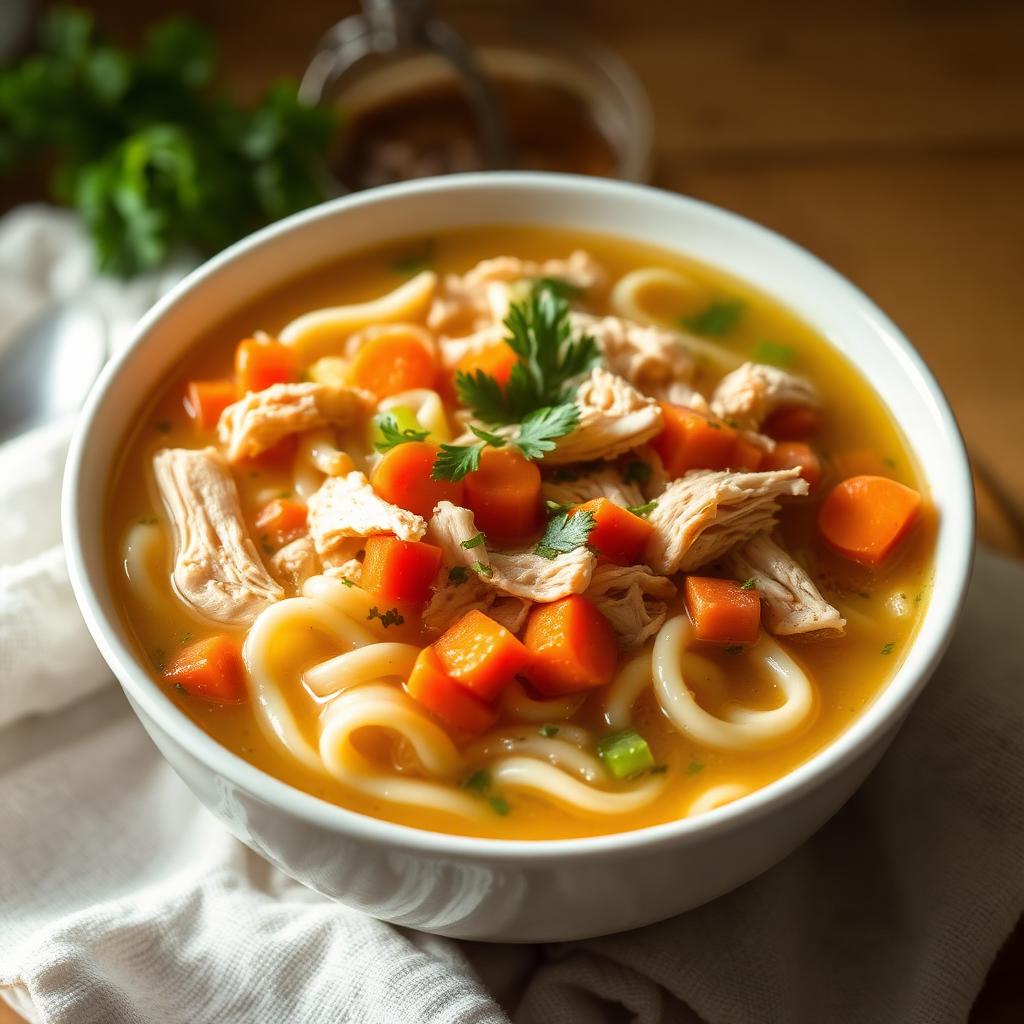
Classic Chicken Soup
This classic chicken soup recipe is the ultimate homemade chicken noodle soup — cozy, restorative, and ready in under an hour. Made with tender shredded chicken, egg noodles, carrots, celery, and fresh herbs in a golden broth, this old-fashioned chicken soup is the go-to comfort food for cold days and sick days alike.
Garlic Butter Chicken
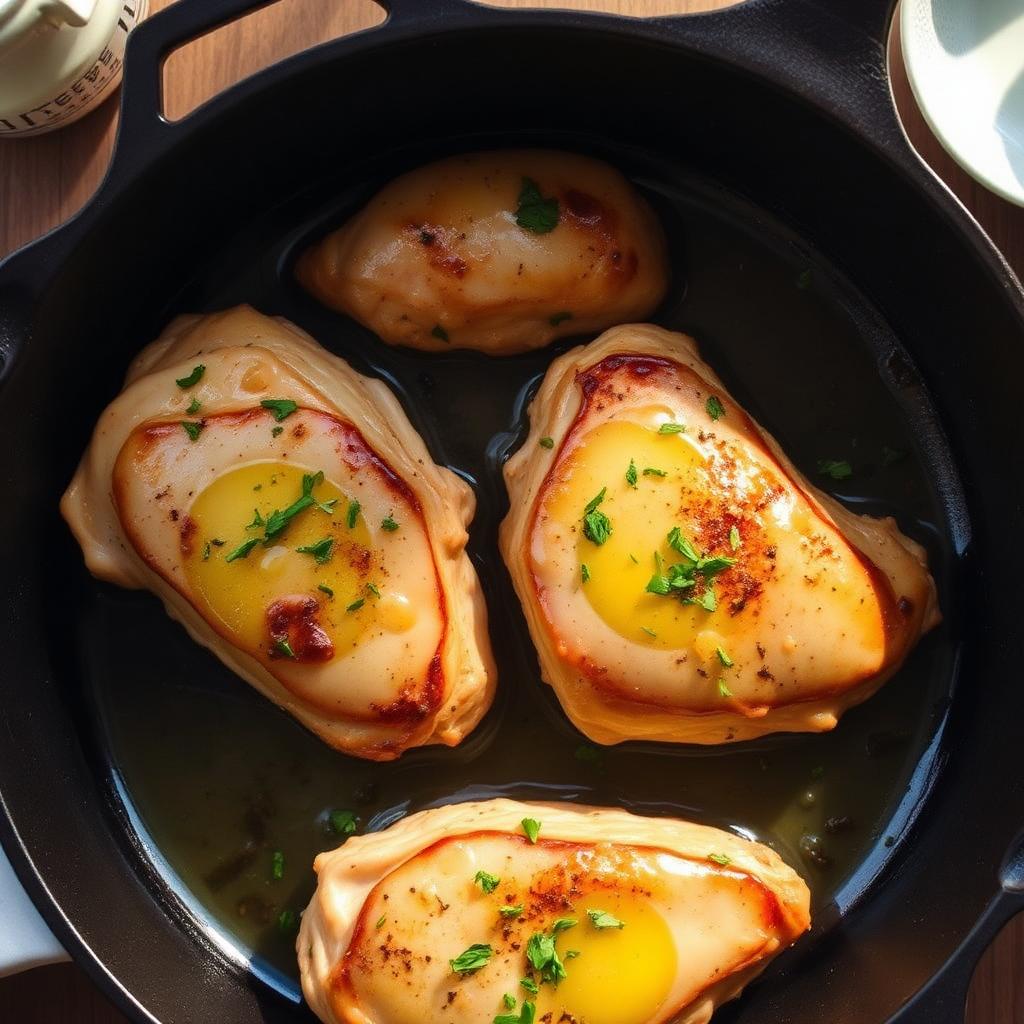
Our 20-minute garlic butter chicken is a restaurant-style meal you can make in one skillet. This easy chicken recipe uses simple ingredients to create a rich, savory pan sauce.

Crispy Air Fryer Chicken Wings
Stop settling for soggy wings and try these air fryer chicken wings. These crispy wings use no flour or breading, making them the perfect keto chicken wings for your next party.
Fluffy Buttermilk Pancakes
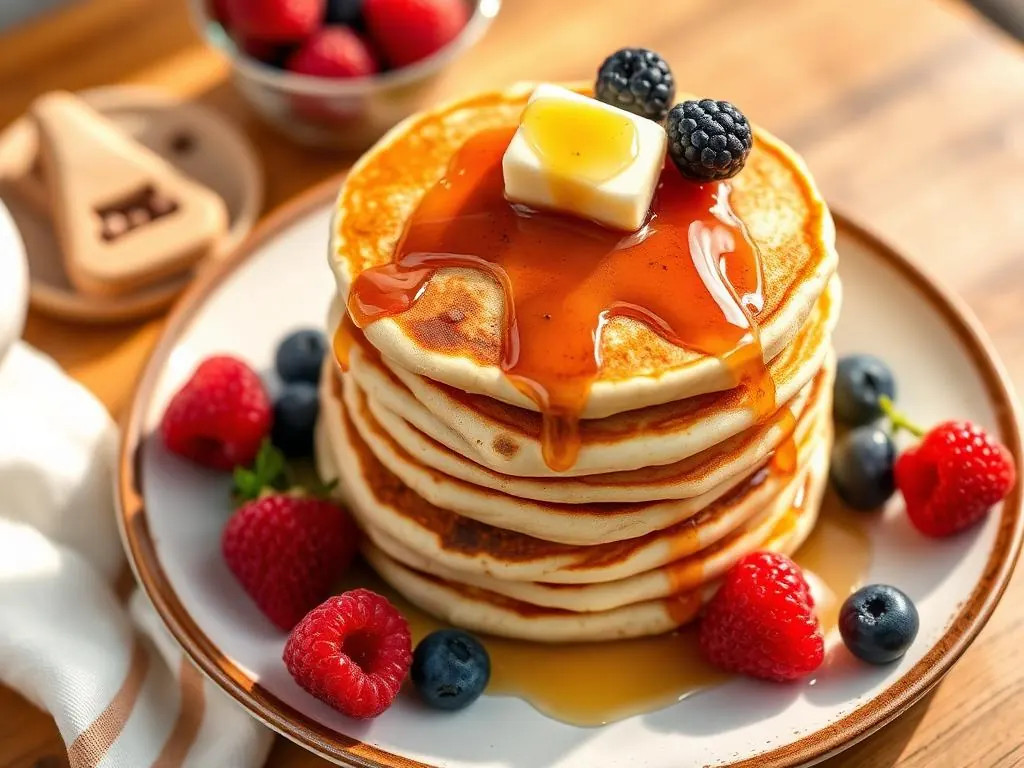
Master the art of Sunday morning with these classic Buttermilk Pancakes. These tall, fluffy pancakes are made from scratch and serve as the foundation for the ultimate homemade breakfast.