Taco Stuffed Bell Peppers
Enjoy a fresh twist on Taco Tuesday with these Taco Stuffed Bell Peppers. Loaded with lean ground beef, black beans, and melted cheese, this healthy Mexican dinner is a delicious gluten-free and low-carb alternative.
Prep
15 min
Cook
35 min
Total
50 min
Servings
6
Calories
400
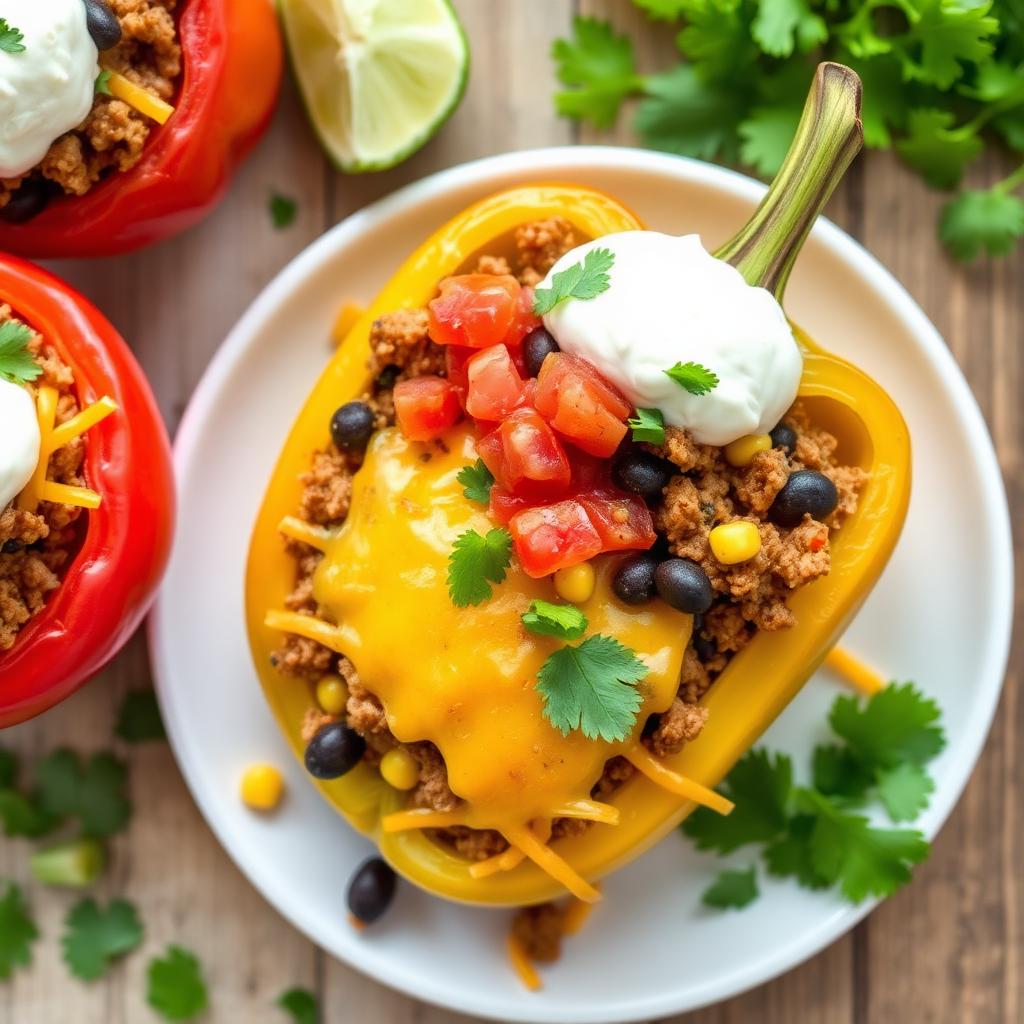
Why This Taco Stuffed Bell Peppers Works
These Taco Stuffed Bell Peppers are a vibrant, flavorful, and incredibly satisfying meal that brings all the zesty joy of taco night into a neat, healthy package. Our RecipeNest test kitchen spent weeks perfecting a recipe that balances juicy, seasoned ground beef with robust black beans, sweet corn, and a punchy salsa, all nestled within tender bell peppers. The key to our success? A brief blanching step for the peppers, ensuring they cook through perfectly without becoming mushy or staying too firm, providing the ideal edible vessel for our irresistible filling.
What truly elevates this dish beyond a simple weeknight meal is the depth of flavor packed into every bite. By simmering the ground beef with authentic taco seasoning and a touch of water, the meat absorbs every aromatic spice, creating a rich base. The addition of black beans and corn not only adds texture and nutrition but also a delightful sweetness that perfectly complements the savory beef. And let's not forget the crucial layer of melty Mexican cheese, binding the ingredients together inside and creating a golden, bubbly crust on top.
We've also taken extra care to ensure the proportions are just right – enough hearty filling to generously stuff six large peppers, making it an excellent option for family dinners or meal prepping. The thoughtful layering of flavors and textures, from the tender pepper shell to the savory, cheesy filling, makes this a dish that feels both comforting and exciting. It's a fantastic way to enjoy the classic taste of tacos in a more wholesome, utensil-friendly format.
Finally, the sheer customizability of toppings allows everyone at the table to personalize their experience. Whether you pile on creamy sour cream, fresh pico de gallo, spicy jalapeños, or crunchy tortilla chips, these peppers are designed to be a canvas for your favorite taco accompaniments. This recipe isn't just about combining ingredients; it's about crafting a well-rounded, delicious meal that feels special yet remains wonderfully accessible for any home cook.
Why You'll Love This Recipe
- Flavorful & Zesty: Bursting with classic taco seasonings, savory beef, and fresh veggie goodness.
- Healthy & Wholesome: A high-protein meal packed with vegetables and lean ground beef.
- Easy Weeknight Meal: Ready in under an hour, with straightforward steps perfect for busy evenings.
- Customizable Toppings: A perfect canvas for all your favorite taco fixings, from sour cream to avocado.
- Great for Meal Prep: Stuffed peppers reheat beautifully, making them ideal for lunches throughout the week.
- Family-Friendly: A delicious way to get more vegetables into your family's diet, appealing to all ages.
- Satisfying & Filling: Each pepper is generously stuffed, ensuring a hearty and complete meal.
Ingredient Notes
Bell Peppers
Opt for large, firm bell peppers of any color – red, yellow, orange, or green all work wonderfully. Red, yellow, and orange tend to be sweeter, while green peppers offer a slightly more herbaceous, classic flavor. We specify 6 large peppers, as this recipe is designed to yield generous servings. Blanching them briefly in salted boiling water is a critical step; it jump-starts the cooking process, ensuring the peppers are tender, not crunchy, after baking, and also seasons them from the inside out.
Ground Beef (85/15)
Our recipe calls for 1 1/4 lbs of 85/15 ground beef. This fat-to-lean ratio provides excellent flavor and juiciness without being excessively greasy. While you will drain the excess fat after browning, the 15% fat content contributes significantly to the richness of the taco filling. If you opt for leaner beef, you might need to add a touch of oil to the pan when browning to prevent sticking and ensure a moist filling.
Taco Seasoning
Whether you use a 1 oz packet of store-bought taco seasoning or 3 tablespoons of homemade blend, this ingredient is the heart of the taco flavor. Store-bought packets are convenient and consistent, while homemade allows for customization of spice levels and sodium content. Ensure the seasoning is fresh for the best aroma and taste; older spices can lose their potency.
Black Beans and Corn
A 15 oz can of black beans, drained and rinsed thoroughly, adds essential protein, fiber, and a creamy texture to the filling. Rinsing removes excess sodium and any starchy liquid. The 1 cup of frozen corn, added directly to the skillet, brings a touch of sweetness and vibrant color. These two ingredients are crucial for giving the filling that classic, hearty taco texture and balanced flavor profile.
Salsa
The 1/2 cup of salsa not only contributes moisture to the filling but also a tangy, zesty flavor that brightens the entire dish. Choose your favorite mild, medium, or hot salsa to tailor the spice level. A chunky salsa will also add more texture, while a smoother variety will blend more seamlessly into the meat mixture. This ingredient is key to making the filling cohesive and flavorful.
Mexican Cheese Blend
We use 1 1/2 cups of shredded Mexican cheese blend, divided, for maximum cheesiness. The blend typically includes Monterey Jack, cheddar, asadero, and quesadilla cheeses, which melt beautifully and add a rich, savory depth. Incorporating 1/2 cup into the filling helps bind everything together, while the remaining cheese sprinkled on top creates that irresistible golden, bubbly crust during the final bake.
Perfectly Tender Peppers: Blanching vs. No Blanching
| Method | Resulting Texture | Cook Time Impact | Flavor Impact |
|---|---|---|---|
| Blanching (Our Method) | Tender, slightly yielding, holds shape well | Ensures even cooking; 3 min blanch, 28-30 min bake | Pepper's natural sweetness is enhanced; seasoned slightly from salted water |
| No Blanching | Can be too firm or tough, especially at the base | Requires longer bake time, often 45-60 min total | May have a raw, less integrated flavor; can be crunchy |
| Pre-baking/Roasting | Very tender, potentially softer/soggy | Adds significant prep time (20-30 min pre-bake + 20-30 min bake) | Deeply roasted flavor; can sometimes lose structural integrity |
Baker's Tip
To ensure your peppers stand upright without toppling, you can trim a very thin slice from the bottom of each pepper, taking care not to cut through to the cavity. This creates a flat base while keeping the pepper sealed.
Ingredients
- 6 large bell peppers, tops removed and seeded
- 1 1/4 lbs ground beef (85/15)
- 1 small onion, diced
- 3 garlic cloves, minced
- 1 (1 oz) packet taco seasoning (or 3 tbsp homemade)
- 1/3 cup water
- 1 (15 oz) can black beans, drained and rinsed
- 1 cup frozen corn
- 1/2 cup salsa
- 1 1/2 cups shredded Mexican cheese blend
- For topping: sour cream, pico de gallo, sliced jalapeños, cilantro, avocado, lime wedges, crushed tortilla chips
Instructions
- 1
Preheat oven to 375°F. Blanch the peppers 3 minutes in boiling salted water and drain. Stand upright in a 9×13 baking dish.
- 2
Brown the ground beef with the onion in a skillet over medium-high heat, 6–8 minutes. Drain excess fat.
- 3
Add the garlic; cook 30 seconds. Sprinkle in the taco seasoning and pour in the water. Simmer 2 minutes until glossy and thick.
- 4
Stir in the black beans, corn, and salsa. Cook 3 more minutes so everything is heated through and the flavors combine.
- 5
Off heat, fold in 1/2 cup of the shredded cheese to bind the filling.
- 6
Divide the taco filling between the peppers, mounding into each cavity.
- 7
Cover with foil and bake 20 minutes.
- 8
Uncover, sprinkle with the remaining cheese, and bake 8–10 more minutes until the cheese is melty and lightly browned.
- 9
Load the tops with pico de gallo, sour cream, avocado, cilantro, jalapeños, and a scatter of crushed tortilla chips for crunch. Serve with lime wedges.
Pro Tips from Our Test Kitchen
- Don't Skip the Blanching: Seriously, that 3-minute blanch in salted water is a game-changer. It ensures the peppers are perfectly tender and edible, not just a crunchy container for the filling. It also allows the peppers to absorb a bit of seasoning from the water.
- Season in Layers: Beyond the taco seasoning, taste your ground beef mixture before adding cheese. A pinch of salt or a dash of hot sauce can make a big difference. Remember, cheese adds saltiness too!
- Proper Draining is Key: After browning the ground beef, make sure to thoroughly drain any excess fat. This prevents your filling from being greasy and ensures the flavors of the taco seasoning really shine.
- The Cheese Binder: Folding 1/2 cup of shredded cheese directly into the hot filling off the heat does more than just add flavor; it acts as a binder, helping the filling stay together inside the pepper and adding an extra layer of creaminess.
- Mound Your Filling High: Don't be shy when stuffing! Mound the filling generously into each pepper cavity. The filling is designed to be substantial, and a visually appealing, overflowing pepper is always more satisfying. For a lighter, zestier alternative to this dish, consider our "Italian Sausage Stuffed Bell Peppers" recipe.
- Toppings Galore: Treat these like ultimate taco bowls. Set out a topping bar with all the suggested items – sour cream, pico de gallo, sliced jalapeños, cilantro, avocado, lime wedges, and crushed tortilla chips. Everyone loves customizing their meal! For another comforting and cheesy dish that pairs well with these flavors, try our "Creamy One Pot White Cheddar Mac and Cheese" or even our "Mozzarella Mac and Cheese" as a side.
- Rest Before Serving: While tempting to dive right in, letting the peppers rest for 5-10 minutes after baking allows the filling to set slightly and prevents it from spilling out as easily when served. It also makes them a little easier to handle.
Substitutions
Protein
For a leaner option, ground turkey or chicken can be used instead of ground beef. If using ground turkey, especially a very lean variety, you might want to add a tablespoon of olive oil when browning to prevent it from drying out. Cook until no longer pink and proceed with the recipe as directed. For a vegetarian version, extra-firm crumbled tofu or a plant-based ground meat substitute would work well; just ensure you drain any excess liquid.
Bell Peppers
While bell peppers are traditional, you could hollow out large zucchini or even small pumpkins (for a seasonal twist) as alternative vessels. Cooking times would need to be adjusted, as zucchini cooks much faster than bell peppers, and pumpkins would require a longer bake. Make sure to scrape out most of the soft insides of zucchini or pumpkin before stuffing.
Beans & Corn
Feel free to swap black beans for pinto beans or kidney beans if preferred. Canned chickpeas, drained and rinsed, would also be a suitable, albeit different, substitution. If fresh corn is in season, cut it right off the cob and use it in place of frozen corn. Other vegetables like diced zucchini or finely chopped carrots could be added for extra nutrition.
Cheese
Any good melting cheese will work. Cheddar, Monterey Jack, Colby, or a combination of these are all excellent choices. If you don't have a Mexican blend, shredding your own cheeses will yield an equally delicious result. For a dairy-free option, use a plant-based shredded cheese blend that melts well.
Taco Seasoning & Salsa
If you don't have a taco seasoning packet, you can create your own blend with chili powder, cumin, paprika, onion powder, garlic powder, and a pinch of cayenne. Adjust to your taste! As for salsa, choose a chunky or smooth variety, mild or spicy, depending on your preference. Canned diced tomatoes with green chilies (RoTel) could also be a good substitute for salsa, adding a similar flavor profile and liquid.
Recipe Variations
Spicy Stuffed Peppers
To crank up the heat, add a pinch of cayenne pepper to the beef filling, use a hot taco seasoning blend, and opt for a spicy salsa. You can also mix a teaspoon of your favorite hot sauce into the filling. Garnish with extra sliced jalapeños or a drizzle of sriracha before serving for an extra kick.
Creamy Chicken Fajita Peppers
Instead of ground beef, use shredded cooked chicken. Sauté bell pepper strips and onions (fajita-style) and mix with the chicken. Stir in a cream cheese base with taco seasoning and a splash of milk for a creamy texture. Stuff into peppers and bake. This variation offers a different texture and flavor profile while still keeping the taco spirit.
Southwestern Quinoa & Black Bean Peppers
For a vegetarian and higher-fiber option, replace the ground beef with cooked quinoa. Sauté diced bell peppers, onions, and garlic, then combine with black beans, corn, salsa, and taco seasoning. You can also add some crumbled feta or cotija cheese for a salty tang. Stuff and bake as directed.
Breakfast Stuffed Peppers
Transform these into a brunch sensation! Fill blanched peppers with a mixture of scrambled eggs, cooked breakfast sausage or bacon, diced potatoes, and a touch of cheese. Bake until the peppers are tender and the filling is set. Top with a dollop of sour cream or hot sauce.
Broccoli Cheddar Stuffed Peppers
For a comforting, cheesy variation, combine steamed and chopped broccoli florets with cooked rice, a rich cheddar cheese sauce, and a touch of garlic powder and onion powder. This offers a hearty, kid-friendly option that's a delightful departure from the taco theme but still uses the same delicious pepper vessel.
Mediterranean Stuffed Peppers
Swap out the taco flavors for a Mediterranean twist. Fill peppers with a mixture of ground lamb or beef, cooked rice, diced tomatoes, spinach, feta cheese, and Mediterranean herbs like oregano and mint. Bake until tender, then serve with a dollop of tzatziki sauce.
Common Mistakes to Avoid
| Mistake | What Happens | Fix |
|---|---|---|
| Not blanching peppers | Peppers are tough or crunchy after baking, making them hard to cut and eat. | Always blanch peppers for 3 minutes in boiling salted water. It jump-starts cooking and seasons them. |
| Under-seasoning the filling | The taco filling tastes bland or lacks punch, even with toppings. | Taste the filling before adding cheese; adjust salt, pepper, or add a pinch more taco seasoning if needed. |
| Not draining beef fat | Filling becomes greasy and watery, affecting texture and flavor. | Drain excess fat thoroughly after browning ground beef. Use a colander or tilt the pan and spoon out excess grease. |
| Overfilling peppers too loosely | Filling spills out during baking, making a mess and potentially drying out. | Generously mound the filling, but press it down gently to compact it slightly and ensure it stays in place. |
| Baking uncovered too long initially | Peppers can dry out or burn before they fully tenderize. | Always cover with foil for the first 20 minutes of baking to steam the peppers and keep the filling moist. |
| Using small or uneven peppers | Some peppers cook faster, others remain tough, or filling doesn't fit properly. | Select large, uniform bell peppers for even cooking and optimal filling capacity. |
Baker's Tip
If your peppers are wobbly in the baking dish, crumple small pieces of foil and wedge them around the base of the peppers to keep them upright during baking.
Troubleshooting
Peppers are still too hard after baking
This usually happens if the peppers weren't blanched long enough, or if they were exceptionally thick-walled. Next time, try blanching for 4-5 minutes, or increase the initial covered baking time by another 5-10 minutes. You can also lightly score the inside of the pepper walls with a knife before filling to help them tenderize faster.
Filling is dry or crumbly
This could be due to using extremely lean ground meat without adding extra moisture, overcooking the filling on the stovetop, or not enough salsa. To remedy this, next time, consider using 85/15 ground beef as specified, or add an extra splash of water or a tablespoon or two of tomato sauce/salsa to the filling mixture before stuffing. A little extra cheese folded into the mix can also help with moisture and binding.
Cheese didn't melt/brown properly
Ensure your oven temperature is accurate. Sometimes, ovens run cooler than their setting. For browning, a quick stint under the broiler for 1-2 minutes (watching carefully to prevent burning!) after the baking time can give you that perfect golden, bubbly crust. Make sure the cheese is shredded and not a solid block, as shredded cheese melts much faster and more evenly.
Peppers fell over in the baking dish
This is a common issue with unevenly shaped peppers. Before baking, trim a tiny, thin slice off the bottom of each pepper to create a flat base, being careful not to cut through to the cavity. Alternatively, you can pack them tightly into the baking dish, or use crumpled aluminum foil around the bases to prop them up and prevent tipping.
Serving Suggestions
These Taco Stuffed Bell Peppers are a complete meal on their own, but they truly shine when presented with a vibrant array of fresh toppings. Think beyond just sour cream and cheese! A generous dollop of homemade guacamole or sliced avocado adds a rich, creamy element, while a sprinkle of fresh cilantro brightens every bite. Don't forget the zesty squeeze of a fresh lime wedge to cut through the richness and elevate all the flavors. For an added textural contrast, a scatter of crushed tortilla chips delivers that satisfying crunch.
While they stand alone, you might want to serve them alongside a simple green salad with a lime vinaigrette, or a side of fluffy cilantro-lime rice to soak up any extra filling. A quick batch of esquites (Mexican street corn salad) would also complement the flavors beautifully. For those who enjoy a bit of heat, offer a selection of your favorite hot sauces at the table.
Whether it's a casual weeknight dinner or a lively gathering, arranging these colorful peppers with a customizable topping bar makes for an interactive and enjoyable dining experience. They're hearty enough to satisfy the hungriest appetites, yet fresh and vibrant enough to feel light and wholesome. Pair with a refreshing agua fresca or a crisp Mexican lager for the perfect meal.
Storage Instructions
- Refrigerate: Allow leftover stuffed bell peppers to cool completely. Store them in an airtight container in the refrigerator for up to 3-4 days.
- Freezing (Baked): Once completely cool, wrap individual peppers tightly in plastic wrap, then aluminum foil. Place in a freezer-safe bag or container. Freeze for up to 3 months.
- Reheating (From Fridge): Reheat in a microwave until warmed through (2-4 minutes), or in a preheated oven at 350°F (175°C) for 15-20 minutes, or until heated through.
- Reheating (From Freezer): For best results, thaw overnight in the refrigerator. Reheat as you would from the fridge. Alternatively, reheat from frozen in an oven at 350°F (175°C) for 30-40 minutes, covered, then uncovered for the last 10 minutes to crisp the cheese.
- Freezing (Unbaked Filling): The cooked taco filling can be frozen separately for up to 3 months. Thaw, then stuff into freshly blanched peppers and bake as directed.
Make-Ahead Tips
These Taco Stuffed Bell Peppers are a fantastic candidate for meal prep, allowing you to enjoy a delicious home-cooked meal even on your busiest days. The filling can be prepared entirely up to 2-3 days in advance. Cook the ground beef, onions, garlic, taco seasoning, water, black beans, corn, and salsa, then stir in the 1/2 cup of cheese. Let it cool completely before storing it in an airtight container in the refrigerator.
When you're ready to bake, simply blanch your bell peppers, stuff them with the pre-made filling, top with the remaining cheese, and proceed with the baking instructions. This cuts down the active prep time on a weeknight significantly, making dinner come together in less than 40 minutes. You can also blanch the peppers a day ahead and store them in the fridge.
For a full make-ahead solution, assemble the stuffed peppers completely (peppers blanched, stuffed, and topped with cheese) and store them covered tightly with foil in the refrigerator for up to 24 hours before baking. Simply take them out of the fridge about 30 minutes before baking to allow them to come closer to room temperature, then bake as directed, potentially adding an extra 5-10 minutes to the covered baking time.
How We Tested This Recipe
Our RecipeNest test kitchen put these Taco Stuffed Bell Peppers through five distinct batches, meticulously tweaking each element to achieve perfection. Our initial batches struggled with pepper texture; some were too firm after baking, others too soft. We experimented with pre-baking, steaming, and eventually landed on the 3-minute blanch in salted water as the optimal method, consistently yielding tender-yet-firm peppers that held their shape beautifully. We used a standard 9x13 glass baking dish for consistency and a heavy-bottomed stainless steel skillet for the filling.
The filling also underwent several iterations. Early versions were sometimes too dry or lacked depth. We adjusted the quantity of water and salsa, finding that 1/3 cup water combined with 1/2 cup salsa created the perfect moist, flavorful base. The addition of the 1/2 cup cheese folded into the filling was a late but critical discovery, ensuring the mixture stayed cohesive and added a creamy richness throughout. We also tested various taco seasoning brands, finding that most 1 oz packets performed similarly, but emphasizing the importance of fresh spices for homemade blends.
Finally, we fine-tuned the baking times and temperatures. Initial attempts with higher temperatures resulted in overly browned cheese before the peppers were tender. Settling on 375°F (190°C), with an initial 20 minutes covered and then 8-10 minutes uncovered, provided consistent results: perfectly tender peppers, a hot and bubbly filling, and a beautifully golden-brown, melted cheese topping. Our aim was a recipe that delivered maximum flavor and perfect texture with minimal fuss, and these tests allowed us to achieve just that.
Nutrition Facts
Per serving · 400 calories
protein
29g
carbs
26g
fat
20g
fiber
7g
sugar
6g
sodium
820mg
Related Recipes
More dinner and similar dishes you'll love.
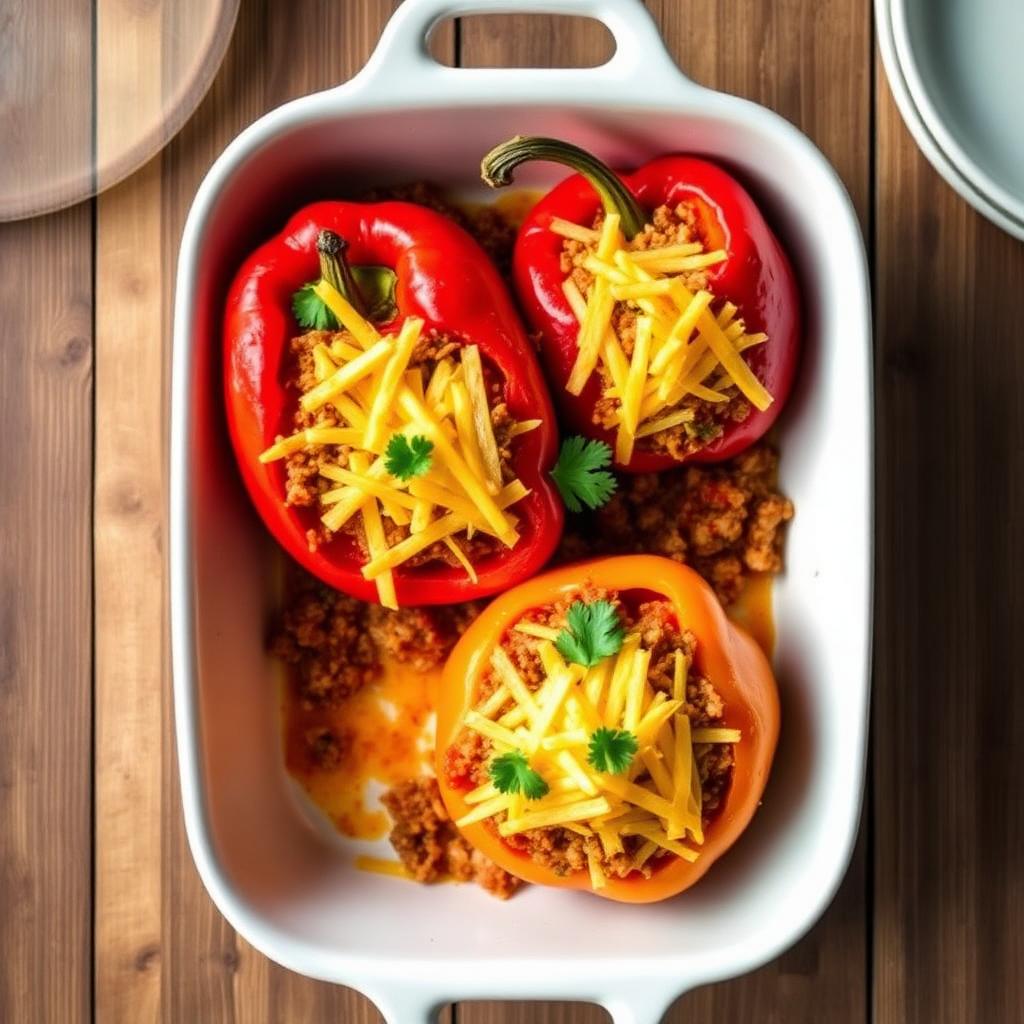
Classic Stuffed Bell Peppers
Master the art of classic stuffed bell peppers with this old fashioned recipe. Loaded with seasoned ground beef and rice, these baked peppers are the ultimate family comfort food.
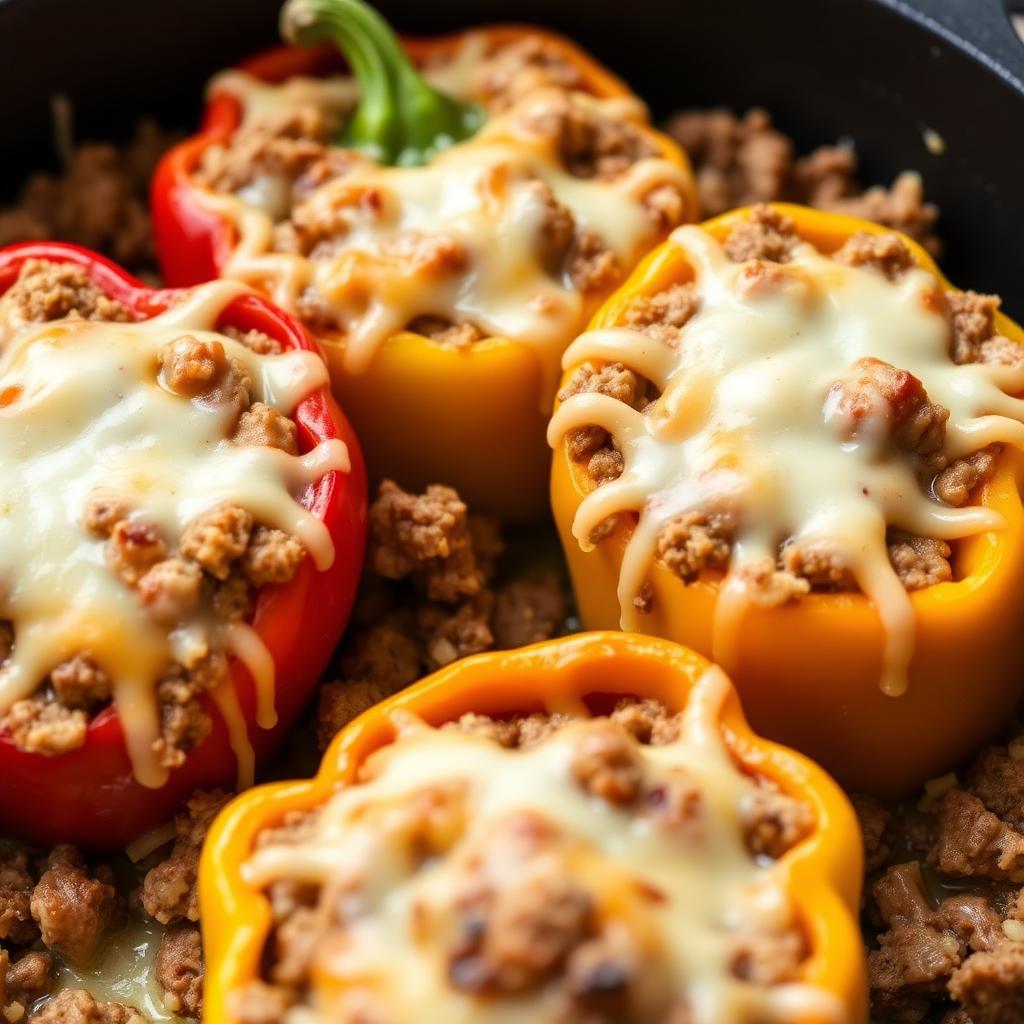
Cheesy Beef Stuffed Bell Peppers
Treat yourself to these cheesy beef stuffed bell peppers. Featuring a gooey melted cheddar topping and seasoned ground beef, this filling main course is an easy crowd-pleaser.
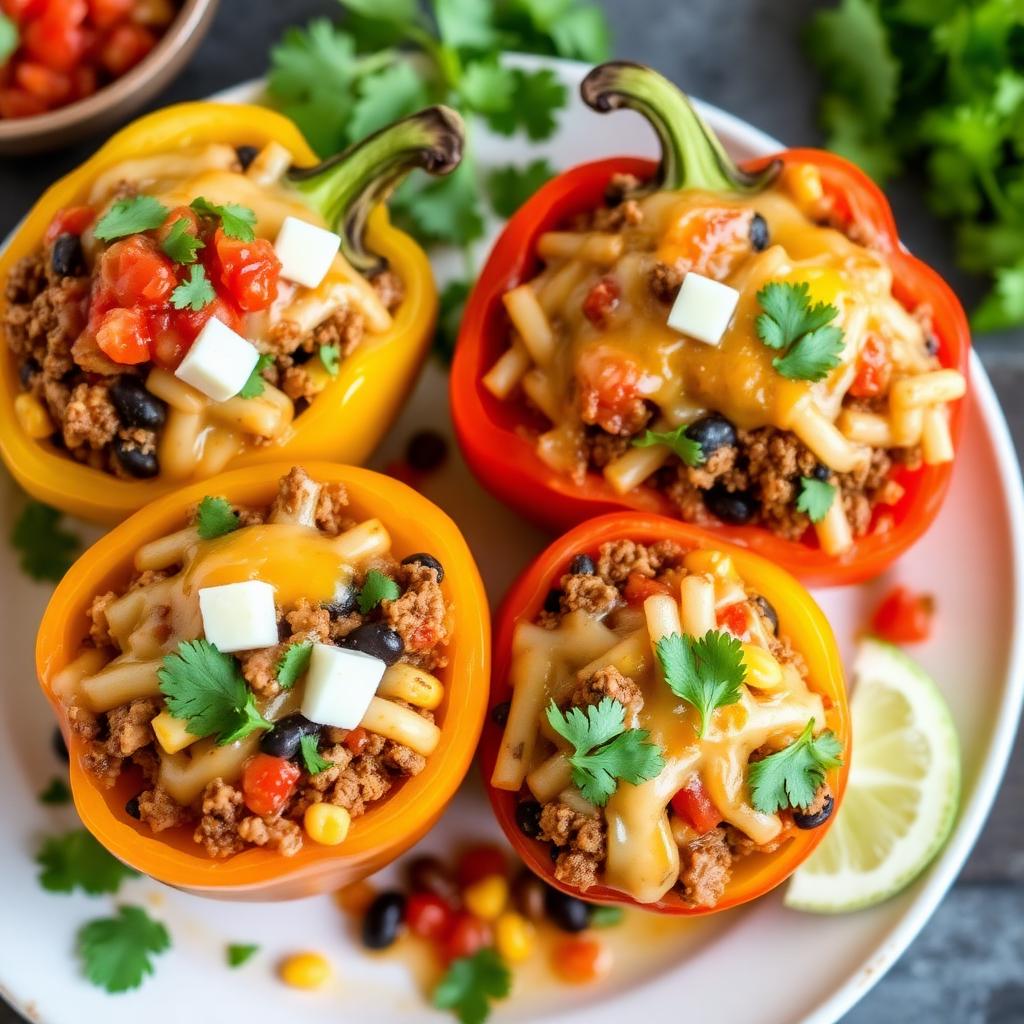
Mexican Stuffed Bell Peppers
Brighten your table with Mexican stuffed bell peppers. Filled with zesty taco meat, black beans, and corn, these peppers are finished with melted Monterey Jack for a bold dinner.
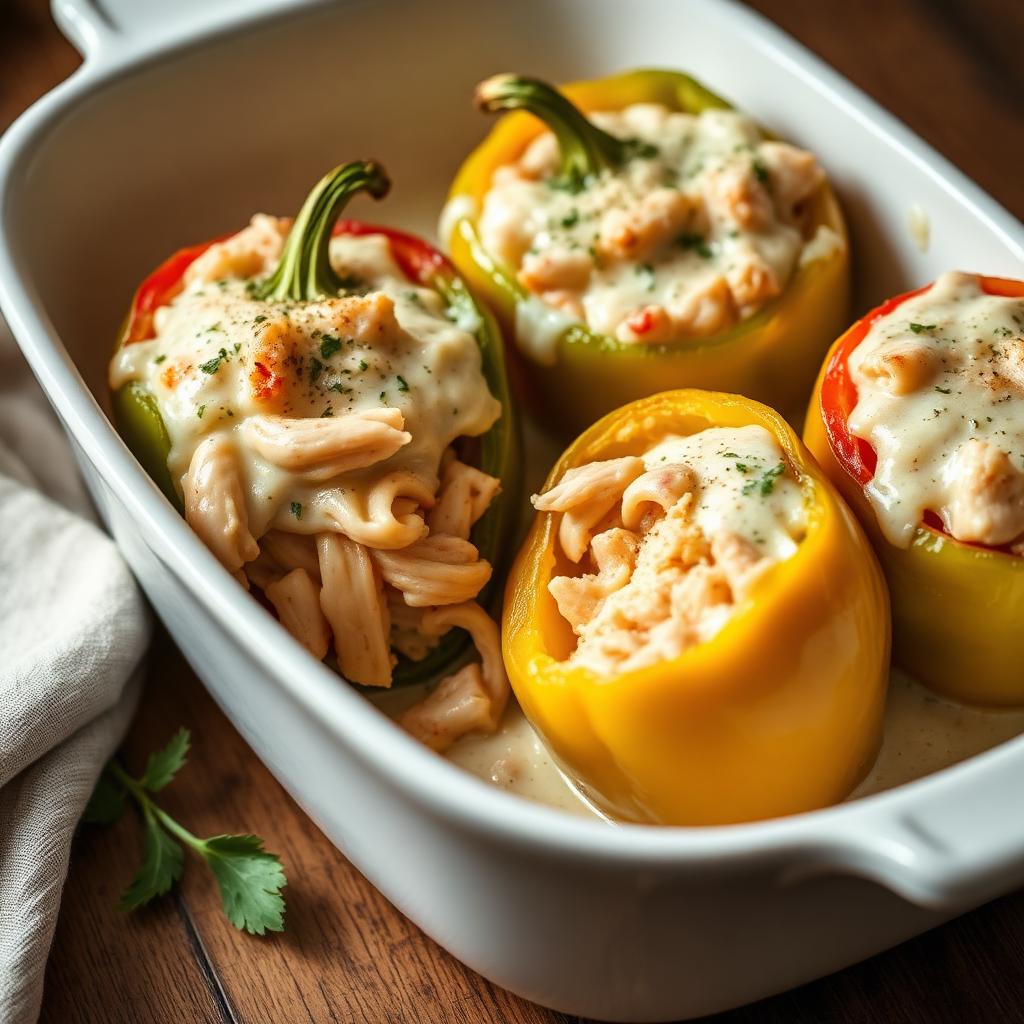
Chicken Alfredo Stuffed Bell Peppers
Indulge in creamy chicken alfredo stuffed bell peppers. This recipe combines tender chicken with a rich garlic parmesan white sauce, all baked inside sweet bell peppers.
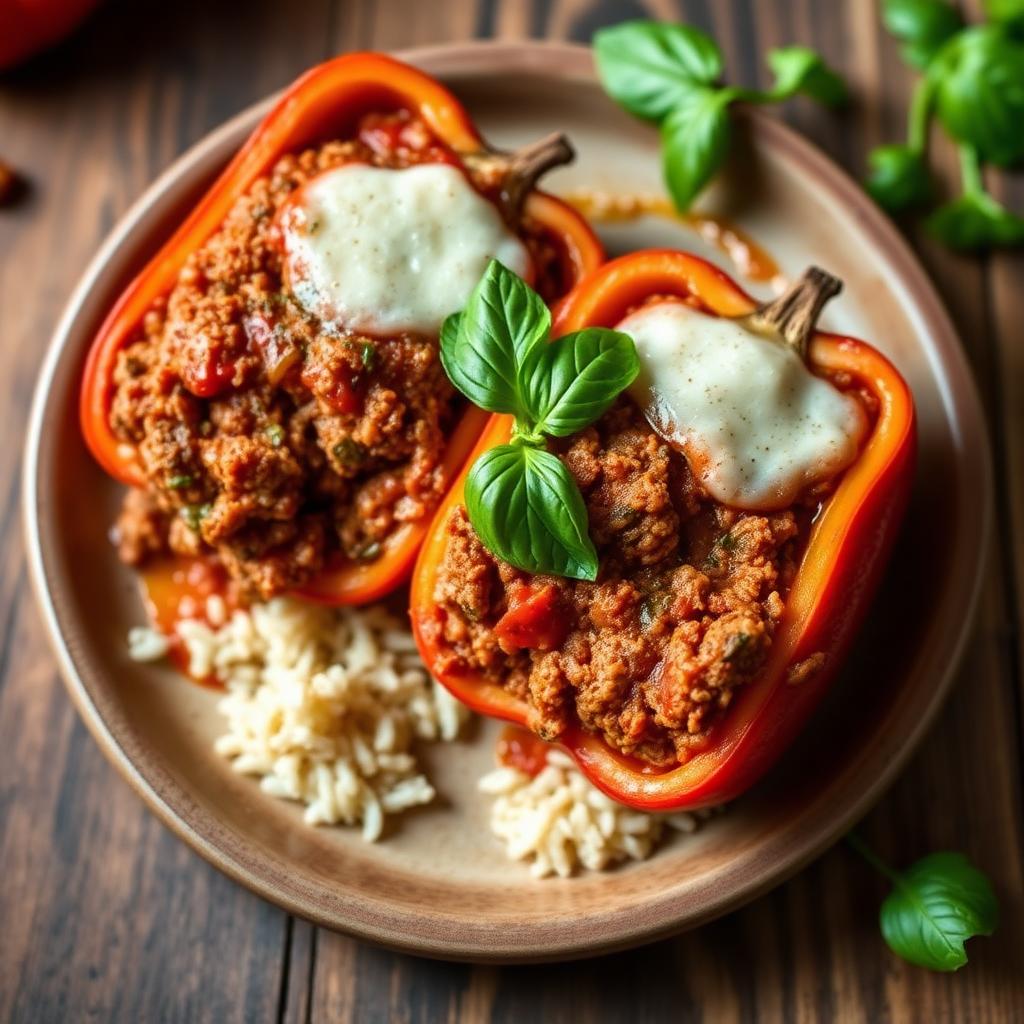
Italian Sausage Stuffed Bell Peppers
These Italian Sausage Stuffed Bell Peppers are the ultimate comfort food for a healthy lifestyle. Simmered in savory marinara with garlic and oregano, this easy baked pepper recipe is a low carb dinner your family will love.
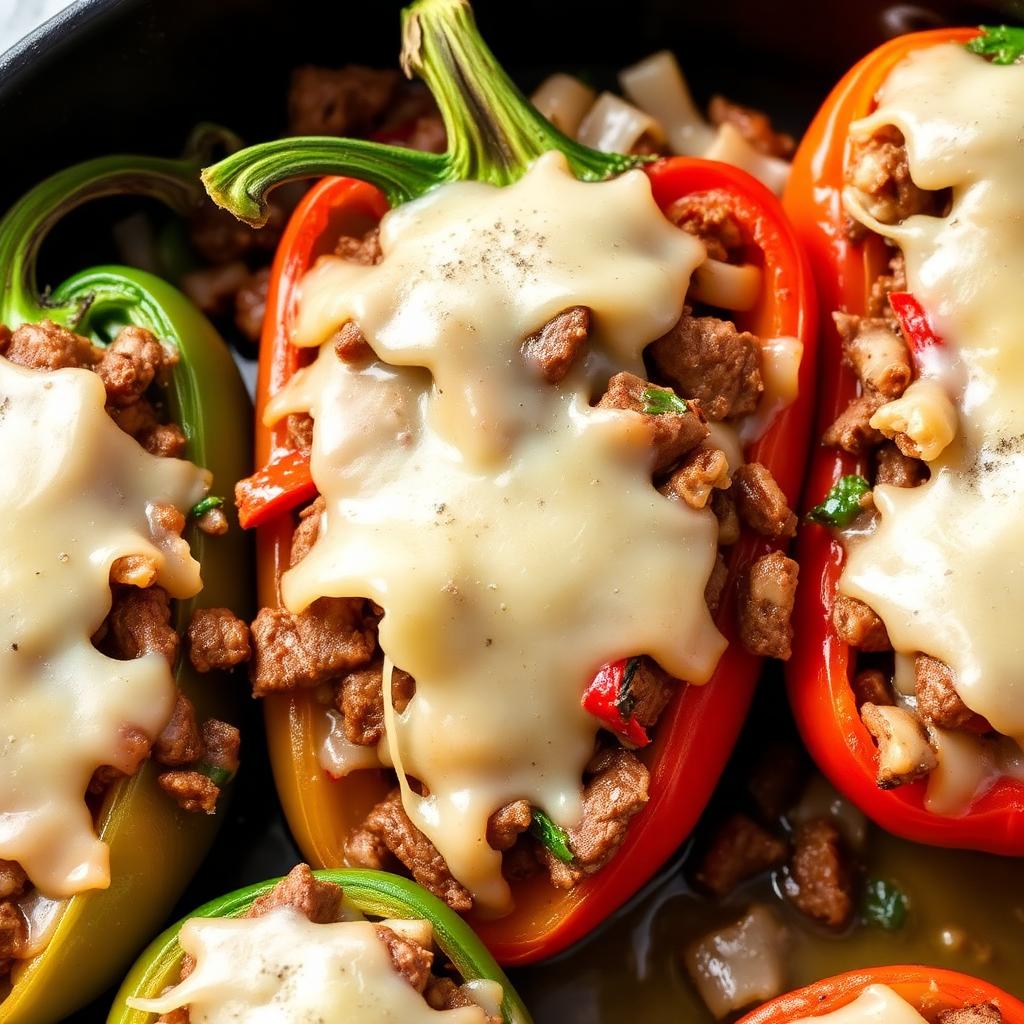
Philly Cheesesteak Stuffed Bell Peppers
Experience all the flavors of a classic sandwich with these philly cheesesteak stuffed bell peppers. This low carb steak recipe uses shaved ribeye and melted provolone.
Frequently Asked Questions
What's the difference between taco stuffed peppers and Mexican stuffed peppers?+
Both share Southwest DNA, but our Mexican Stuffed Bell Peppers include rice and a full chunky-salsa base for a burrito-bowl feel. These taco-style peppers skip the rice, keeping them lower-carb and letting the classic taco toppings shine.
Can I make taco stuffed peppers keto or low-carb?+
Skip the black beans and corn and add an extra 1/2 cup salsa plus 1/4 cup cheese. Carbs drop from 26g to about 10g per pepper.
Can I use ground turkey or chicken?+
Yes — 1 lb of ground turkey or chicken works 1:1. Add a tablespoon of olive oil so the leaner meat doesn't dry out under the taco seasoning.
How do I make homemade taco seasoning?+
Combine 1 tbsp chili powder, 1 1/2 tsp cumin, 1 tsp paprika, 1 tsp salt, 1/2 tsp each garlic powder, onion powder, oregano, and 1/4 tsp cayenne. Store extra in a jar for weeks of taco nights.
Can I make these ahead for meal prep?+
Yes — they're one of the best make-ahead stuffed peppers. Cook, cool, and refrigerate up to 4 days or freeze up to 3 months. Add fresh toppings after reheating.
What sides pair well with taco stuffed peppers?+
Mexican street corn, cilantro-lime rice, refried beans, or a simple green salad with avocado-lime dressing round out the meal.
Can I make them in the crockpot?+
Yes — assemble in a slow cooker with 1/2 cup water in the bottom. Cook on LOW 4 hours. Add cheese in the last 15 minutes with the lid ajar.
What's the best way to get the peppers to stand upright in the baking dish?+
To ensure your peppers remain upright, select large, firm peppers that have a relatively flat bottom. If they're wobbly, you can trim a very thin slice from the base of each pepper (without cutting through to the cavity) to create a stable surface. Alternatively, cramming them snugly into the baking dish or using small crumpled pieces of aluminum foil wedged around their bases can provide support.
Can I use frozen bell peppers for this recipe?+
While fresh bell peppers are highly recommended for their texture and ability to hold shape, you can use frozen bell pepper halves in a pinch. However, they tend to be softer and release more water, which could make the filling a bit watery. If using frozen, skip the blanching step and bake them for a longer covered period to ensure they are fully heated through and tender.
My filling seems a bit bland; what can I add?+
If your filling lacks punch, taste it before adding the cheese and adjust. You can add an extra teaspoon of taco seasoning, a pinch of salt and black pepper, a dash of your favorite hot sauce, or a squeeze of lime juice for brightness. A small amount of finely chopped fresh jalapeño or a few dashes of chili powder can also boost the flavor profile significantly.
Can I cook these in an air fryer?+
Yes, you can cook taco stuffed peppers in an air fryer, but you'll likely need to do them in batches depending on your air fryer's size. Blanch the peppers as directed, then fill and top with cheese. Air fry at 350°F (175°C) for about 15-25 minutes, or until the peppers are tender and the cheese is melted and bubbly. You may need to cover them loosely with foil if the cheese starts to brown too quickly.
How can I make this recipe stretch further for a crowd?+
To make this recipe feed more people, you can either prepare more peppers (using additional ingredients scaled up) or serve them with hearty sides. Pairing them with cilantro-lime rice, a large black bean and corn salad, or even warm tortillas for a deconstructed taco experience will help stretch the meal without having to make double the peppers. You could also use smaller bell peppers for more individual servings.
What kind of salsa should I use?+
The type of salsa is entirely up to your preference! A chunky mild or medium salsa works well for a general crowd. If you prefer more heat, opt for a spicy salsa or a salsa verde for a different flavor profile. Just ensure it's not overly watery; a thicker, restaurant-style salsa is usually ideal for the filling to maintain its consistency.
Can I omit the black beans or corn?+
Yes, you can omit either the black beans or corn if you prefer, or if you have dietary restrictions. If you omit both, the filling will be much denser and meatier. You might want to replace them with another vegetable like finely diced zucchini or mushrooms, or add extra meat, to maintain the volume and texture of the filling. Adjust seasoning as needed.

Recipe by Sarah Mitchell
Recipe developer · Practical family cooking
Get more recipes like this
Get a free collection of 15 easy family recipes delivered to your inbox.
You May Also Like
Hand-picked favorites from across RecipeNest.
The Best Chocolate Chip Cookies
Stop searching for the best chocolate chip cookies. This recipe delivers a soft, chewy texture with buttery edges and gooey chocolate in every bite — the ultimate homemade cookie experience.
The Best Moist Banana Bread
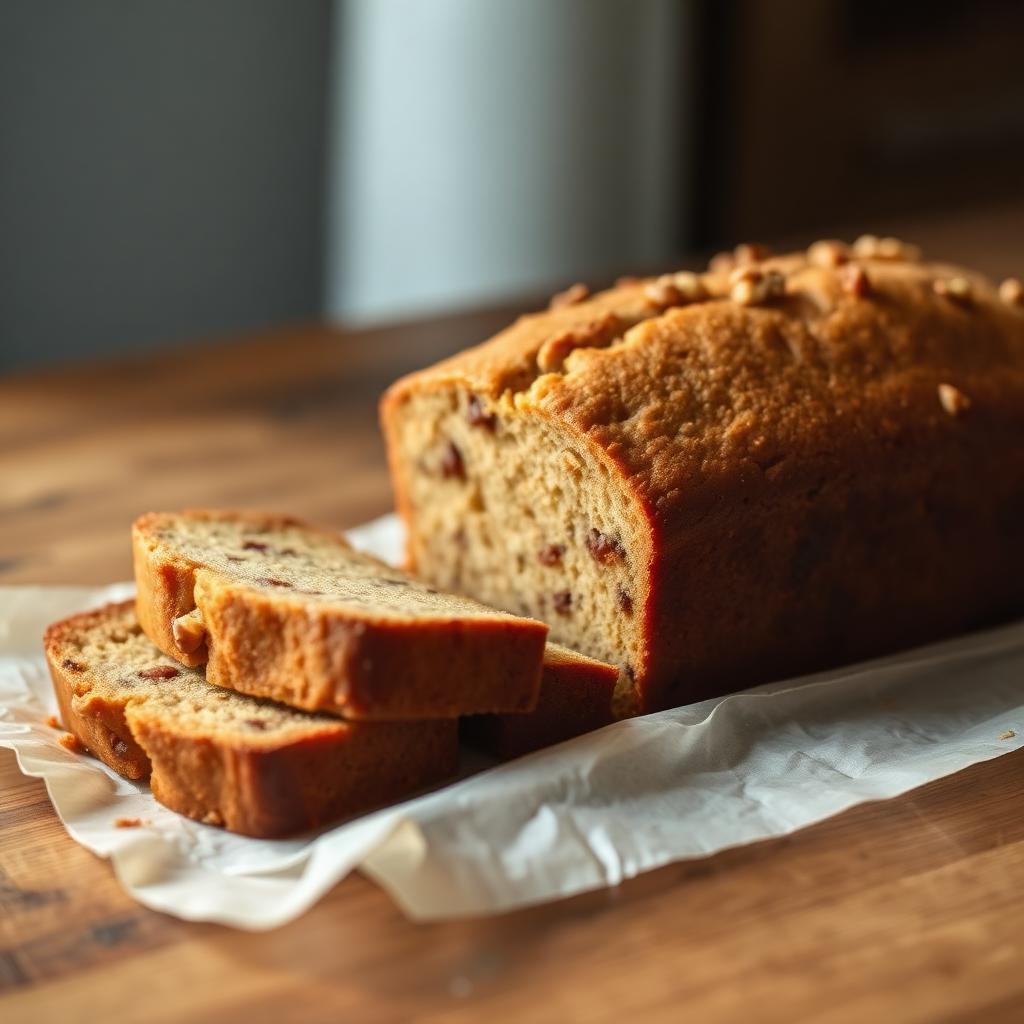
Discover how to make the best moist banana bread using only one bowl. This homemade banana bread recipe delivers a soft, bakery-style loaf that is perfect for utilizing overripe bananas.
Classic Chicken Soup
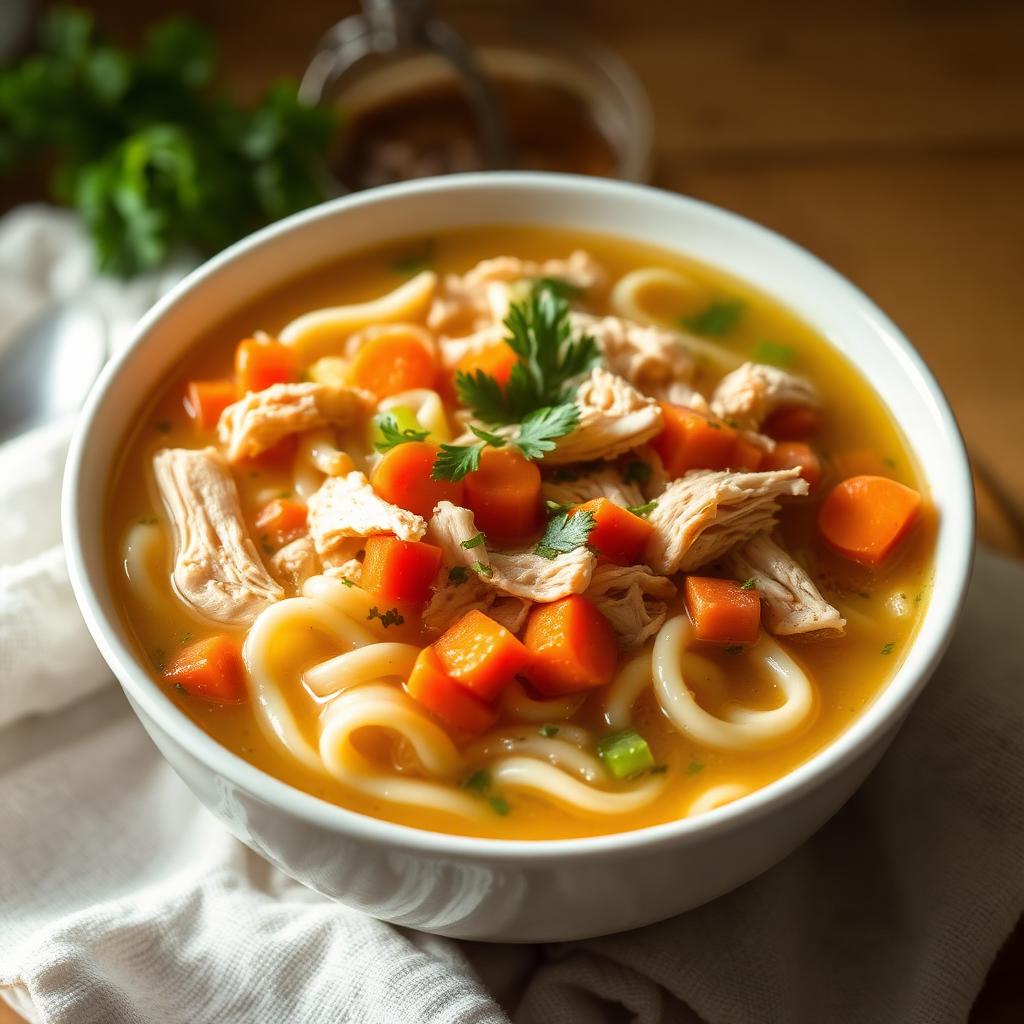
This classic chicken soup recipe is the ultimate homemade chicken noodle soup — cozy, restorative, and ready in under an hour. Made with tender shredded chicken, egg noodles, carrots, celery, and fresh herbs in a golden broth, this old-fashioned chicken soup is the go-to comfort food for cold days and sick days alike.
Crispy Air Fryer Chicken Wings
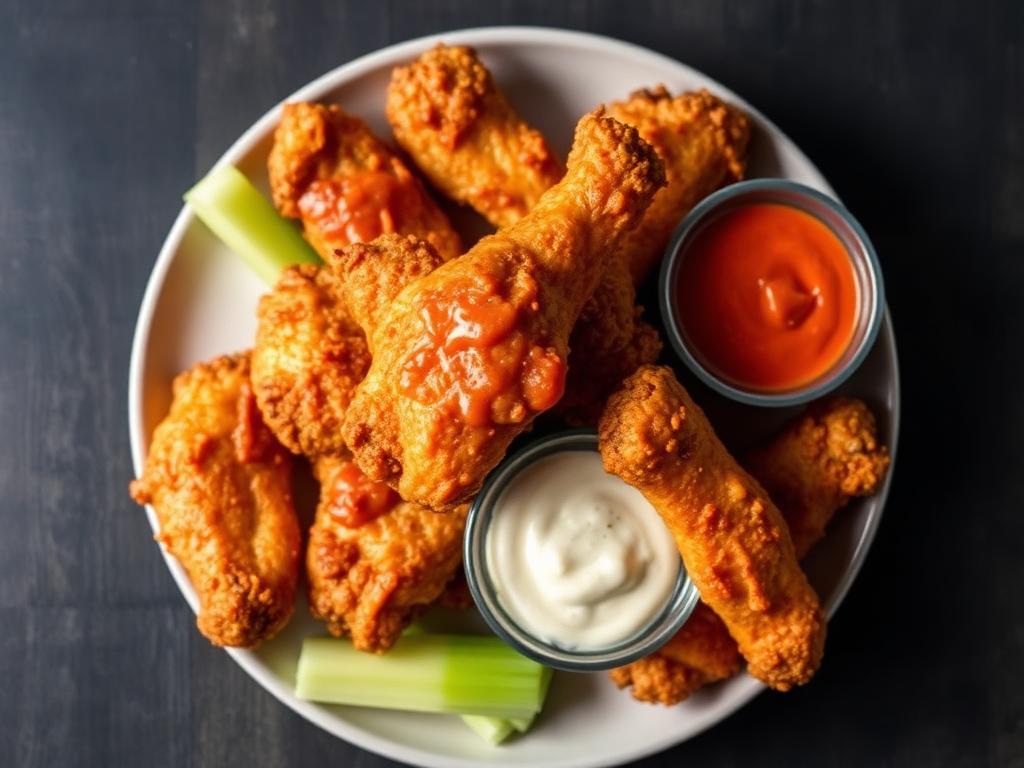
Stop settling for soggy wings and try these air fryer chicken wings. These crispy wings use no flour or breading, making them the perfect keto chicken wings for your next party.