High Protein Cottage Cheese Cheesecake
This healthy Cottage Cheese Cheesecake delivers 22g of protein per slice without sacrificing flavor. A creamy, high-protein dessert featuring a classic graham crust that the whole family will love.
Prep
20 min
Cook
55 min
Total
5 hr
Servings
10
Calories
270
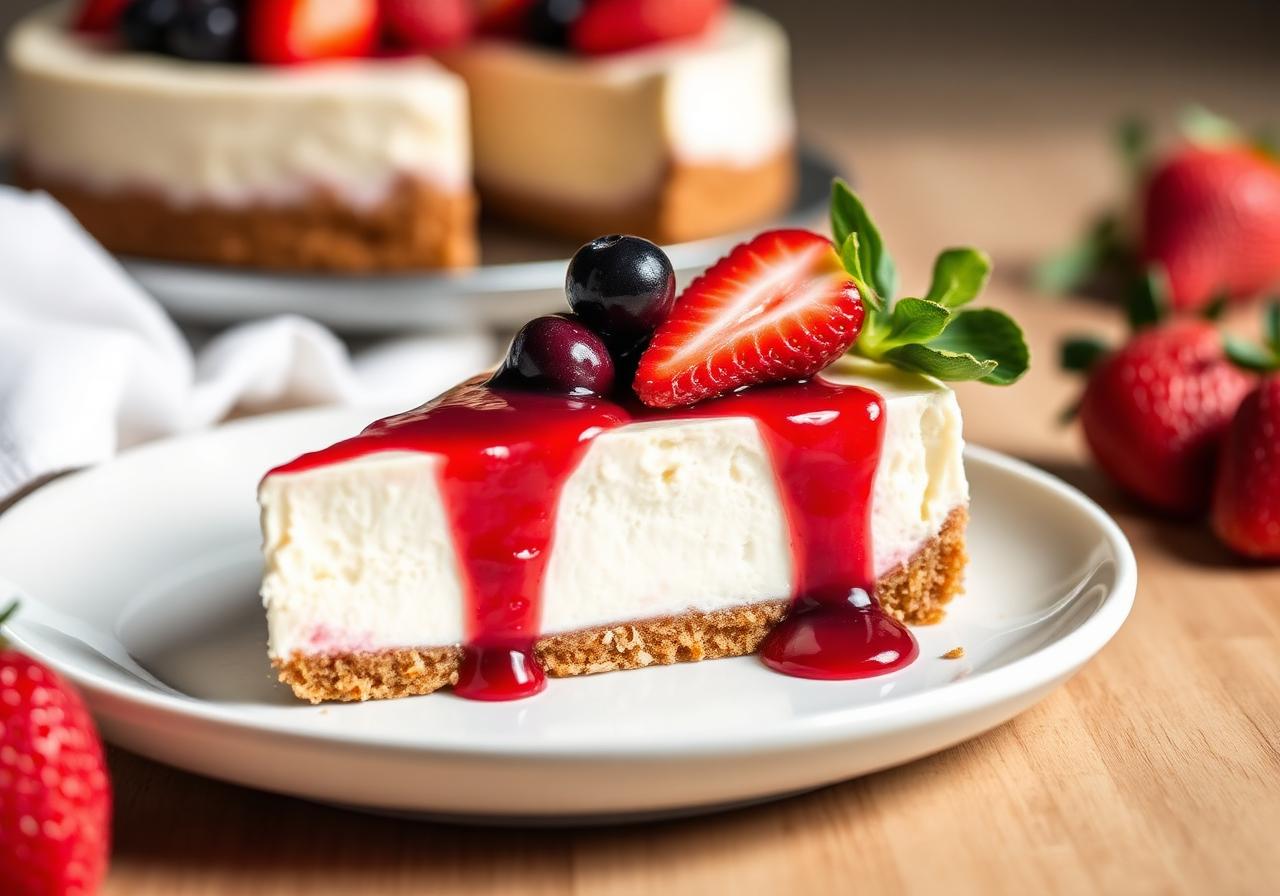
Why This High Protein Cottage Cheese Cheesecake Works
This High Protein Cottage Cheese Cheesecake keeps the familiar pleasures of classic cheesecake—a buttery graham crust, gentle vanilla tang, and dense yet creamy filling—while delivering 22g of protein per slice. Cottage cheese and nonfat Greek yogurt supply much of that protein, while reduced-fat cream cheese gives the filling the rounded dairy flavor and structure people expect from cheesecake. The finished dessert tastes balanced rather than overtly “healthy,” with fresh lemon juice sharpening the rich dairy notes.
The defining technique is blending the drained cottage cheese for a full 60 seconds. Cottage cheese curds do not reliably disappear during baking, so the mixture needs to look glossy and completely homogeneous before it joins the other ingredients. Beating the softened cream cheese separately also matters: it removes small lumps before the wetter dairy ingredients are introduced, producing a filling that slices cleanly after chilling without feeling rubbery or grainy.
Gentle heat protects that smooth texture. At 325°F, the outside sets gradually while the center remains moist. Pull the cheesecake when the edges are stable and the center moves as one firm, gelatin-like wobble; a liquid ripple means it needs more time, while no movement suggests it has gone too far. The hour-long rest in the switched-off oven slows the temperature change and helps the custard settle before refrigeration.
Across repeated test batches, the most reliable results came from draining visible liquid from the cottage cheese, using fully softened cream cheese, and mixing the eggs only until each disappeared. Those details had a greater effect than aggressive beating or extending the bake. An overnight chill produced the neatest slices and the most cohesive cheesecake flavor, although the required four-hour refrigeration still gives a properly set dessert.
Why You'll Love This Recipe
- Each of the 10 slices provides 22g of protein while retaining a true cheesecake texture.
- Blended cottage cheese becomes remarkably smooth, with no detectable curds in the finished filling.
- The straightforward graham crust adds crisp contrast without requiring a water bath.
- Vanilla, lemon, and lightly tangy dairy create a classic flavor that welcomes simple berry toppings.
- Most of the five-hour total time is hands-off baking, gradual cooling, and refrigeration.
- The cheesecake can be chilled overnight, making it practical for entertaining or planned desserts.
- A sugar and monk fruit option is already built into the ingredient list for added flexibility.
Ingredient Notes
Low-Fat Cottage Cheese
Drain off any obvious whey before measuring the 2 cups. A fine-mesh sieve works well, but do not press the cheese dry; the goal is to remove pooled liquid, not moisture from the curds. Blend for the complete 60 seconds and scrape down the vessel if needed. The result should resemble a thick, smooth cream with no visible white grains.
Reduced-Fat Cream Cheese
The 8 ounces of reduced-fat cream cheese provide structure and recognizable cheesecake flavor. Let it soften fully so a finger leaves an easy indentation. Cold cream cheese forms tiny lumps that become harder to eliminate after yogurt and blended cottage cheese are added. Beat it for the stated 2 minutes before adding the sweetener.
Plain Nonfat Greek Yogurt
Use plain Greek yogurt rather than standard yogurt, which is generally looser. Its concentration contributes protein, acidity, and creaminess without making the filling heavy. Stir off any separated whey before measuring so the consistency remains predictable.
Sugar and Optional Monk Fruit
Use either 3/4 cup granulated sugar or the listed combination of 1/2 cup sugar and 1/4 cup monk fruit. The all-sugar version offers the most traditional sweetness, while the combination reduces the amount of sugar without eliminating it. Beat the chosen sweetener with the cream cheese so it disperses evenly.
Eggs and Thickener
Three large eggs transform the dairy mixture into a sliceable custard. Add them one at a time on low speed, stopping as soon as each is incorporated. The 2 tablespoons of all-purpose flour or cornstarch reinforce the filling and help manage moisture. Cornstarch is also the appropriate listed choice when adapting the crust separately for a gluten-free version.
Graham Crust and Flavorings
Graham crumbs, melted unsalted butter, light brown sugar, and salt should resemble evenly damp sand. Compact the mixture firmly with a flat measuring cup so it does not crumble during slicing. Pure vanilla supplies warmth, fresh lemon juice brightens the dairy, and salt keeps the sweetness defined rather than flat.
Ingredients
- FOR THE CRUST:
- 1.5 cups graham cracker crumbs (about 11 full crackers)
- 3 tbsp unsalted butter, melted
- 2 tbsp light brown sugar
- 1/4 tsp salt
- FOR THE FILLING:
- 2 cups (16 oz) low-fat cottage cheese, drained
- 8 oz reduced-fat cream cheese, softened
- 1 cup plain nonfat Greek yogurt
- 3/4 cup granulated sugar (or 1/2 cup sugar + 1/4 cup monk fruit)
- 3 large eggs
- 2 tbsp all-purpose flour or cornstarch
- 2 tsp pure vanilla extract
- 1 tbsp fresh lemon juice
- 1/4 tsp salt
- Fresh berries and berry sauce, for serving
Instructions
- 1
Preheat the oven to 325°F. Line the bottom of a 9-inch springform pan with parchment and lightly grease the sides.
- 2
Mix the graham crumbs, melted butter, brown sugar, and salt in a bowl until the texture of wet sand. Press firmly into the bottom of the pan with the flat bottom of a measuring cup. Bake 8 minutes, then cool while you make the filling.
- 3
Blend the cottage cheese in a food processor or high-speed blender for a full 60 seconds until 100% smooth — this is the most important step for a curd-free, true cheesecake texture.
- 4
In a large bowl, beat the cream cheese with a hand mixer for 2 minutes until fluffy. Add the sugar and beat 1 more minute.
- 5
Add the blended cottage cheese, Greek yogurt, flour, vanilla, lemon juice, and salt. Beat on low until smooth, scraping the bowl twice.
- 6
Add the eggs one at a time on low speed, mixing just until incorporated — overbeating after the eggs go in is the #1 cause of cracked cheesecake.
- 7
Pour the filling over the cooled crust and smooth the top. Tap the pan on the counter 3 times to release air bubbles.
- 8
Bake 50–55 minutes until the edges are set and the center jiggles like firm Jell-O when you nudge the pan.
- 9
Turn off the oven, crack the door, and let the cheesecake cool inside for 1 hour. Then refrigerate at least 4 hours, ideally overnight.
- 10
Run a thin knife around the edge, release the springform, and slice with a hot, clean knife. Serve with fresh berries and a spoonful of berry sauce.
Substitutions and Swaps
Cheesecake is a custard, so swaps work best when they preserve both moisture and structure. Use the alternatives already given in the recipe wherever possible, and avoid replacing multiple dairy ingredients in one batch. Different brands of cottage cheese and Greek yogurt vary in water content; drain visible liquid and judge the blended mixture by texture rather than brand.
| Original ingredient | Swap | What to expect |
|---|---|---|
| 2 tablespoons all-purpose flour | 2 tablespoons cornstarch | A similarly stable filling with a slightly cleaner, more custard-like finish. |
| 3/4 cup granulated sugar | 1/2 cup sugar plus 1/4 cup monk fruit | Less conventional sugar with a slightly different sweetness profile. |
| Fresh berries | Berry sauce | A softer, sweeter topping; spoon it on individual slices rather than the whole cake. |
| Graham cracker crumbs | Gluten-free graham-style crumbs | A comparable crust when paired with cornstarch and verified gluten-free packaged ingredients. |
Variations to Try
For a stronger citrus profile, finely grate lemon zest over each plated slice while retaining the 1 tablespoon of juice in the filling. This adds aroma without introducing enough extra liquid to disturb the custard. For a berry presentation, arrange dry fresh berries just before serving and add berry sauce at the table. Keeping juicy toppings off the stored cheesecake protects the crust.
A warm-spice version can be finished with a light dusting of cinnamon after chilling. If you prefer contrasting textures, reserve a few graham crumbs from a separately prepared garnish and scatter them over the sauce immediately before eating. Do not fold fruit, jam, or extra liquid into the base recipe without retesting, because moisture and acidity can change both bake time and set.
For individual flavor variety, keep the cheesecake plain and offer toppings separately. This approach makes one dessert suitable after a savory meal such as Greek Chicken Bowl or Mediterranean Quinoa Power Bowl, while allowing each person to choose fresh fruit, berry sauce, or an unadorned slice.
Pro Tips from the Test Kitchen
Prepare the pan before mixing so the filling does not sit while the crust is being handled. Parchment on the bottom supports a clean release, and a light coating on the sides helps the cheesecake contract as it cools. When pressing the crust, move from the center outward and check the perimeter for loose crumbs. The eight-minute pre-bake should make it smell lightly toasted, not deeply browned.
A food processor usually creates the smoothest cottage cheese base because its wide blade catches curds efficiently. In a high-speed blender, stop once to scrape material away from the corners, then complete the full blending time. After the eggs are added, trade speed for patience: low mixing limits incorporated air, which otherwise expands in the oven and collapses during cooling.
Test doneness by nudging the pan gently rather than inserting a knife. The outer area should look set, and the center should wobble together like firm Jell-O. A skewer or knife creates a pathway for moisture and cannot reliably judge a custard that continues setting from residual heat. Leave the pan in place when switching off the oven, crack the door, and begin the one-hour cooling period immediately.
Baker's Tip
For polished slices, dip a thin knife in hot water, wipe it completely dry, and make one downward cut. Clean and reheat the blade between every slice; sawing back and forth drags filling onto the crust and roughens the edges.
Common Mistakes to Avoid
The most consequential mistake is under-blending the cottage cheese. Even small curds remain noticeable once the custard sets, so rely on appearance, not merely elapsed time: the mixture must be fully smooth. Skipping the drain can also introduce excess whey, leaving the center slower to set and the crust more vulnerable to moisture.
Cold cream cheese is another common source of trouble. Trying to beat it smooth after the yogurt and cottage cheese are present often encourages overmixing without removing every lump. Soften it first, beat it alone for 2 minutes, then beat in the sugar for 1 minute. Once the eggs enter, use low speed and stop as soon as no streaks remain.
Do not bake until the center looks rigid. A completely firm center in the oven is likely to become dry or chalky after residual cooking and chilling. Conversely, a center that sloshes independently is not ready. Finally, avoid rushing the cooling schedule: moving a hot cheesecake directly into a cold refrigerator increases thermal shock and can create condensation on the surface.
Troubleshooting
| Problem | Cause | Fix |
|---|---|---|
| Grainy filling | Cottage cheese was not blended completely or cream cheese was too cold. | Blend the drained cottage cheese for a full 60 seconds and fully soften the cream cheese before mixing. |
| Cracked top | Eggs were overbeaten, the cheesecake overbaked, or cooling was too abrupt. | Mix eggs on low, remove at the firm wobble stage, and cool for 1 hour in the switched-off oven with the door cracked. |
| Soft center after chilling | The center was still liquid at removal or the cheesecake did not receive at least 4 hours of refrigeration. | Bake until the center wobbles as one unit, then complete the gradual cool and full chill. |
| Crumbly crust | Crumbs were unevenly moistened or not firmly compacted. | Mix to a wet-sand texture and press firmly with the flat base of a measuring cup before the eight-minute bake. |
| Wet surface | Condensation formed during rapid cooling or while the cheesecake was covered warm. | Follow the staged cooling process and wait until thoroughly cold before covering. |
| Ragged slices | The cake was insufficiently chilled or the knife was dirty. | Chill at least 4 hours and use a hot, clean, dry knife for every cut. |
How to Store and Reheat
Once fully chilled, cover the cheesecake tightly without pressing wrap against its surface. Keep it refrigerated, and store fresh berries and berry sauce separately so they do not release juice into the filling or soften the graham crust. A cake carrier or covered container also protects the cheesecake from absorbing savory refrigerator aromas.
Cheesecake is intended to be served chilled, so reheating is neither necessary nor recommended. For a slightly softer, creamier bite, set an individual slice at room temperature briefly while you prepare the berries, then serve it promptly. Do not leave the entire cheesecake sitting out simply to soften one portion.
For freezer storage, chill the cake first, cut clean slices, and wrap the plain portions securely before placing them in an airtight container. Thaw a portion in the refrigerator so the custard warms gradually. Add fresh berries and sauce only after thawing; freezing those toppings on the cake can produce watery surfaces and muted fruit texture.
Make-Ahead and Meal Prep
This recipe is especially well suited to advance preparation because chilling improves both flavor and structure. Bake it the day before serving, complete the one-hour oven cool, and refrigerate overnight. Leave it in the springform pan during the initial chill for protection, then release it once thoroughly cold. Prepare or portion any berry sauce separately.
For planned desserts, divide the chilled cheesecake into 10 slices using the hot-knife method. Place parchment between portions if they share a container, and keep garnishes separate until serving. Individual portions make the stated nutrition easier to track and prevent repeated handling of the full cake.
To organize a high-protein week, pair dessert portions with savory recipes rather than adding toppings in advance. High Protein Egg Muffins work for breakfast prep, while High Protein Tuna Salad or Savory Cottage Cheese Power Bowl can cover lunch. Keeping each component separately chilled preserves its intended texture and makes the cheesecake feel like a deliberate finish rather than an improvised snack.
What to Serve With It
Fresh berries are the most natural partner because their acidity offsets the creamy filling and sweet graham base. Pat washed fruit completely dry before arranging it on a slice. Berry sauce adds color and sweetness, but a modest spoonful is enough; serving it on the side keeps each person in control and leaves the cheesecake flavor clearly defined.
After a fuller dinner, keep the accompaniment simple. A meal such as Grilled Steak Power Bowl already offers substantial savory flavors, so chilled berries and an unadorned cheesecake slice create a clean transition. Coffee or unsweetened tea also balances the dessert without competing with its vanilla and lemon notes.
For brunch, serve smaller plated slices after a savory spread, with fruit alongside rather than piled on top. The cheesecake is rich enough to stand alone even though it uses lower-fat dairy ingredients, and its clean, cool texture works best when not crowded by several sauces or heavy garnishes.
Nutrition and Dietary Notes
Based on 10 servings, each slice contains 270 calories, 22g protein, 26g carbohydrates, 8g fat, 1g fiber, 16g sugar, and 320mg sodium. The unusually high protein content comes from the combined cottage cheese, reduced-fat cream cheese, Greek yogurt, and eggs. Portioning the fully chilled cake before serving is the clearest way to keep slices consistent.
This is a vegetarian dessert, but it is not vegan or dairy-free. The standard graham crust and all-purpose flour also mean it should not automatically be considered gluten-free. For a gluten-free adaptation, use gluten-free graham-style crumbs, choose the listed cornstarch option, and verify every packaged ingredient for appropriate labeling and cross-contact information.
The sugar and monk fruit option may suit people who prefer to use less granulated sugar, but it does not make the finished cheesecake sugar-free: the recipe still contains sugar, brown sugar, dairy, and graham crackers. Anyone following a medically prescribed diet should evaluate ingredients and the supplied nutrition data according to their own clinician’s guidance.
Nutrition Facts
Per serving · 270 calories
protein
22g
carbs
26g
fat
8g
fiber
1g
sugar
16g
sodium
320mg
Related Recipes
More high protein and similar dishes you'll love.
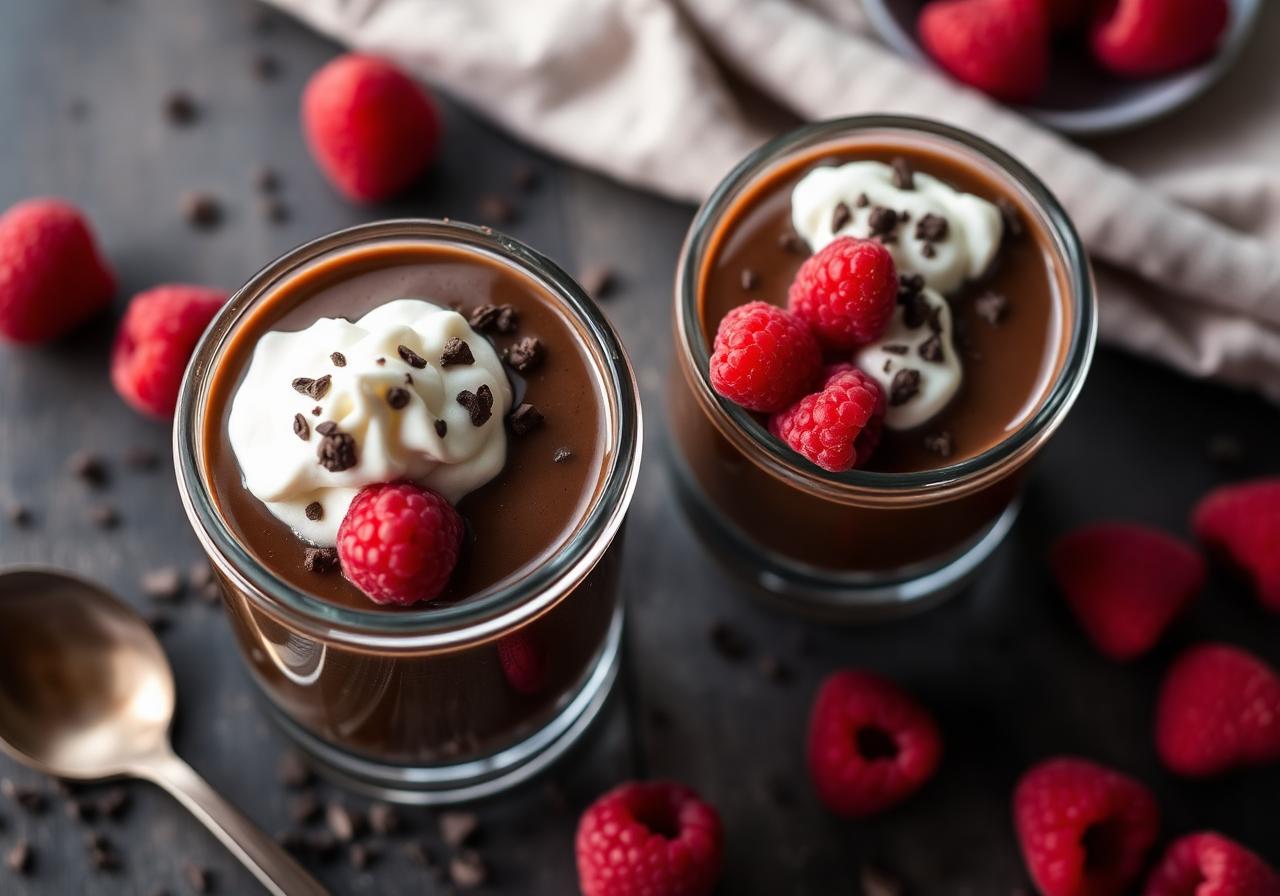
High Protein Chocolate Protein Pudding
Indulge in this silky Chocolate Protein Pudding, a healthy dessert ready in just 5 minutes. Made with Greek yogurt, this no-cook snack provides 25g of protein to satisfy your sweet tooth.
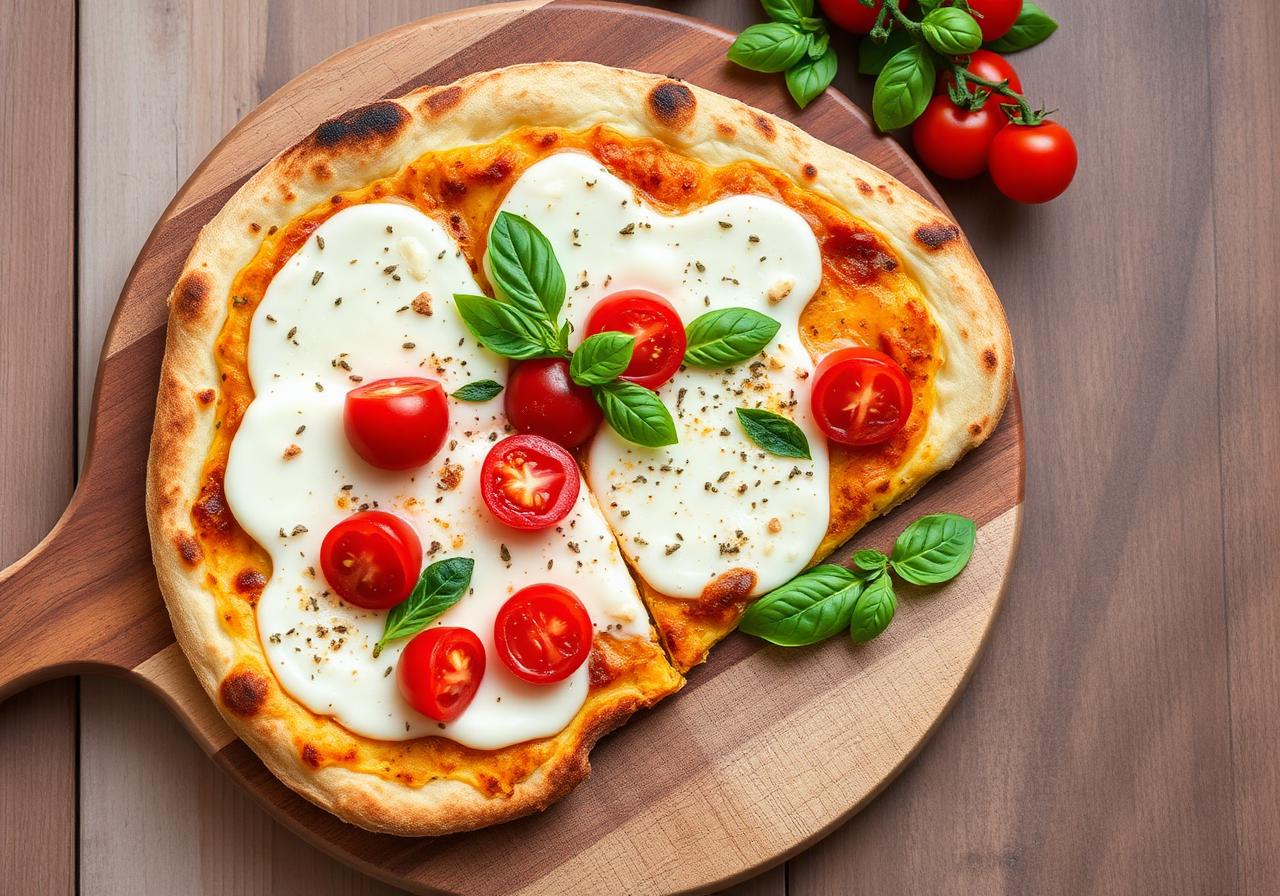
High Protein Cottage Cheese Flatbread Pizza
Indulge in this viral cottage cheese flatbread pizza that delivers 38g of protein without the guilt. This 3-ingredient, no-yeast recipe creates a chewy, crispy crust that tastes amazing.
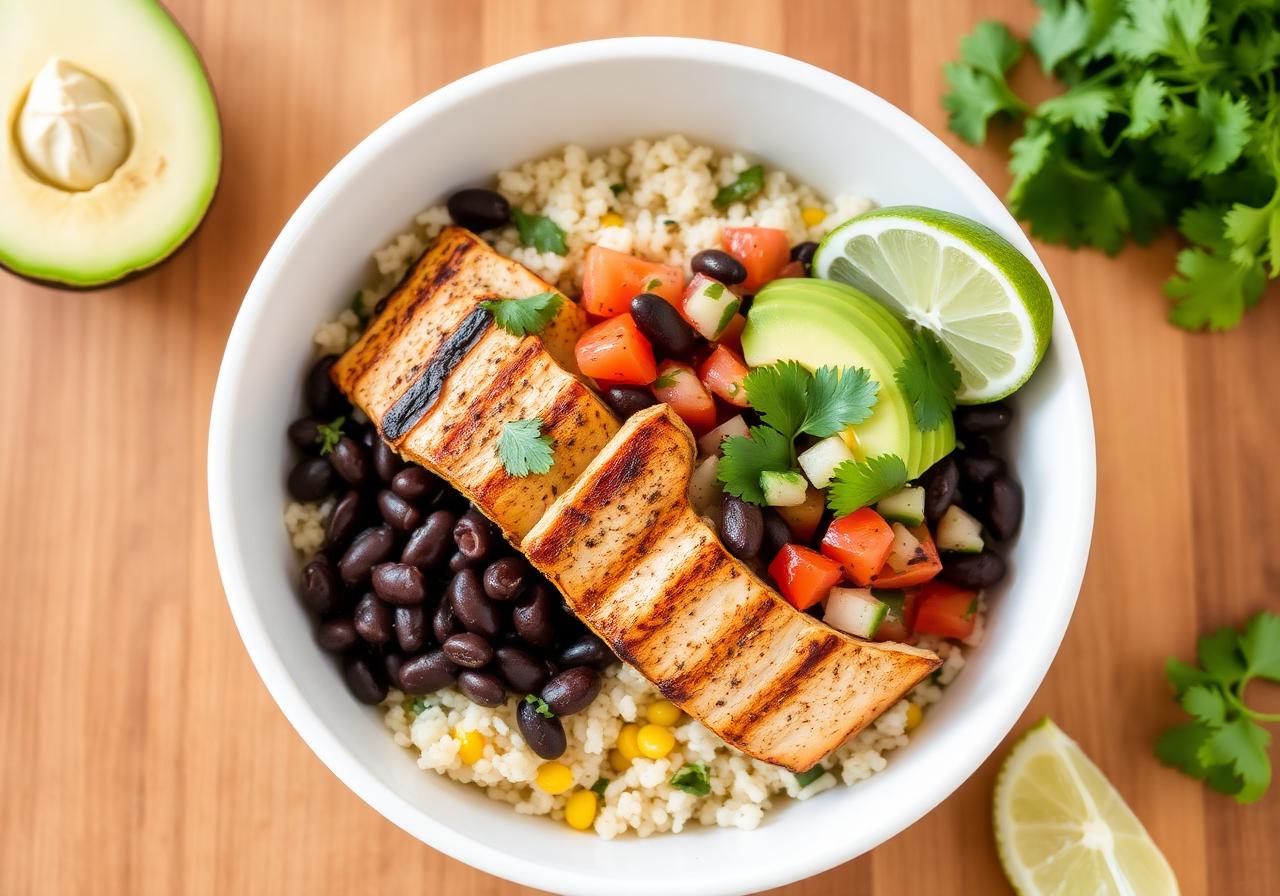
High Protein Chicken Burrito Bowl
This high protein chicken burrito bowl is the ultimate meal prep solution. Packed with 48g of protein, juicy seasoned chicken, and cilantro lime rice, it is a healthy way to stay full all day.
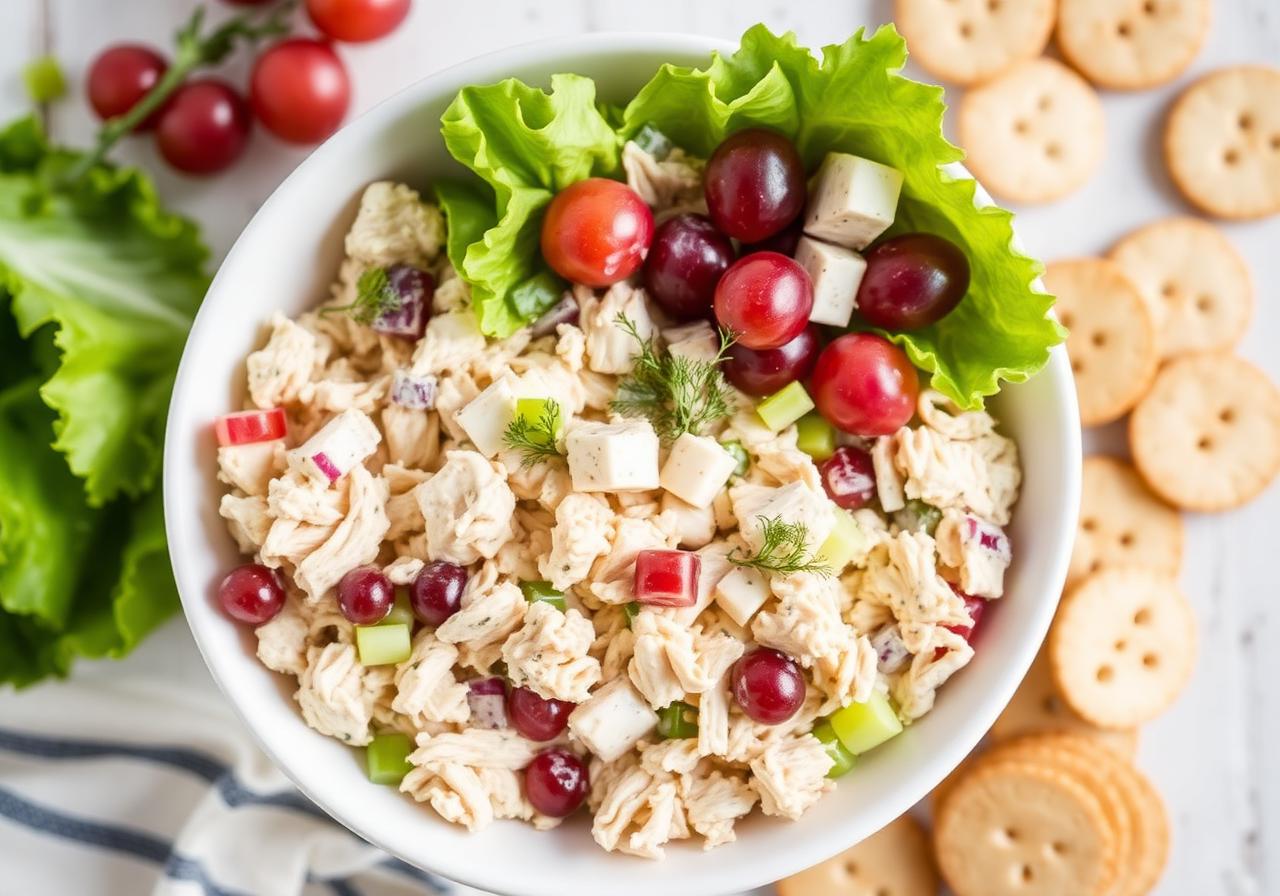
High Protein Greek Yogurt Chicken Salad
Swap the mayo for this high protein Greek yogurt chicken salad. It is a lightened-up classic with 42g of protein that stays creamy thanks to the yogurt and fresh dill.
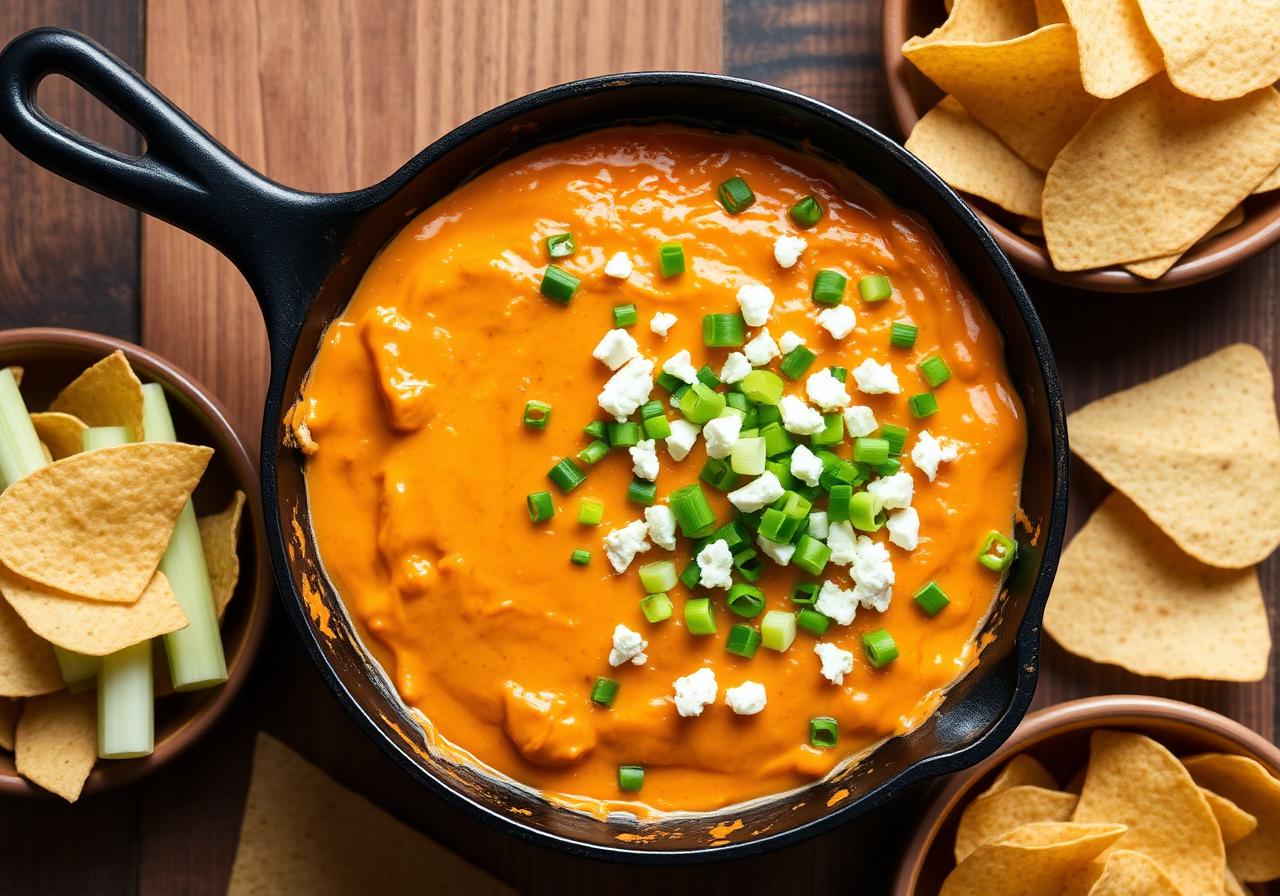
High Protein Buffalo Chicken Dip
Enjoy this lightened-up high protein buffalo chicken dip without the guilt. By using Greek yogurt and cottage cheese, you get 28g of protein in this spicy, cheesy favorite.

High Protein Chicken Enchilada Casserole
Our Chicken Enchilada Casserole is a bubbling Mexican-inspired bake with a massive 50g of protein. A healthy, easy-to-layer dinner that brings all the comfort of traditional enchiladas.
Frequently Asked Questions
Does a cottage cheese cheesecake taste like real cheesecake?+
Absolutely — when the cottage cheese is fully blended, the texture is silkier than New York-style and the flavor is virtually identical with a slightly tangier, fresher note. It's one of the most popular healthy protein desserts trending right now.
Why blend the cottage cheese?+
Unblended cottage cheese leaves visible curds and a grainy bite. A 60-second blend turns it into the smoothest, creamiest base imaginable — non-negotiable for a true cheesecake texture.
How do I prevent cheesecake from cracking?+
Three rules: don't overbeat after adding eggs, bake at 325°F (not higher), and cool slowly with the oven cracked. The slow temperature drop prevents the surface from contracting.
How long does cottage cheese cheesecake last?+
Wrapped tightly in the fridge it stays perfect for 5 days, and it freezes beautifully for 2 months. Slice before freezing for easy single-serve high protein snacks.
Can I make it gluten-free?+
Swap graham crackers for gluten-free graham crackers or use 1.5 cups almond flour mixed with 2 tablespoons honey for an almond crust.
What's a good topping for the cheesecake?+
Fresh strawberries with a quick raspberry sauce, a swirl of berry jam, lemon curd, or even the topping from our No Bake Cheesecake Bars all work beautifully.
Can I use a blender instead of a food processor?+
Yes, a high-speed blender can make the cottage cheese completely smooth. Add the drained cottage cheese, blend, then stop and scrape material away from the corners if the blades create an air pocket. Complete the full 60 seconds and inspect the mixture closely; no curds should remain. A very narrow blender jar may need an extra scrape, but avoid adding liquid to make it move because additional moisture can affect how firmly the cheesecake sets.
Do I need a water bath for this cheesecake?+
No water bath is required. The moderate 325°F oven, restrained mixing after the eggs are added, and gradual one-hour cool in the switched-off oven provide the gentle treatment this filling needs. The center should still wobble like firm Jell-O when baking ends. A water bath would add setup and leak risk without being necessary for the recipe as tested. Following the visual doneness cue is more important than forcing the top to look completely firm.
Can I use cornstarch instead of flour in the filling?+
Yes. The recipe specifically allows 2 tablespoons of either all-purpose flour or cornstarch. Cornstarch gives the filling a clean, custard-like set and is the better of the two listed choices when adapting the rest of the recipe for gluten-free needs. Mix it in with the blended cottage cheese, yogurt, vanilla, lemon juice, and salt, then scrape the bowl well. Always verify packaged ingredients separately if gluten avoidance is medically necessary.
How do I know when the cheesecake is finished baking?+
After 50–55 minutes, gently nudge the pan. The edges should appear set, while the center should move together in one controlled wobble resembling firm Jell-O. It should not slosh, ripple like liquid, or look wet around the edges. Do not wait for the middle to become rigid, because residual heat continues cooking the custard. Switch off the oven, crack the door, and leave the cheesecake inside for 1 hour before refrigerating it.
Can I freeze individual slices?+
Yes. First refrigerate the cheesecake until completely set, then cut it with a hot, clean, dry knife. Wrap plain individual slices securely and place them in an airtight freezer container so they are protected from odors and damage. Thaw slices gradually in the refrigerator rather than on the counter. Freeze them without fresh berries or berry sauce, as those toppings can release water and compromise the smooth surface and graham crust during thawing.
Why does the cream cheese need to be softened?+
Softened cream cheese beats into a fluffy, uniform base before wetter ingredients are introduced. If it is cold, small dense lumps can remain even after prolonged mixing. Trying to remove those lumps later often incorporates too much air, particularly once the eggs are present, which can contribute to rising and cracking. The cream cheese is ready when a finger leaves an easy indentation. Beat it for 2 minutes, add the sugar, and continue for 1 minute as directed.
Can I serve the cheesecake before it chills overnight?+
Yes, provided it refrigerates for at least 4 hours after the one-hour oven cooling period. That minimum chill allows the custard to set enough for slicing. Overnight refrigeration is ideal because the texture becomes firmer, cuts look cleaner, and the vanilla, lemon, and dairy flavors meld more fully. Do not shorten the chill by placing a hot cake in the freezer; abrupt cooling can create condensation and an uneven texture.
Why should I drain the cottage cheese first?+
Cottage cheese often contains visible whey, and the amount varies by brand and container. Removing pooled liquid helps keep the filling’s moisture level predictable, which supports a creamy but sliceable set. Place it in a fine-mesh sieve and allow obvious liquid to drain, but do not squeeze or press the curds dry. The goal is still a moist dairy base. After draining, measure the required amount and blend it until completely smooth.

Recipe by Sarah Mitchell
Recipe developer · Practical family cooking
Get more recipes like this
Get a free collection of 15 easy family recipes delivered to your inbox.
You May Also Like
Hand-picked favorites from across RecipeNest.
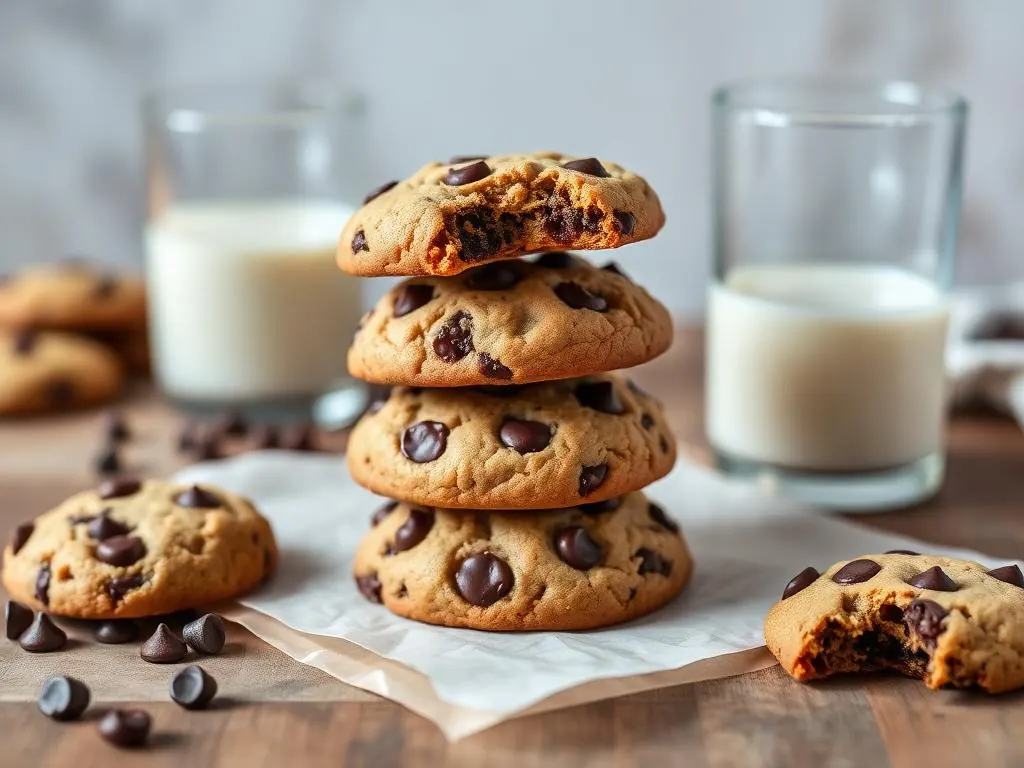
The Best Chocolate Chip Cookies
Stop searching for the best chocolate chip cookies. This recipe delivers a soft, chewy texture with buttery edges and gooey chocolate in every bite — the ultimate homemade cookie experience.
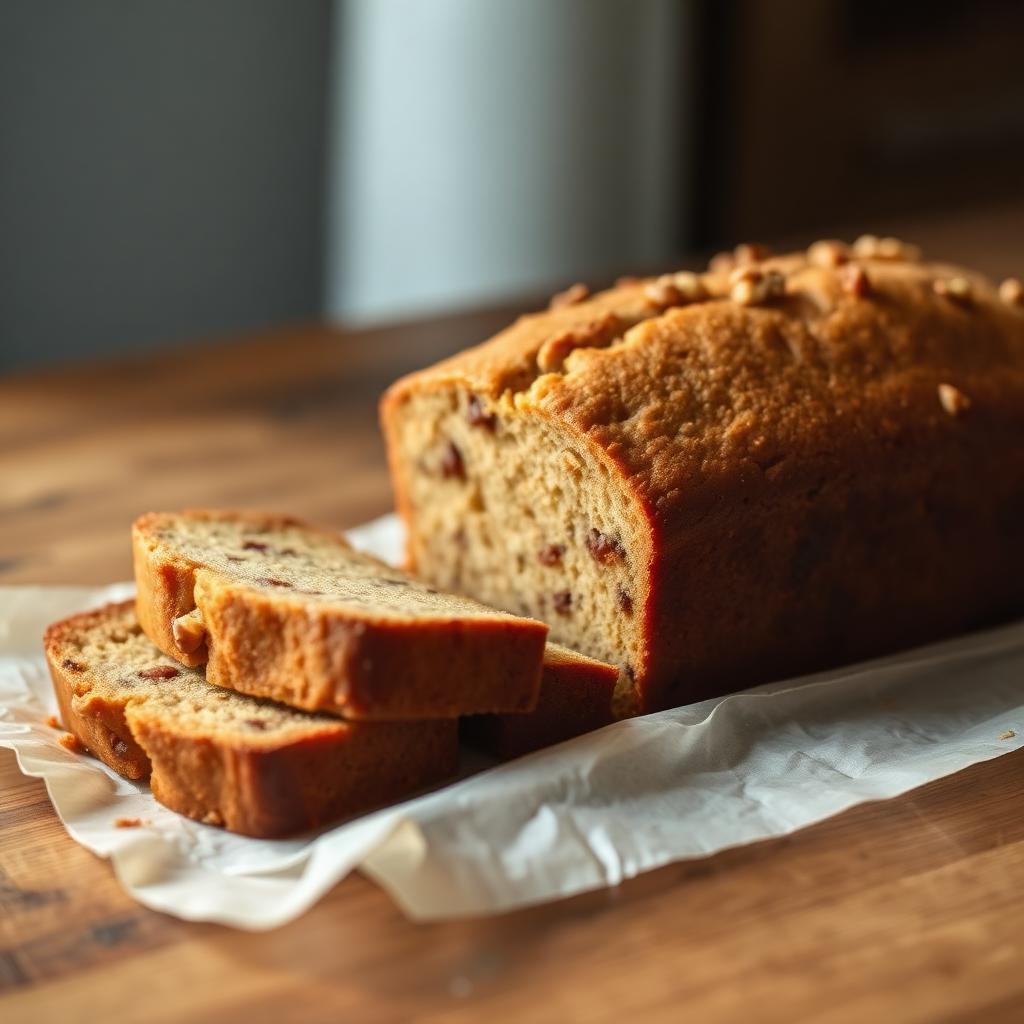
The Best Moist Banana Bread
Discover how to make the best moist banana bread using only one bowl. This homemade banana bread recipe delivers a soft, bakery-style loaf that is perfect for utilizing overripe bananas.

Classic Chicken Soup
This classic chicken soup recipe is the ultimate homemade chicken noodle soup — cozy, restorative, and ready in under an hour. Made with tender shredded chicken, egg noodles, carrots, celery, and fresh herbs in a golden broth, this old-fashioned chicken soup is the go-to comfort food for cold days and sick days alike.
Garlic Butter Chicken
Our 20-minute garlic butter chicken is a restaurant-style meal you can make in one skillet. This easy chicken recipe uses simple ingredients to create a rich, savory pan sauce.