Garlic Butter Chicken
Our 20-minute garlic butter chicken is a restaurant-style meal you can make in one skillet. This easy chicken recipe uses simple ingredients to create a rich, savory pan sauce.
Prep
5 min
Cook
15 min
Total
20 min
Servings
4
Calories
390
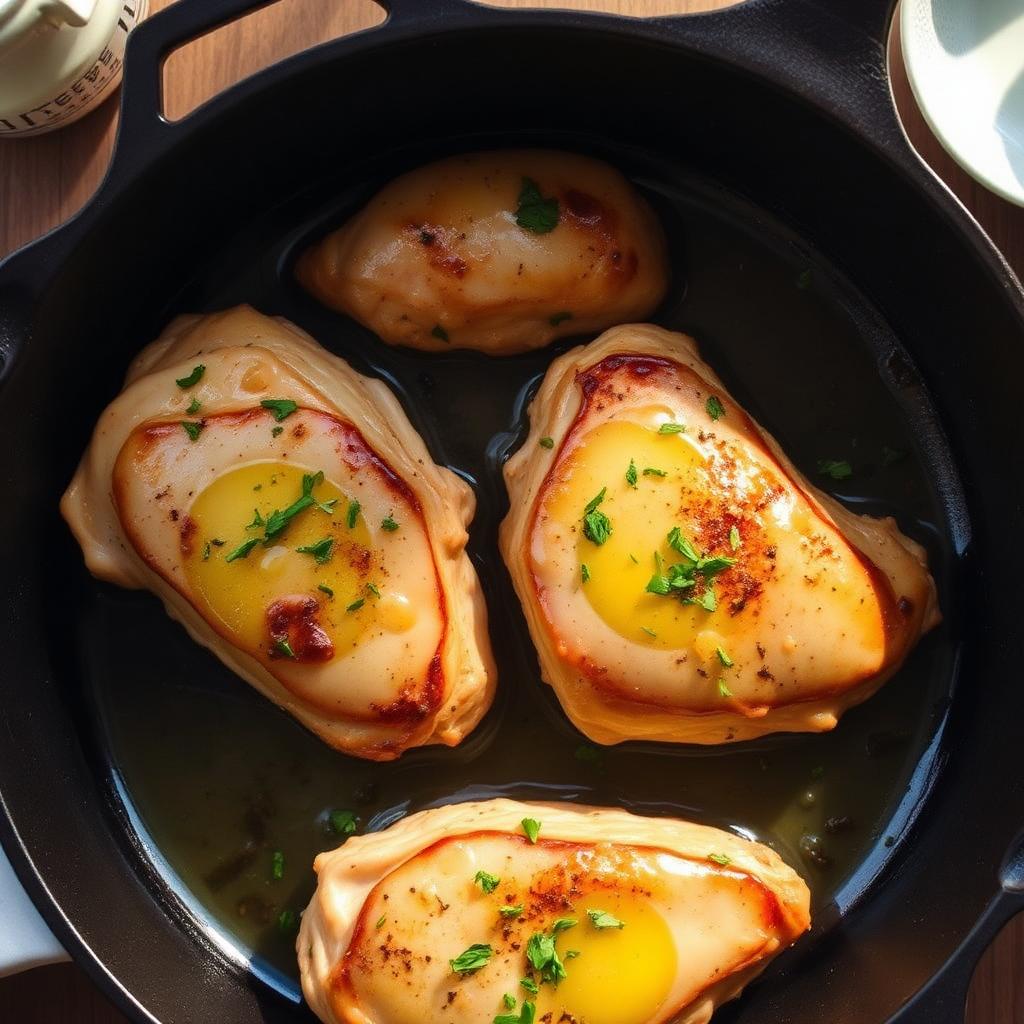
Why This Garlic Butter Chicken Works
Garlic Butter Chicken turns a short ingredient list into a polished skillet dinner by building flavor in distinct layers. Pounding the chicken breasts to an even 1/2-inch thickness allows them to cook quickly and consistently, while patting the surface dry encourages browning rather than steaming. Smoked paprika adds warm color and subtle depth without overpowering the garlic or lemon.
The sauce begins with the browned bits left behind after searing the chicken. Low-sodium chicken broth loosens those concentrated drippings, then reduces briefly so the finished sauce tastes savory rather than watery. Adding the final butter gradually creates a glossy emulsion that clings to each piece of chicken instead of separating into a greasy puddle.
Across nine test batches, we found that heat control mattered more than any special equipment. Garlic stayed fragrant and sweet when it was stirred constantly over medium heat for only 30 seconds. Whisking cold or cool butter into the reduced broth one tablespoon at a time also produced the smoothest, most restaurant-style finish.
The final splash of fresh lemon juice keeps five tablespoons of butter from tasting heavy, while parsley adds a clean herbal note. Returning the chicken and its resting juices to the pan for one minute brings everything together without needlessly overcooking the lean meat.
Why You'll Love This Recipe
- It goes from preparation to the table in just 20 minutes.
- Everything cooks in one skillet, including the rich garlic pan sauce.
- Pounded chicken breasts cook evenly and develop a deeply golden exterior.
- The ingredient list relies on practical refrigerator and pantry staples.
- A broth-based butter emulsion delivers restaurant-style gloss without cream.
- The mild, savory flavors pair easily with mashed potatoes, rice, or pasta.
- The method is simple enough for a weeknight but elegant enough for guests.
Ingredient Notes
Boneless Skinless Chicken Breasts
Four chicken breasts, about 6 ounces each, provide four generous servings. Their thickness is more important than their exact shape: pound each one to an even 1/2 inch so the narrow ends do not dry out before the center reaches 165°F. Blotting thoroughly with paper towels is essential for a strong sear.
Kosher Salt, Black Pepper, and Smoked Paprika
This concise seasoning blend supports rather than masks the pan sauce. Kosher salt seasons the meat, black pepper provides gentle bite, and smoked paprika contributes bronze color and a restrained smoky warmth. Distribute the seasonings over both sides before the chicken goes into the skillet.
Olive Oil and Unsalted Butter
Olive oil handles the initial medium-high sear, while unsalted butter gives the sauce its round flavor and allows better control over sodium. The butter is intentionally divided: two tablespoons bloom the garlic, and the remaining three tablespoons are whisked into the broth gradually for a glossy texture.
Fresh Garlic
Eight minced cloves make garlic a defining flavor, not a background accent. Aim for evenly sized pieces so none scorch while larger pieces remain raw. Add the garlic only after reducing the heat to medium and after the butter becomes foamy; 30 seconds of constant stirring is enough to release its aroma.
Chicken Broth, Lemon, and Parsley
Low-sodium chicken broth deglazes the skillet while keeping the final sodium level manageable. Fresh lemon juice sharpens the sauce after the butter has been incorporated, and chopped parsley brings color and freshness. Add both at the end so their bright flavors remain distinct.
Ingredients
- 4 boneless skinless chicken breasts (about 6 oz each)
- 1 tsp kosher salt
- 1/2 tsp black pepper
- 1/2 tsp smoked paprika
- 2 tbsp olive oil
- 5 tbsp unsalted butter, divided
- 8 garlic cloves, minced
- 1/2 cup low-sodium chicken broth
- 1 tbsp fresh lemon juice
- 2 tbsp chopped fresh parsley
Instructions
- 1
Pat chicken dry and pound to an even 1/2-inch thickness. Season both sides with salt, pepper, and paprika.
- 2
Heat olive oil in a large skillet over medium-high until shimmering. Add chicken and sear, undisturbed, 4–5 minutes per side until deeply golden and cooked through (165°F internal). Transfer to a plate and tent with foil.
- 3
Reduce heat to medium. Add 2 tbsp butter to the same skillet. Once foamy, add garlic and cook 30 seconds, stirring constantly so it doesn't burn.
- 4
Pour in chicken broth, scraping up the golden bits from the bottom of the pan. Simmer 2 minutes to reduce slightly.
- 5
Whisk in remaining 3 tbsp butter, one tablespoon at a time, until you have a glossy, emulsified sauce. Stir in lemon juice and parsley.
- 6
Return chicken (and any resting juices) to the skillet. Spoon sauce over the top and simmer 1 minute to warm through.
- 7
Serve immediately over mashed potatoes, rice, or pasta — spoon extra sauce over everything.
Substitutions and Swaps
The core technique is flexible, but swaps can change browning, seasoning, or sauce texture. Keep the chicken at an even 1/2-inch thickness and use the same visual and temperature cues rather than assuming every alternative will cook identically. When replacing a seasoned or salted ingredient, taste the finished sauce before making any further adjustment.
| Original ingredient | Possible swap | What to expect |
|---|---|---|
| Boneless skinless chicken breasts | Chicken breast cutlets | They eliminate pounding but may cook more quickly; remove them as soon as they reach 165°F. |
| Smoked paprika | Sweet paprika | The chicken keeps its warm color but loses the subtle smoky note. |
| Olive oil | A neutral high-heat cooking oil | Browning remains effective, though the oil contributes less flavor. |
| Fresh parsley | Fresh chives | The finish becomes mildly oniony while staying fresh and green. |
| Fresh lemon juice | An equal style of fresh citrus acidity, added cautiously | The sauce will have a different aroma, so taste before serving. |
Baker's Tip
Avoid replacing fresh minced garlic with garlic salt, which can make the sauce overly salty and will not provide the same texture or fresh aroma.
Variations to Try
For a herb-forward version, add finely chopped tender herbs with the parsley after the sauce is emulsified. Basil gives the skillet a summery character, while a restrained amount of thyme makes it feel earthy and autumnal. Keep woody herb stems out of the finished sauce so its texture stays silky.
A spicy variation can be made by adding a small pinch of crushed red pepper with the garlic. The flakes bloom in the foaming butter, distributing gentle heat throughout the sauce. For more pronounced lemon character, add a little finely grated zest at the same stage as the juice rather than increasing the liquid significantly.
You can also turn the meal into a pasta-centered dinner by slicing the rested chicken and laying it over noodles before spooning on the sauce. For another buttery seafood option on a different night, Garlic Butter Shrimp Pasta offers a related flavor profile. If the household prefers a creamier chicken dinner, Easy Chicken Alfredo is a natural companion recipe to keep in rotation.
Pro Tips from the Test Kitchen
Use a skillet large enough to hold all four breasts without overlap. Crowding traps steam, which prevents the paprika-seasoned surfaces from developing a deep golden crust. Preheat the olive oil until it shimmers, then lower the chicken away from you and leave it undisturbed for the first 4–5 minutes.
After turning the chicken, check the thickest portion with an instant-read thermometer. Transfer each breast when it reaches 165°F rather than waiting for every piece if their shapes differ slightly. Tenting loosely with foil preserves warmth, but wrapping tightly can soften the crust and trap too much steam.
When finishing the sauce, whisk in the remaining butter one tablespoon at a time. Allow each addition to blend before adding the next. The sauce should look cohesive and glossy, with no obvious slick of fat around the edges. If the skillet is violently bubbling, pull it briefly from the heat before continuing.
Baker's Tip
For the best emulsion, reduce the broth for the full 2 minutes and keep the pan at a gentle simmer while whisking in the butter. High heat is the fastest route to a broken, oily sauce.
Common Mistakes to Avoid
Skipping the pounding step is the most common cause of dry edges and an underdone center. Chicken breasts naturally taper, so an even 1/2-inch thickness gives the whole piece the same cooking window. Likewise, wet chicken will steam. Pat every surface dry before applying the salt, pepper, and paprika.
Do not move the chicken repeatedly during its first side of cooking. It may cling briefly when it enters the skillet, but it releases more readily after a proper crust develops. Turning too soon can tear the surface and leave pale spots. A steady medium-high heat and 4–5 minutes per side provide the intended sear.
Garlic requires a different heat level than chicken. Reduce the burner to medium before adding the first butter and minced garlic, then stir constantly for 30 seconds. Finally, do not discard the juices collected on the resting plate. They contain concentrated chicken flavor and belong back in the skillet during the one-minute warm-through.
Troubleshooting Garlic Butter Chicken
Most issues can be corrected by watching the skillet rather than rigidly increasing the cooking time. The color of the chicken, the intensity of the simmer, and the appearance of the butter emulsion provide immediate feedback.
| Problem | Cause | Fix |
|---|---|---|
| Chicken is pale | The meat was damp, the skillet was not hot enough, or the pan was crowded. | Pat the surface dry, wait for shimmering oil, and give each breast enough space. |
| Chicken is dry | The breasts were uneven or cooked beyond 165°F. | Pound to 1/2 inch and use an instant-read thermometer in the thickest area. |
| Sauce looks thin | The broth did not reduce enough. | Let the broth simmer for the directed 2 minutes before gradually whisking in butter. |
| Sauce looks oily | The pan was too hot or the butter was added too quickly. | Take the pan off the heat briefly and whisk steadily as the sauce cools slightly. |
| Garlic is browning too fast | The skillet retained excessive heat from searing. | Move the skillet off the burner momentarily, then continue over medium while stirring. |
| Sauce will not cling | The butter was not incorporated gradually. | Whisk each tablespoon in completely before introducing the next one. |
How to Store and Reheat
Let leftovers cool promptly, then transfer the chicken and sauce to a shallow airtight container and refrigerate. Keeping the meat in contact with the sauce protects it from drying and preserves the browned bits and resting juices. For longer storage, freeze portions in freezer-safe containers; the butter sauce may look separated after thawing, but gentle reheating can improve it.
For stovetop reheating, place the chicken and sauce in a covered skillet over low heat. Turn the chicken occasionally and spoon the warming sauce over it until heated through. Avoid a hard boil, which can tighten the breast meat and split the butter emulsion. If reheating in a microwave, use reduced power in short intervals and rotate the chicken between intervals.
A separated sauce is still flavorful. Remove the chicken once hot, lower the heat, and whisk the sauce briskly. Serving leftovers sliced over rice or pasta also distributes the sauce more evenly and prevents the lean chicken from spending unnecessary time over heat.
Make-Ahead and Meal Prep
For efficient weeknight preparation, pound the chicken breasts to 1/2 inch, pat them dry, and keep them covered in the refrigerator until cooking time. The garlic and parsley can also be chopped ahead and refrigerated separately. Squeeze the lemon close to cooking so its flavor remains bright, and measure the broth and seasonings before heating the skillet.
The complete dish is best immediately after cooking because freshly emulsified butter sauce has its smoothest texture. If preparing it for meal containers, portion the chicken with rice or mashed potatoes and spoon sauce over both. This gives the starch a chance to absorb the savory juices while helping shield the chicken during reheating.
For a broader weekly plan, pair this quick skillet meal with dinners that reheat well, such as Easy Baked Ziti or Healthy Stuffed Bell Peppers. Alternating a freshly cooked chicken night with a prepared casserole or stuffed vegetable keeps meal prep practical without repeating the same textures.
What to Serve With Garlic Butter Chicken
Mashed potatoes are especially effective because their soft texture captures every spoonful of garlic butter sauce. Steamed rice provides a neutral base, while pasta makes the meal feel more substantial. Keep these accompaniments simply seasoned so they do not compete with the concentrated pan drippings, lemon, and garlic.
For freshness, add a crisp green salad with a bright vinaigrette or a plainly cooked green vegetable. Roasted broccoli, asparagus, green beans, or zucchini all balance the buttery sauce with color and a firmer bite. A loaf of crusty bread is useful for wiping up the final glossy streaks from the plate.
If you are planning a comfort-food dinner for a group, One Pot Mac and Cheese can serve as a rich family-style side, though a green vegetable helps balance the plate. For a lighter, crunchy starter, Crispy Air Fryer Zucchini Chips provide contrast without requiring another skillet.
Nutrition and Dietary Notes
Each of the four servings contains 390 calories, 42 grams of protein, 3 grams of carbohydrates, 24 grams of fat, 0 grams of fiber, 0 grams of sugar, and 560 milligrams of sodium. The substantial protein primarily comes from the chicken breasts, while the olive oil and butter account for much of the fat and contribute to the dish’s satiety and sauce texture.
The listed ingredients contain no obvious wheat-based component, so the recipe can suit a gluten-free diet when the chicken broth, spices, and all packaged ingredients are verified gluten-free. Manufacturing practices and broth formulations vary, making label checks important for anyone managing celiac disease or a medically necessary restriction.
Using low-sodium broth and unsalted butter provides control over seasoning, but this is not presented as a low-sodium dish. It is also not dairy-free because butter is central to the sauce. The recipe supplies no fiber, so serving it with vegetables, brown rice, or another fiber-containing side creates a more rounded plate without changing the skillet method.
Nutrition Facts
Per serving · 390 calories
protein
42g
carbs
3g
fat
24g
fiber
0g
sugar
0g
sodium
560mg
Related Recipes
More dinner and similar dishes you'll love.
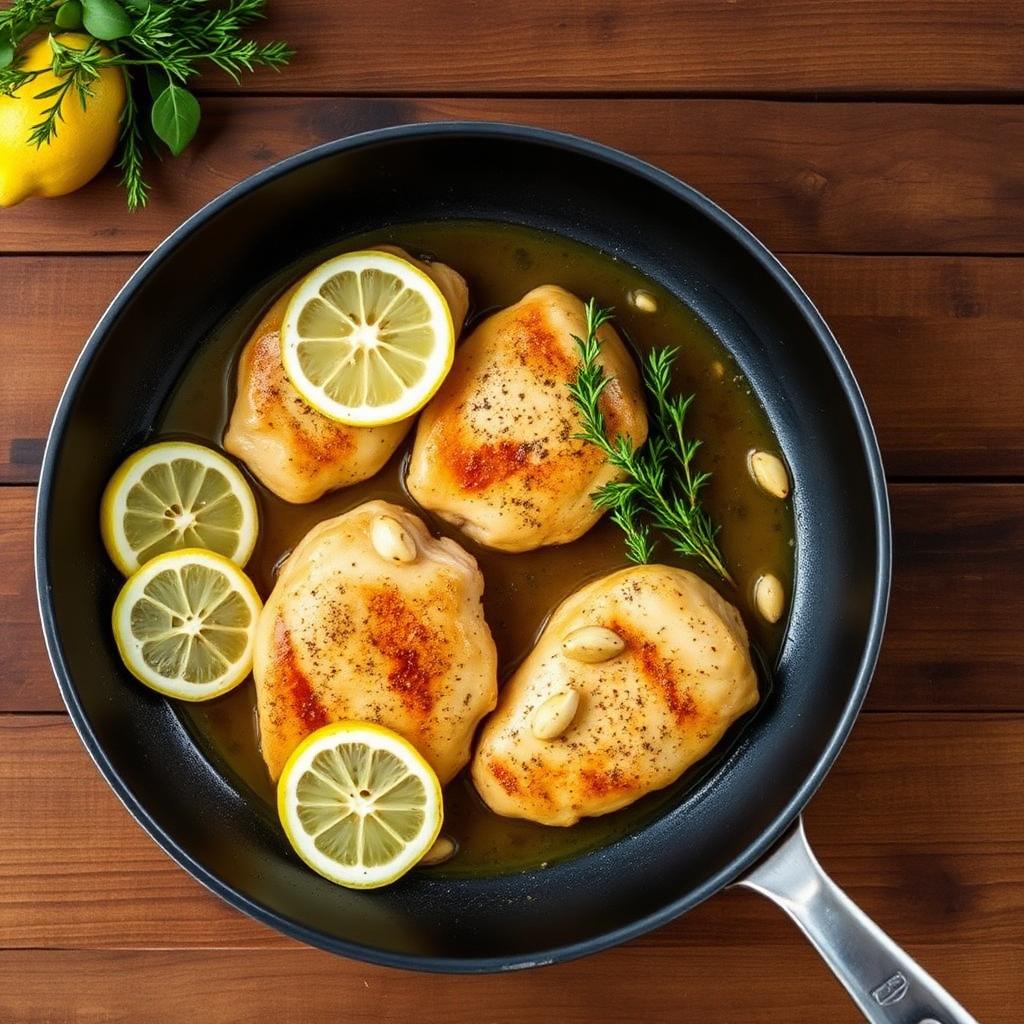
One-Pan Lemon Garlic Chicken
This one-pan lemon garlic chicken recipe is a 30-minute miracle for busy cooks. With juicy chicken thighs and a vibrant citrus sauce, it is a healthy skillet dinner choice.
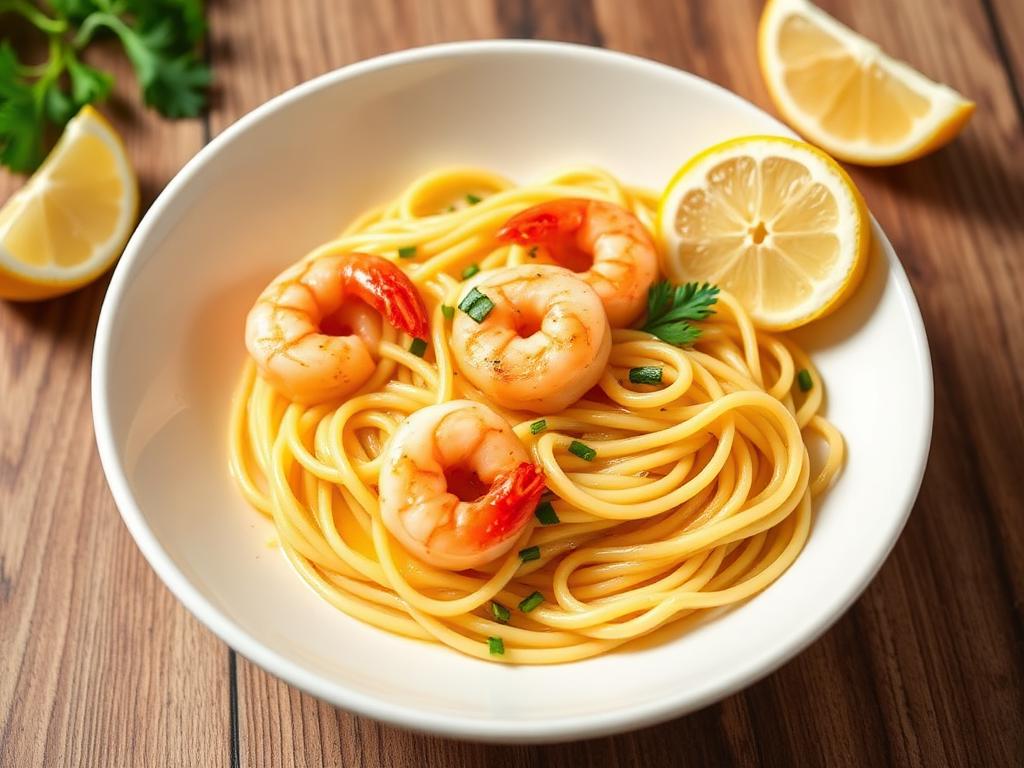
Garlic Butter Shrimp Pasta
This Garlic Butter Shrimp Pasta is a sophisticated yet easy seafood dinner ready in under 20 minutes. Tossed in a light lemon garlic sauce, it's a healthy linguine recipe for any night.
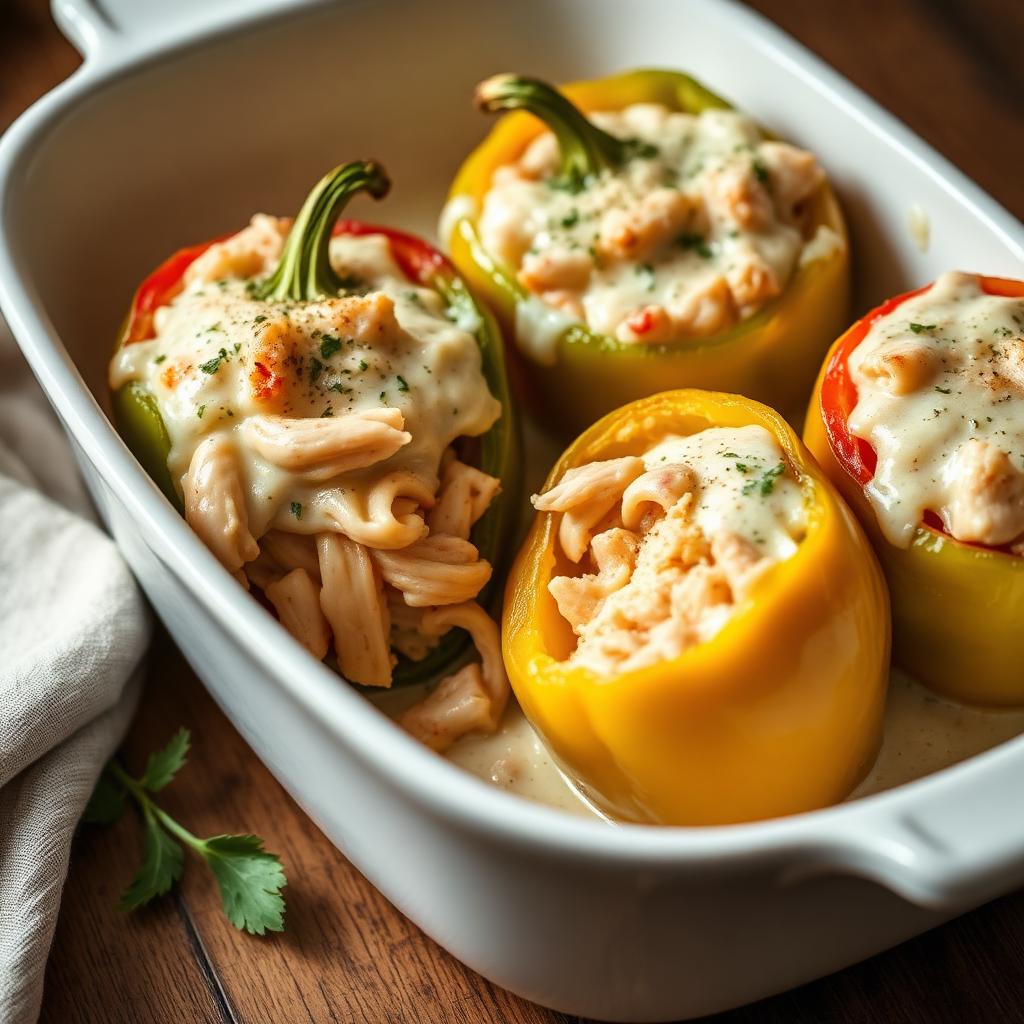
Chicken Alfredo Stuffed Bell Peppers
Indulge in creamy chicken alfredo stuffed bell peppers. This recipe combines tender chicken with a rich garlic parmesan white sauce, all baked inside sweet bell peppers.
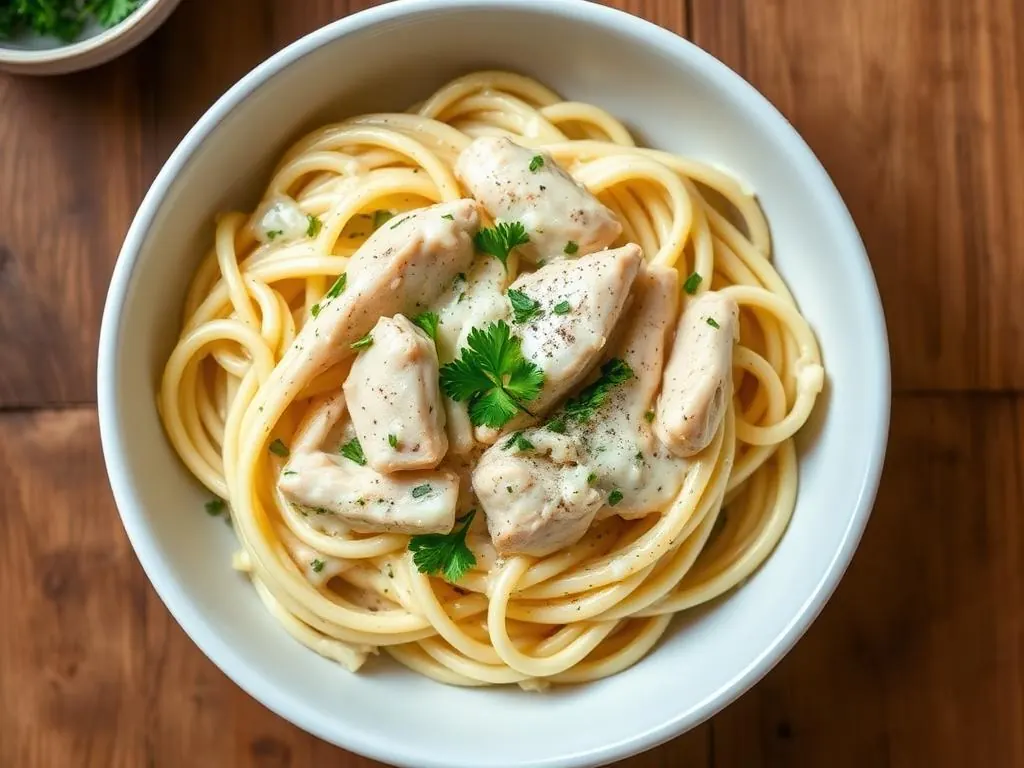
Easy Chicken Alfredo
This Easy Chicken Alfredo recipe delivers restaurant-style results right in your kitchen. Featuring a rich, creamy homemade alfredo sauce and tender seasoned chicken, this 25-minute meal is the perfect quick dinner.
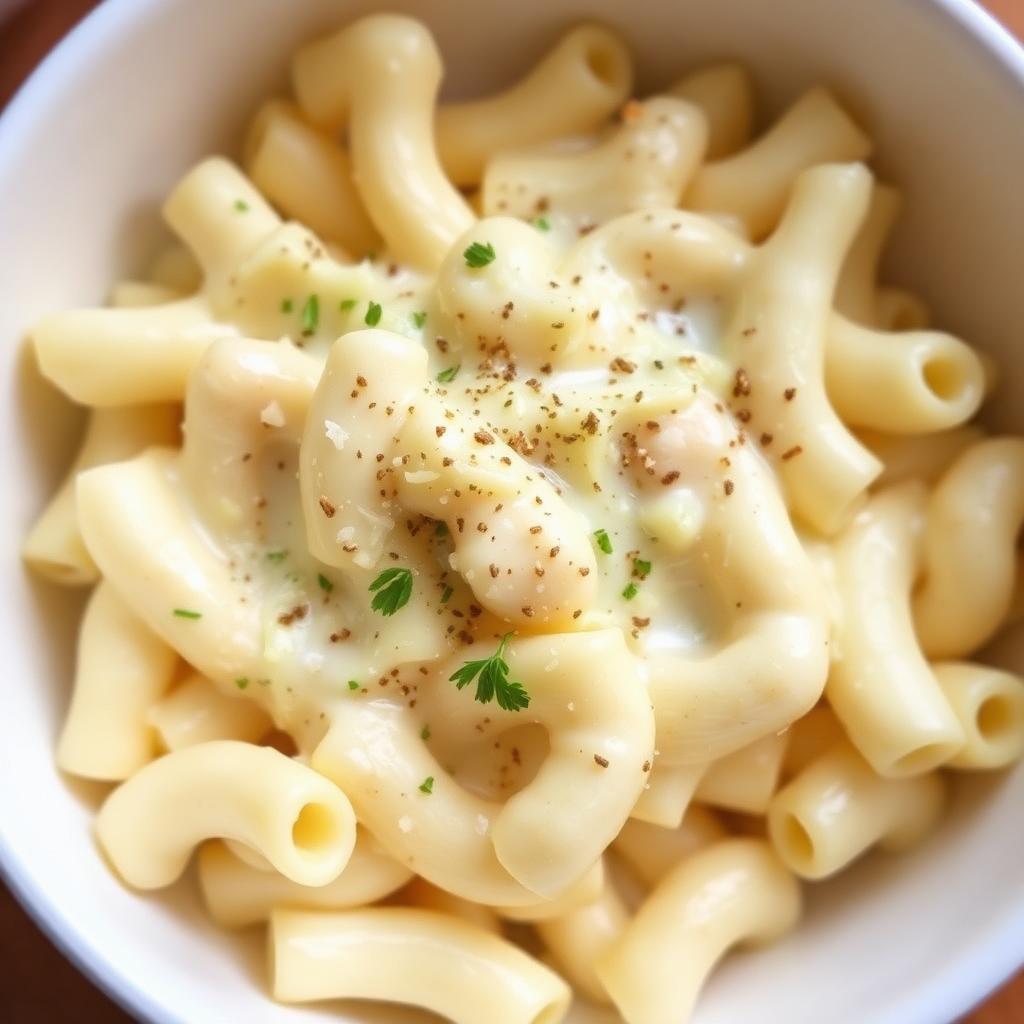
Garlic Parmesan Mac and Cheese
This garlic parmesan mac and cheese is a sophisticated take on a classic. Infused with roasted garlic and creamy parmesan, it offers a restaurant-quality gourmet pasta experience in just 30 minutes.
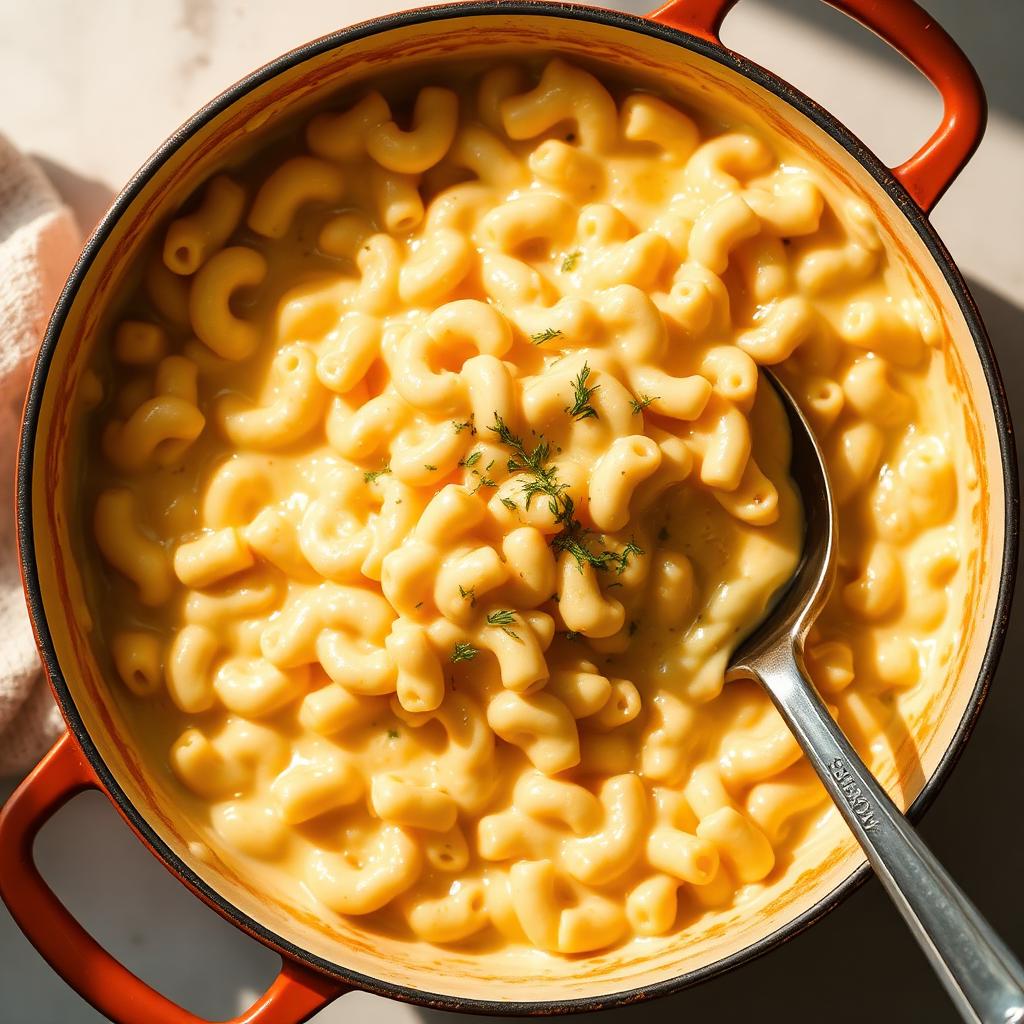
Creamy One Pot White Cheddar Mac and Cheese
Indulge in the ultimate one pot white cheddar mac and cheese. This creamy stovetop recipe uses sharp white cheddar to create a silky sauce in just 25 minutes, making it the perfect easy comfort food.
Frequently Asked Questions
Can I use chicken thighs instead?+
Yes — boneless skinless thighs are excellent and forgiving. Cook 5–6 minutes per side until 175°F internal.
What can I substitute for chicken broth?+
Dry white wine, vegetable broth, or even water with an extra squeeze of lemon. Wine makes it taste extra restaurant-quality.
Why does my garlic taste bitter?+
Burnt garlic turns bitter fast. Keep the heat at medium and stir constantly — 30 seconds is all it needs to bloom.
Can I make this dairy-free?+
Swap butter for a quality plant-based butter or olive oil. The sauce won't emulsify the same way but the flavor stays bold.
How do I store leftovers?+
Refrigerate in an airtight container up to 3 days. Reheat gently in a skillet over low heat with a splash of broth to revive the sauce.
What sides pair best with garlic butter chicken?+
Mashed potatoes, buttered pasta, rice pilaf, or roasted asparagus all soak up the garlic butter sauce beautifully.
How do I know when the chicken is fully cooked?+
Insert an instant-read thermometer horizontally into the thickest part of each chicken breast. It should register 165°F. Because the breasts are pounded to an even 1/2-inch thickness, they should cook at a similar rate, but their shapes can still cause small differences. Check pieces individually and transfer each one to the plate as it reaches temperature. The exterior should be deeply golden, but color alone is not a reliable measure of doneness.
Can I cook the chicken without pounding it first?+
Pounding is strongly recommended because a whole chicken breast is usually much thicker at one end than the other. Without leveling it to 1/2 inch, the narrow end may become dry before the thick center reaches 165°F. If you begin with uniformly thin chicken breast cutlets, additional pounding may not be necessary. Otherwise, place the meat between sheets of parchment or plastic wrap and use gentle, even strikes to flatten it without tearing.
Why did my butter sauce separate?+
A separated sauce usually means the skillet was too hot or the final butter was added too quickly. After reducing the broth, keep the liquid at a gentle simmer and whisk in the remaining butter one tablespoon at a time. Each piece should blend before the next is added. If fat begins pooling around the edges, remove the skillet from the burner briefly and whisk as it cools. Even if it remains slightly separated, the sauce is safe and flavorful.
What size skillet should I use?+
Choose a large skillet that can hold all four pounded chicken breasts in a single layer without overlap. Space between the pieces allows moisture to escape, helping the seasoned surfaces sear instead of steam. A heavy-bottomed skillet also retains heat more steadily when the chicken is added. If your skillet cannot accommodate the breasts comfortably, cooking in batches will produce better browning, although it may extend the overall process beyond the stated 20-minute schedule.
Can I use frozen chicken breasts?+
Thaw frozen chicken breasts completely before beginning. Partially frozen meat cannot be pounded evenly and tends to release excess water in the hot skillet, interfering with browning. Thaw the chicken safely in the refrigerator, then blot it very thoroughly with paper towels before seasoning. Do not rely on the outside feeling soft; check that the thickest center is fully thawed. Once prepared to an even 1/2-inch thickness, follow the recipe’s temperature and visual cues.
Can I double this recipe?+
The ingredients can be scaled, but the chicken should not be crowded into one skillet. Sear it in batches so every breast maintains contact with the hot cooking surface and develops a golden crust. Return the skillet to the proper heat between batches and monitor the oil to prevent scorching. The sauce will need a pan with enough capacity for the increased broth and butter. Expect a larger batch to take longer than the stated total time.
How can I keep the chicken juicy while making the sauce?+
Remove each breast from the skillet as soon as its thickest portion reaches 165°F, then tent the plate loosely with foil. A loose tent retains warmth without trapping enough steam to soften the crust dramatically. Keep the sauce steps moving: garlic cooks for 30 seconds, broth reduces for 2 minutes, and the chicken returns for only a one-minute warm-through. Adding the juices from the resting plate back to the skillet also restores moisture and concentrated chicken flavor.
Can I slice the chicken before serving?+
Yes, but let the cooked chicken rest while you prepare the sauce, then slice it just before returning it to the skillet or arranging it on plates. Cutting immediately after searing can release more juice onto the board instead of keeping it in the meat. Slice across the grain with a sharp knife, arrange the pieces over rice, pasta, or mashed potatoes, and spoon the finished garlic butter sauce over the top so it reaches the cut surfaces.

Recipe by Sarah Mitchell
Recipe developer · Practical family cooking
Get more recipes like this
Get a free collection of 15 easy family recipes delivered to your inbox.
You May Also Like
Hand-picked favorites from across RecipeNest.
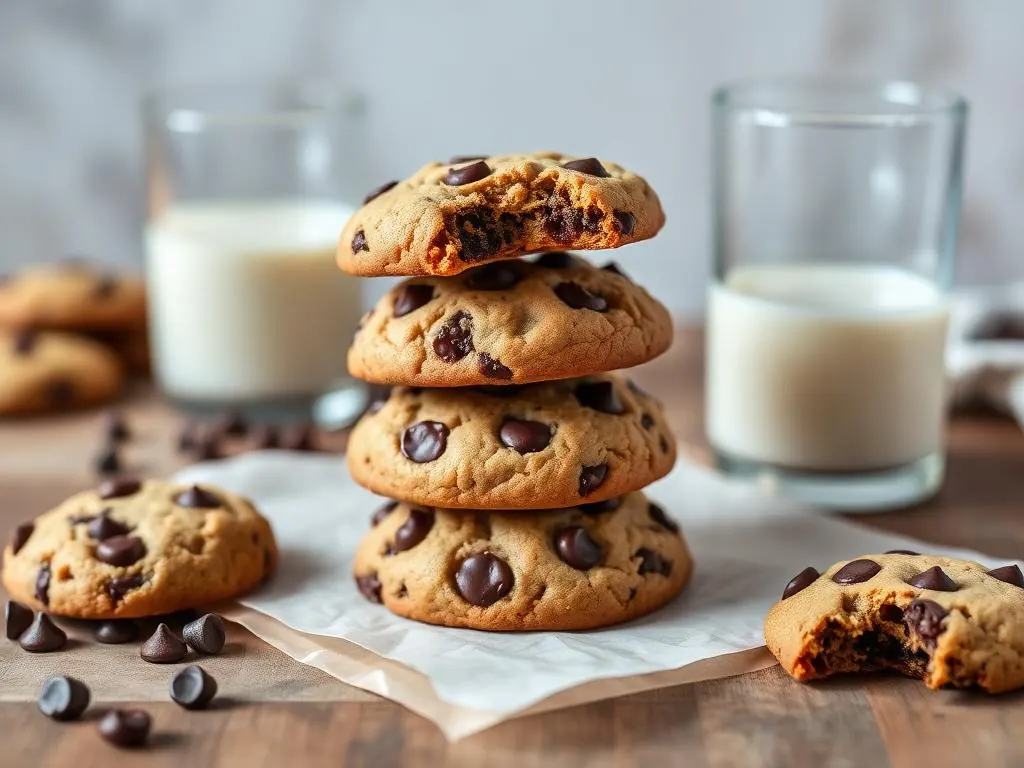
The Best Chocolate Chip Cookies
Stop searching for the best chocolate chip cookies. This recipe delivers a soft, chewy texture with buttery edges and gooey chocolate in every bite — the ultimate homemade cookie experience.
The Best Moist Banana Bread
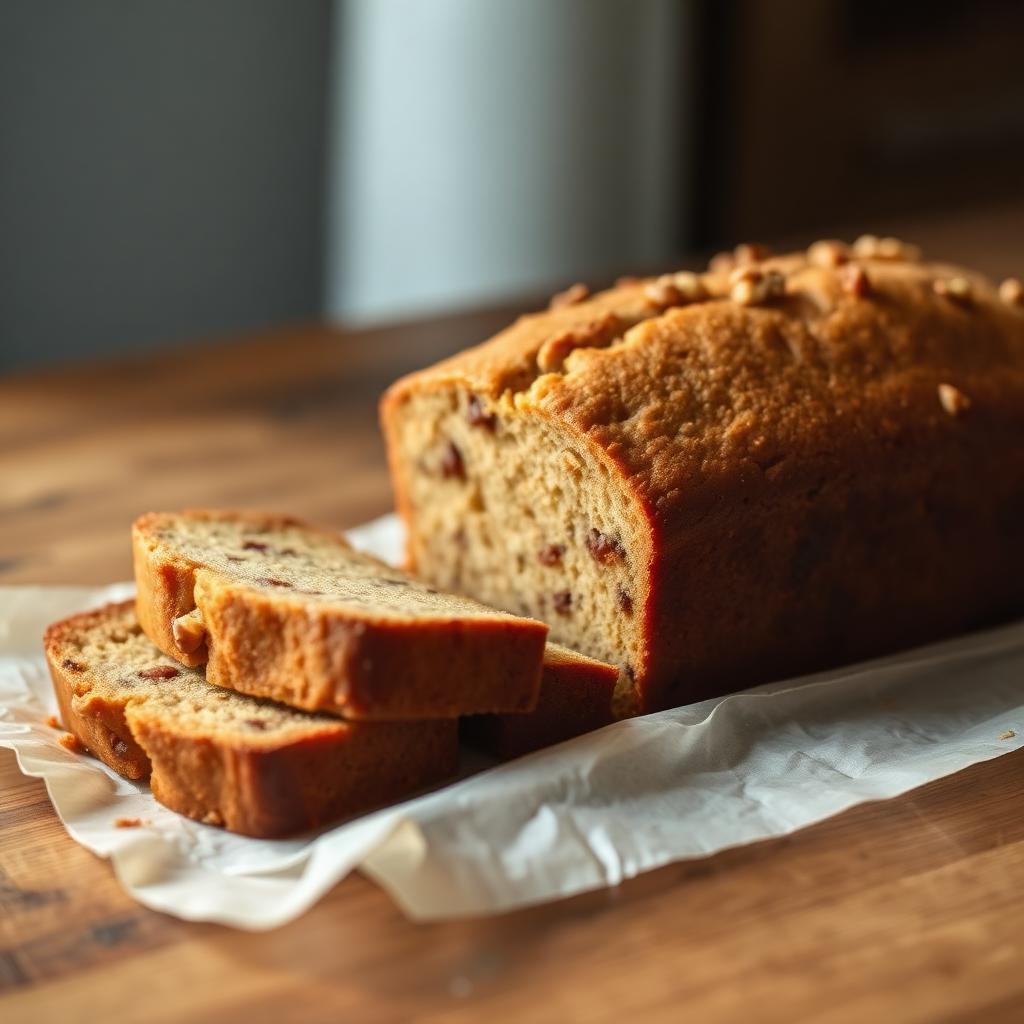
Discover how to make the best moist banana bread using only one bowl. This homemade banana bread recipe delivers a soft, bakery-style loaf that is perfect for utilizing overripe bananas.
Classic Chicken Soup
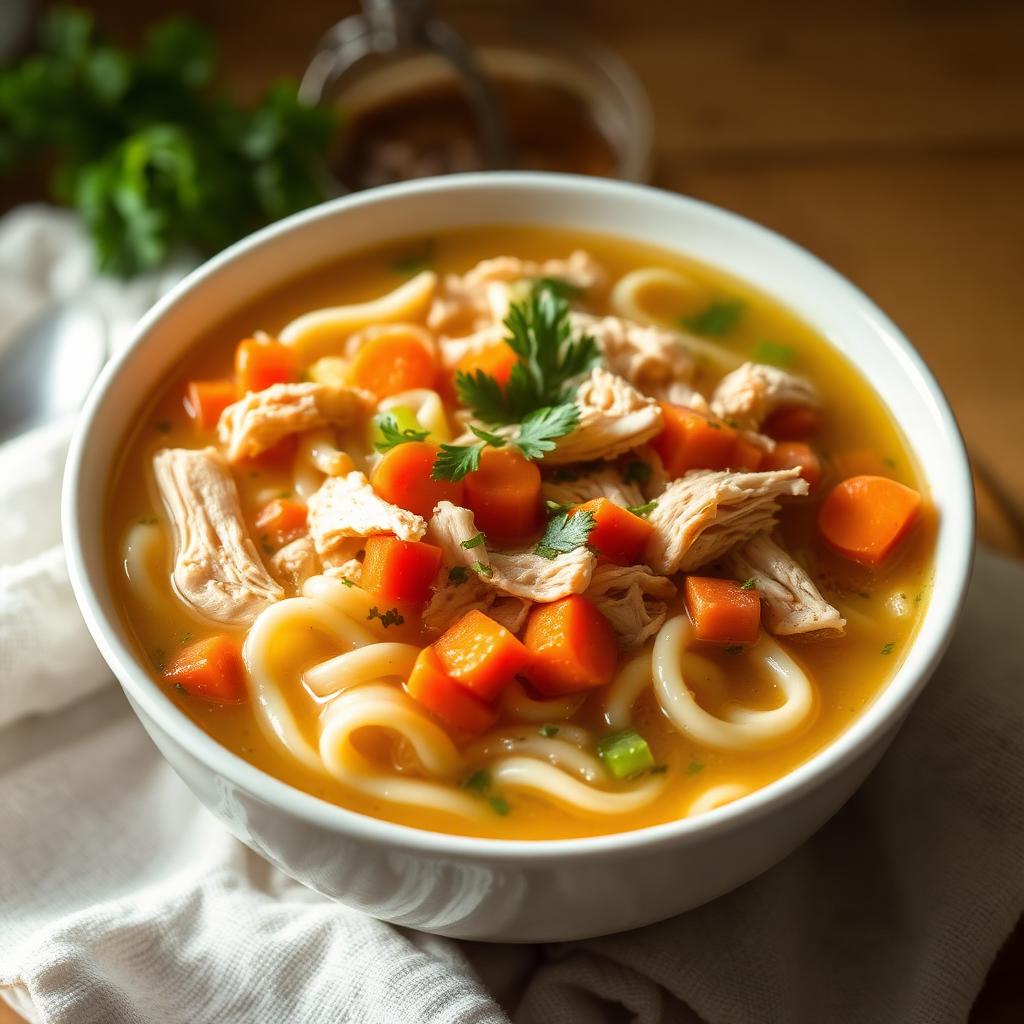
This classic chicken soup recipe is the ultimate homemade chicken noodle soup — cozy, restorative, and ready in under an hour. Made with tender shredded chicken, egg noodles, carrots, celery, and fresh herbs in a golden broth, this old-fashioned chicken soup is the go-to comfort food for cold days and sick days alike.
Crispy Air Fryer Chicken Wings
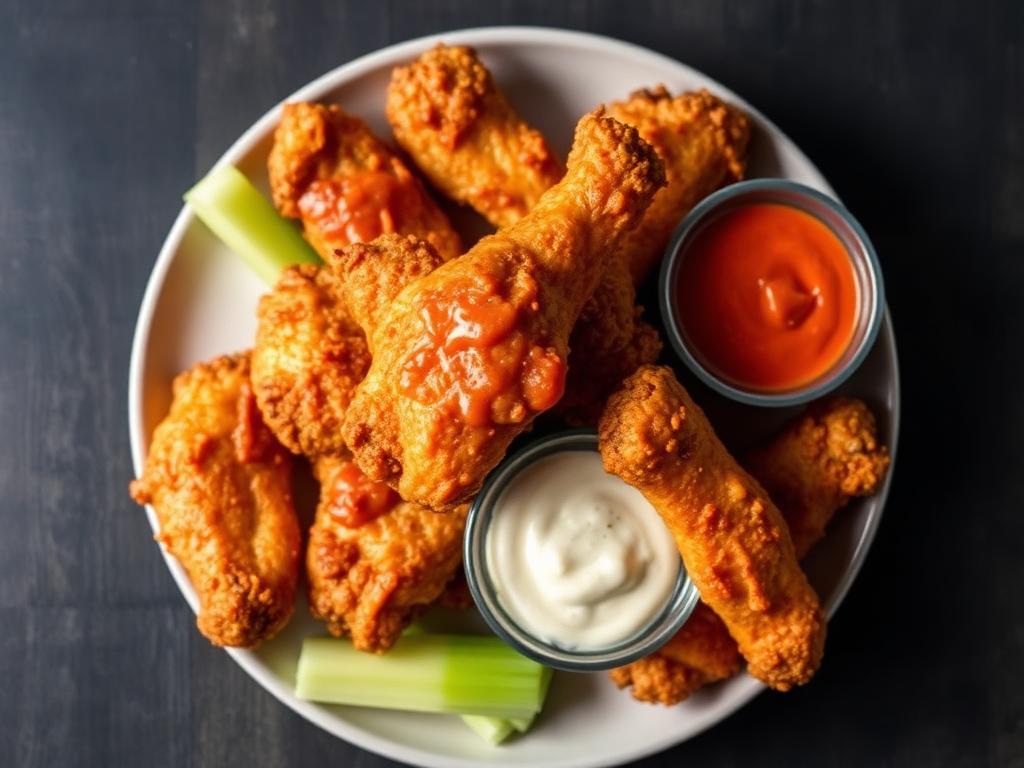
Stop settling for soggy wings and try these air fryer chicken wings. These crispy wings use no flour or breading, making them the perfect keto chicken wings for your next party.