One-Pan Lemon Garlic Chicken
This one-pan lemon garlic chicken recipe is a 30-minute miracle for busy cooks. With juicy chicken thighs and a vibrant citrus sauce, it is a healthy skillet dinner choice.
Prep
10 min
Cook
20 min
Total
30 min
Servings
4
Calories
420
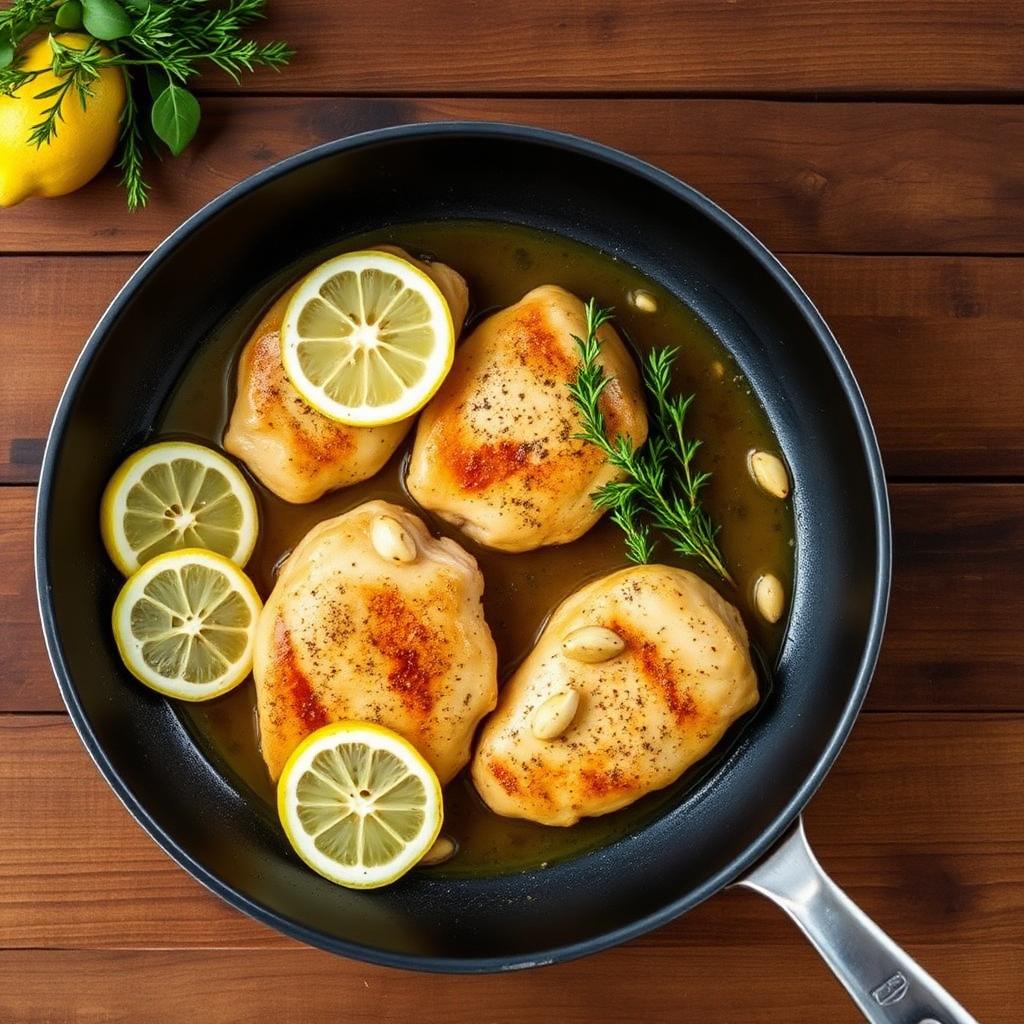
Why This One-Pan Lemon Garlic Chicken Works
This skillet dinner builds flavor in deliberate layers. First, very dry chicken thighs are seasoned and placed skin-side down in a hot oven-safe skillet. Leaving them undisturbed for 6–7 minutes allows the fat beneath the skin to render while the surface turns deeply golden. That rendered fat supplies savory depth, while the crisp skin creates a welcome contrast to the juicy meat.
After searing, the heat is lowered before butter, smashed garlic, and lemon rounds enter the pan. This matters: moderate heat lets the garlic become fragrant and the lemon lightly caramelize in 1–2 minutes without scorching either one. Chicken broth and fresh lemon juice then loosen the flavorful browned bits stuck to the skillet, turning them into the foundation of a bright, savory pan sauce.
The skillet finishes in a 400°F oven, where heat surrounds the bone-in thighs more evenly than stovetop cooking alone. Returning the chicken skin-side up protects the crisp surface from the liquid. Roasting to 175°F gives thigh meat time to become tender and succulent rather than merely safe to eat.
In repeated test batches, the most reliable sauce came from adding the final 2 tablespoons of butter only after the chicken left the pan. Swirling cold butter into the hot liquid produces a glossy, lightly thickened finish that clings to the chicken instead of tasting thin or oily. Parsley added last preserves its fresh color and clean herbal flavor.
Why You’ll Love This Recipe
- It delivers crisp-skinned, juicy chicken and a finished pan sauce in only 30 minutes.
- Everything cooks in one oven-safe skillet, keeping cleanup manageable on busy evenings.
- The sauce balances savory chicken drippings, mellow garlic, fresh lemon, butter, and thyme.
- Bone-in thighs stay succulent and forgiving as they roast to their ideal 175°F internal temperature.
- The glossy sauce is made without cream, flour, or a separate saucepan.
- Rice, orzo, and mashed potatoes all catch the lemon garlic sauce beautifully.
- The method feels dinner-party worthy but relies on straightforward searing, deglazing, and roasting.
Ingredient Notes
Chicken Thighs
Six bone-in, skin-on thighs provide the richest flavor and crispest result. Choose pieces of similar size so they finish together, and pat every surface very dry before seasoning. The recipe also allows 4 boneless thighs, which offer a convenient alternative while keeping the same savory profile.
Salt, Pepper, and Italian Seasoning
Kosher salt seasons the meat throughout, black pepper adds gentle heat, and dried Italian seasoning supplies an efficient blend of herbs. Season all over, including the underside, rather than concentrating everything on the skin.
Olive Oil and Unsalted Butter
Olive oil helps initiate the sear, while butter appears in two stages. The first portion carries the garlic and caramelized lemon flavors; the remaining butter finishes the sauce. Unsalted butter keeps the final seasoning controllable because broth and chicken drippings already contribute sodium.
Garlic
Eight smashed cloves give the sauce rounded garlic flavor without creating tiny minced pieces that burn quickly. Smashing also exposes enough surface area to perfume the butter and broth. Cook only until fragrant and lightly colored.
Fresh Lemon
One large lemon does two jobs: rounds caramelize in the skillet while juice sharpens the sauce. Light browning softens the slices and develops complexity, but dark or charred lemon can taste harsh. Juice the reserved half before cooking so it is ready when the skillet is hot.
Chicken Broth and Fresh Herbs
Low-sodium chicken broth deglazes the skillet without making the sauce overly salty. Thyme simmers in the liquid, contributing earthy aroma, while chopped parsley is stirred in at the end for freshness. Dried thyme works when fresh sprigs are unavailable.
Ingredients
- 6 bone-in skin-on chicken thighs (or 4 boneless)
- 1 tsp kosher salt
- 1/2 tsp black pepper
- 1 tsp dried Italian seasoning
- 2 tbsp olive oil
- 4 tbsp unsalted butter, divided
- 8 garlic cloves, smashed
- 1 large lemon, half sliced into rounds and half juiced
- 3/4 cup low-sodium chicken broth
- 2 sprigs fresh thyme (or 1/2 tsp dried)
- 2 tbsp chopped fresh parsley
Instructions
- 1
Preheat oven to 400°F. Pat chicken thighs very dry and season all over with salt, pepper, and Italian seasoning.
- 2
Heat olive oil in a large oven-safe skillet over medium-high. Place chicken skin-side down and sear, undisturbed, 6–7 minutes until the skin is deeply golden and crisp. Flip and sear 2 more minutes. Transfer to a plate.
- 3
Reduce heat to medium. Pour off all but 1 tbsp of fat. Add 2 tbsp butter, garlic, and lemon slices. Cook 1–2 minutes, swirling, until garlic is fragrant and lemon caramelizes lightly.
- 4
Pour in chicken broth and lemon juice, scraping up the golden bits. Add thyme and bring to a simmer.
- 5
Nestle the chicken back in skin-side up. Transfer the skillet to the oven and roast 12–15 minutes, until the internal temperature reaches 175°F.
- 6
Return the skillet to the stovetop (handle is hot!). Lift the chicken to a plate. Swirl in the remaining 2 tbsp butter until the sauce is glossy. Stir in parsley.
- 7
Spoon the lemon garlic sauce over the chicken and serve immediately over rice, orzo, or mashed potatoes.
Substitutions and Swaps
Thoughtful swaps can preserve the character of the dish, but each changes the result slightly. Keep the total liquid and the two-stage butter technique intact so the sauce still reduces and emulsifies properly.
| Original | Possible Swap | What to Expect |
|---|---|---|
| 6 bone-in skin-on chicken thighs | 4 boneless chicken thighs | Less rendered fat and no crisp skin; monitor doneness closely because thinner pieces can cook faster. |
| Fresh thyme sprigs | 1/2 teaspoon dried thyme | A slightly more concentrated, uniform herbal flavor without stems to remove. |
| Unsalted butter | Low-lactose or plant-based butter-style alternative | The sauce may be less silky or separate more readily, depending on water and fat content. |
| Fresh parsley | Another tender fresh herb | The garnish will shift the flavor; avoid strongly woody herbs at the finishing stage. |
| Low-sodium chicken broth | A suitable low-sodium stock | Body and salt level may vary, so taste only after the sauce is finished. |
Variations to Try
Extra-Herby
Use the fresh thyme option and tuck the sprigs directly into the simmering broth. At the end, add the full amount of parsley off heat. This preserves a clear contrast between earthy cooked thyme and bright, grassy parsley.
More Caramelized Lemon Character
Let the lemon rounds make full contact with the skillet during their brief 1–2 minute cook, turning them only when their undersides show light golden patches. Do not push them to deep brown, as the peel and pith become increasingly bitter with aggressive charring.
Saucy Supper Bowl
Serve each thigh over rice or orzo and spoon the pan liquid around, rather than directly over, the crispest portion of skin. For another comforting weeknight format, pair smaller portions with One Pot Mac and Cheese or a simple green vegetable.
Pro Tips from the Test Kitchen
Use a large skillet that can move safely from stovetop to a 400°F oven. Crowding traps steam around the thighs and makes browning less efficient. Preheat the pan and oil before adding chicken, then listen for a confident sizzle. If the meat sounds quiet, the pan is not hot enough; if the seasoning immediately smokes, lower the heat slightly.
Across nine test runs, moisture control made the clearest difference in skin texture. Blotting the thighs thoroughly, searing without nudging them, and keeping the skin above the broth produced the most even crispness. When properly browned, the chicken should release with little resistance. If it clings firmly at 6 minutes, give it another moment rather than tearing the skin.
Deglaze thoroughly after adding broth and lemon juice. A wooden spoon can lift the golden fond without damaging the skillet. Before finishing, move the chicken to a plate so butter can be swirled through the sauce evenly. Keep a dry oven mitt over the skillet handle afterward as a visible reminder that it remains dangerously hot.
Baker's Tip
For the glossiest sauce, take the skillet off direct heat before swirling in the final 2 tablespoons of butter. Add it gradually and keep the pan moving; vigorous boiling can break the emulsion.
Common Mistakes to Avoid
- Skipping the drying step: surface moisture turns to steam and delays browning, leaving the skin pale and rubbery.
- Moving the chicken too soon: uninterrupted contact during the 6–7 minute skin-side sear is essential for rendering and release.
- Leaving all the rendered fat in the skillet: pouring off all but 1 tablespoon prevents the finished sauce from becoming greasy.
- Cooking garlic over medium-high heat: reduce the burner to medium before adding butter and garlic so the cloves become fragrant rather than scorched.
- Submerging the skin in broth: return the thighs skin-side up and keep the crisp surface above the simmering sauce.
- Judging thighs only by color: verify that the thickest portion reaches 175°F without touching the bone.
- Boiling the finishing butter: excessive heat can produce a slick, separated sauce instead of a glossy one.
Troubleshooting
| Problem | Cause | Fix |
|---|---|---|
| Chicken skin is pale | The meat was damp, the skillet was cool, or the pan was crowded. | Dry thoroughly, preheat over medium-high, and give each thigh direct contact with the skillet. |
| Skin sticks and tears | It was flipped before a crust formed. | Leave it undisturbed and test one edge gently; properly browned skin releases more easily. |
| Garlic tastes burnt | The skillet remained too hot after searing. | Reduce to medium and let extreme heat settle before adding the first butter and garlic. |
| Sauce looks oily | Too much rendered fat remained, or the final butter was boiled. | Retain only 1 tablespoon of fat and swirl the finishing butter in away from direct heat. |
| Sauce tastes flat | The browned fond was not fully scraped up, or the final herbs were omitted. | Deglaze every golden patch and stir in parsley after the butter emulsifies. |
| Chicken is not done after roasting | The thighs were unusually large or the oven runs cool. | Continue roasting and check in the thickest area until the thermometer reads 175°F. |
How to Store and Reheat
Let leftovers cool promptly, then refrigerate the chicken and sauce in an airtight container. For the best skin texture, store the thighs with the skin facing up and avoid pouring all the sauce directly over that surface. Use refrigerated leftovers within 3–4 days.
Reheat gently until the chicken is hot throughout. An oven-safe dish helps restore the exterior better than a covered microwave container: arrange the thighs skin-side up, add sauce around them, and warm at 350°F. Start checking after 12 minutes and continue as needed. On the stovetop, warm the sauce over low heat and add the chicken without hard boiling, which can tighten the meat and split the butter.
Microwaving is convenient but softens the skin. Use moderate power in short intervals and spoon sauce over the meat after heating. If you are planning a freezer meal, note that the emulsified sauce may separate and the skin will lose crispness after thawing, even though the flavor remains useful.
Make-Ahead and Meal Prep
For advance preparation, measure the seasonings, smash the garlic, chop the parsley, and portion the broth. Refrigerate the garlic and parsley separately. Slice and juice the lemon close to cooking when possible so its aroma stays vivid. Do not salt the chicken and leave it loosely covered near other foods; follow safe refrigeration practices and keep raw poultry contained.
For meal prep, cook the complete recipe, then divide the thighs and sauce among four portions with rice, orzo, or mashed potatoes. Keep the sauce beside or beneath the chicken rather than soaking the skin. The meal reheats well for practical lunches, although the texture will be softer than it is straight from the skillet.
If dinner needs to feel freshly made, complete only the prep work ahead and reserve the full 20-minute cooking sequence for serving time. The initial sear and final butter emulsion are both at their best when performed immediately before eating.
What to Serve With Lemon Garlic Chicken
Choose a starch that can absorb the buttery citrus sauce. Rice offers a neutral base, orzo echoes the shape and comfort of pasta, and mashed potatoes turn the sauce into a bright, garlicky gravy. Add a crisp green salad or simply cooked green vegetable to balance the rich chicken skin and butter.
For a larger family spread, Healthy Stuffed Bell Peppers bring color and vegetables, while Crispy Air Fryer Zucchini Chips add a contrasting crunchy side. Keep accompanying flavors relatively simple so the lemon, garlic, and thyme remain distinct.
If you are planning several dinners for the week, Garlic Butter Shrimp Pasta continues the garlic-forward theme on another night, while Easy Chicken Alfredo provides a creamier alternative. Classic Lemon Bars make a natural dessert for committed citrus fans, though their sweetness gives the meal a clearly different finish.
Nutrition and Dietary Notes
Each of the four servings provides 420 calories, 38g protein, 4g carbohydrates, 28g fat, 1g fiber, 1g sugar, and 560mg sodium. The high protein comes primarily from the chicken thighs, while the skin, olive oil, and butter account for much of the fat. The low carbohydrate count applies to the chicken and sauce alone; rice, orzo, mashed potatoes, and other sides will change the full meal totals.
This recipe is naturally built without flour, pasta, or breadcrumbs, but anyone following a strict gluten-free diet should verify the labels on chicken broth, dried seasoning, and all packaged ingredients to avoid hidden gluten or cross-contact. It is not dairy-free because the sauce uses 4 tablespoons of butter.
Low-sodium broth helps control seasoning, yet the finished serving still contains 560mg sodium. Do not reduce or increase the listed salt casually if consistent nutrition is important. For portioning accuracy, divide the cooked chicken and sauce evenly among four servings, recognizing that thigh size and the amount of sauce left in the skillet can create small real-world differences.
Nutrition Facts
Per serving · 420 calories
protein
38g
carbs
4g
fat
28g
fiber
1g
sugar
1g
sodium
560mg
Related Recipes
More dinner and similar dishes you'll love.
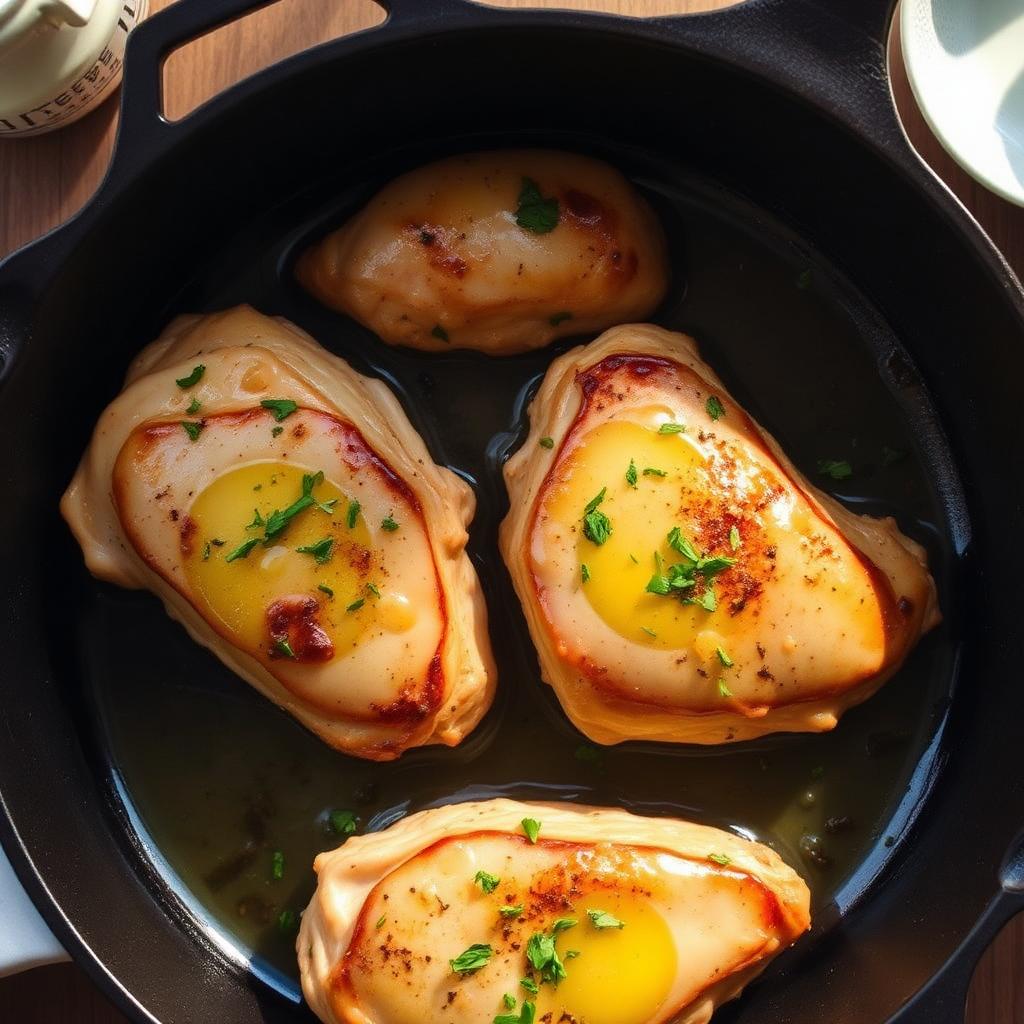
Garlic Butter Chicken
Our 20-minute garlic butter chicken is a restaurant-style meal you can make in one skillet. This easy chicken recipe uses simple ingredients to create a rich, savory pan sauce.
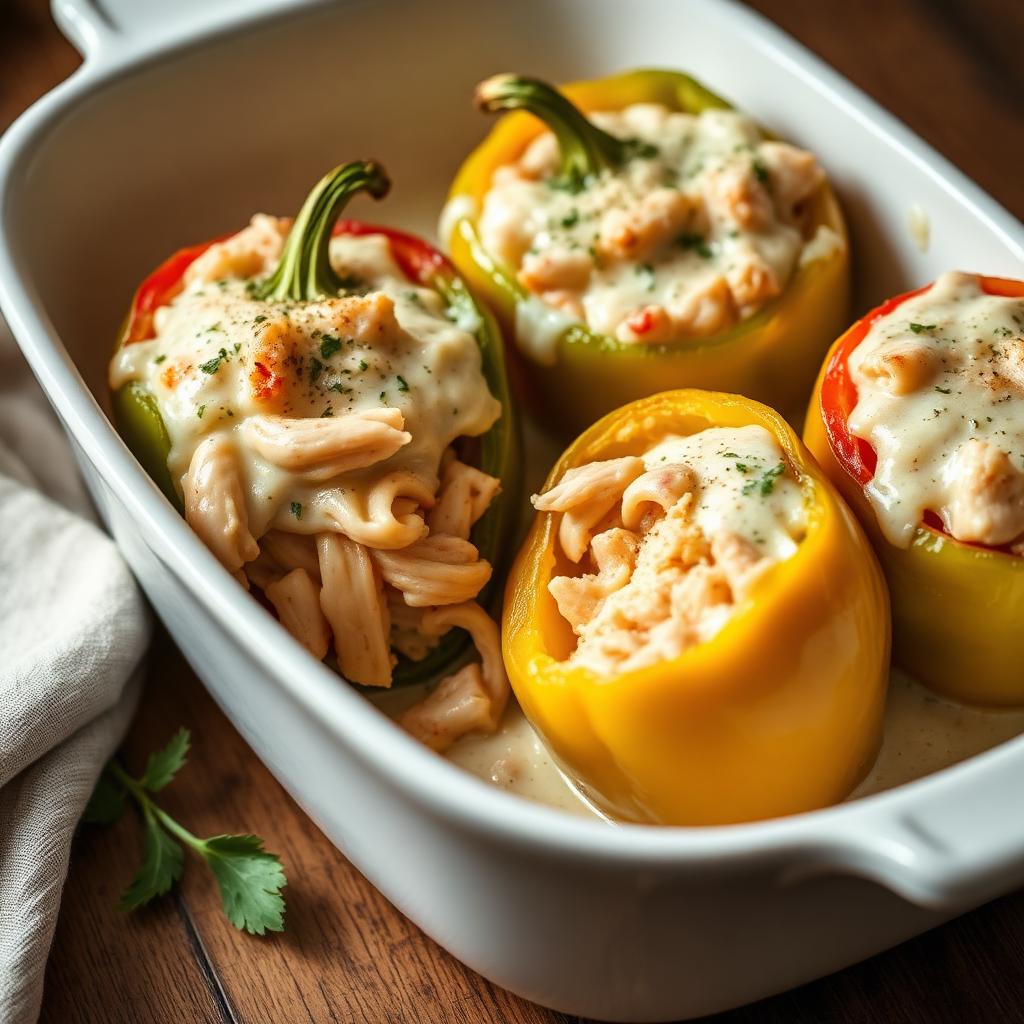
Chicken Alfredo Stuffed Bell Peppers
Indulge in creamy chicken alfredo stuffed bell peppers. This recipe combines tender chicken with a rich garlic parmesan white sauce, all baked inside sweet bell peppers.
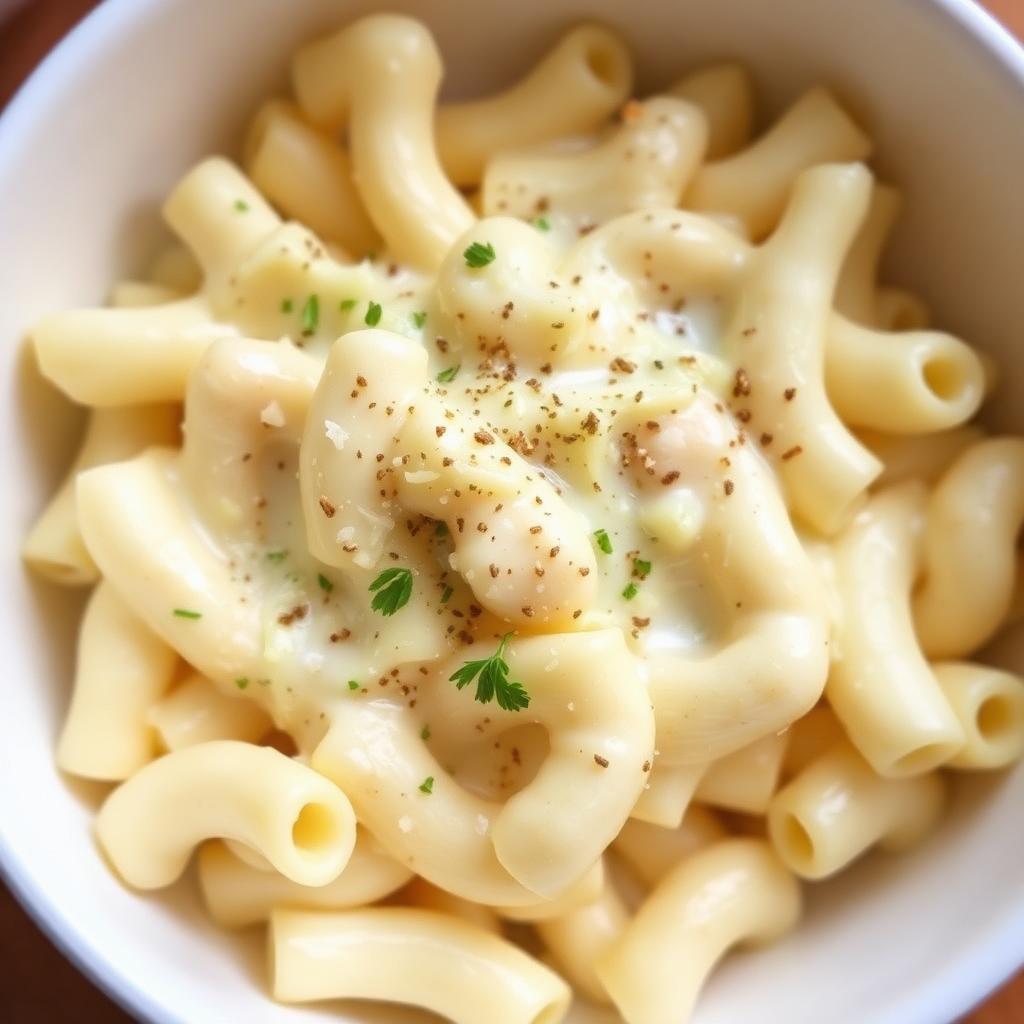
Garlic Parmesan Mac and Cheese
This garlic parmesan mac and cheese is a sophisticated take on a classic. Infused with roasted garlic and creamy parmesan, it offers a restaurant-quality gourmet pasta experience in just 30 minutes.
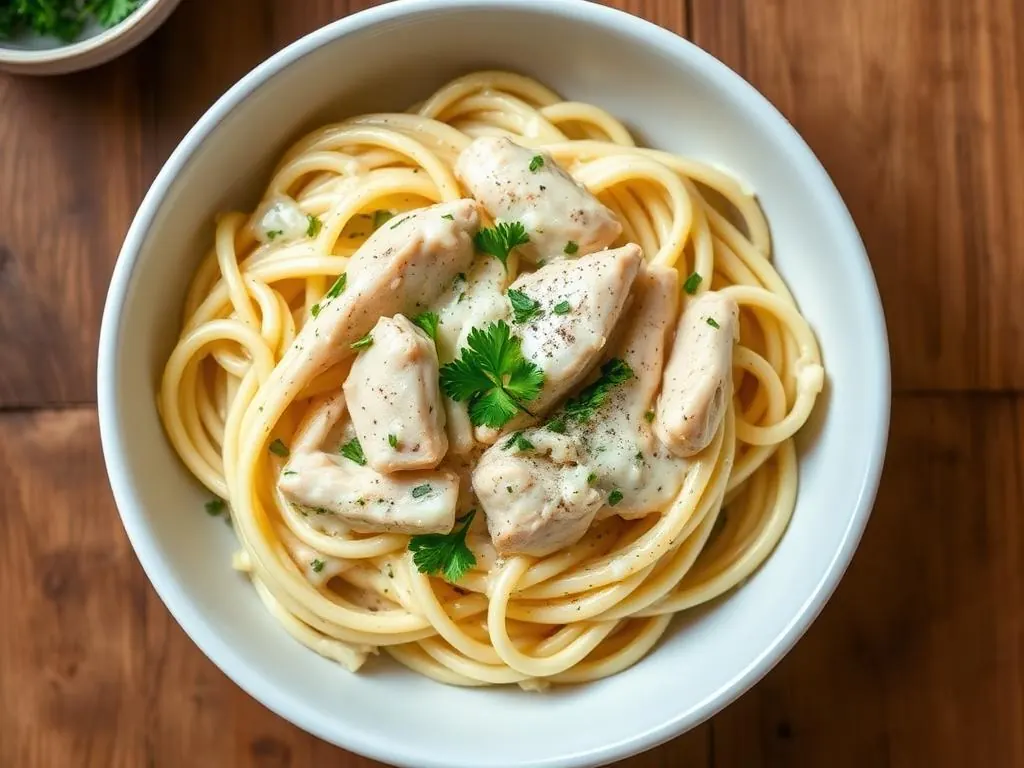
Easy Chicken Alfredo
This Easy Chicken Alfredo recipe delivers restaurant-style results right in your kitchen. Featuring a rich, creamy homemade alfredo sauce and tender seasoned chicken, this 25-minute meal is the perfect quick dinner.
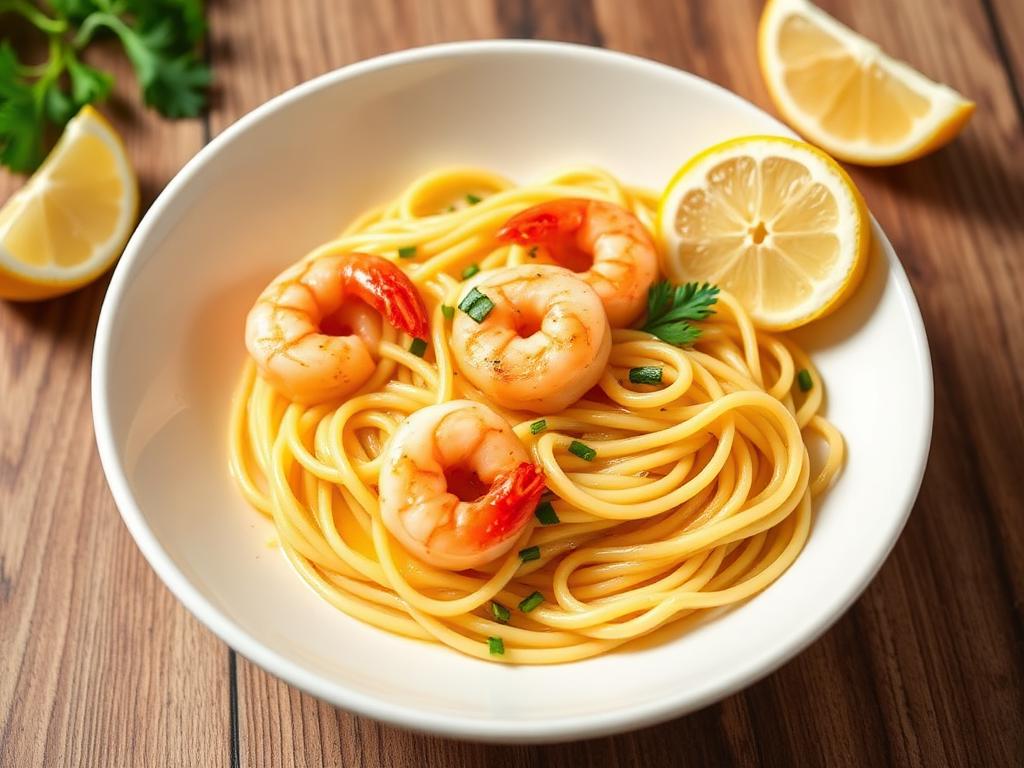
Garlic Butter Shrimp Pasta
This Garlic Butter Shrimp Pasta is a sophisticated yet easy seafood dinner ready in under 20 minutes. Tossed in a light lemon garlic sauce, it's a healthy linguine recipe for any night.
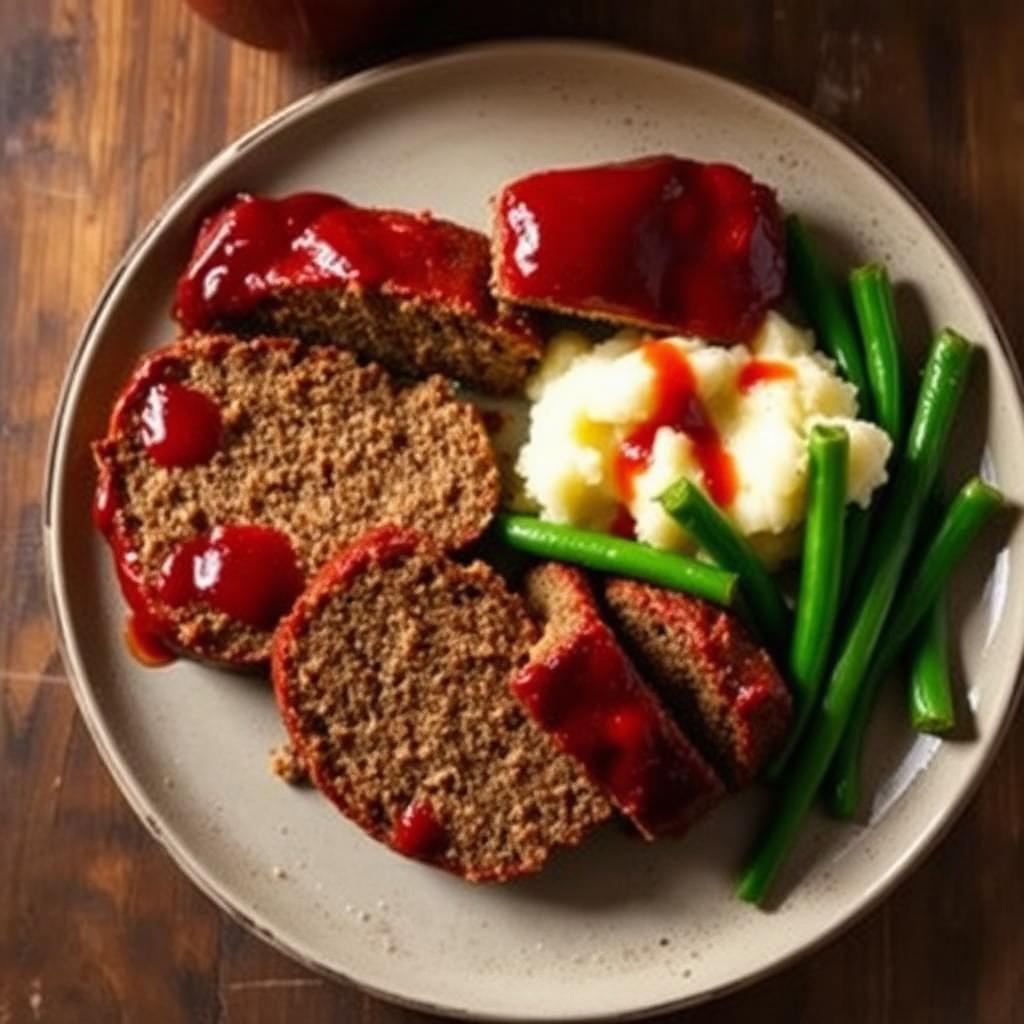
Classic Glazed Meatloaf
This classic meatloaf is a nostalgic homemade dinner that never fails. Our recipe features a sweet-tangy glaze and a tender texture, making it the best meatloaf recipe for families.
Frequently Asked Questions
Can I use chicken breasts instead of thighs?+
Yes — use 4 boneless breasts and reduce oven time to 8–10 minutes, pulling them at 165°F. Thighs stay juicier, but breasts work beautifully in this sauce.
Why is my lemon sauce bitter?+
Over-cooked lemon rind turns bitter. Caramelize the slices briefly and don't let them sit in the hot pan unattended.
Can I make this lemon garlic chicken ahead?+
Yes — store the cooked chicken and sauce together in the fridge up to 3 days. Reheat gently in a 325°F oven covered with foil.
What can I substitute for chicken broth?+
Dry white wine adds a beautiful depth. Vegetable broth or even water with an extra splash of lemon juice will also work.
Can I add vegetables to the same pan?+
Absolutely — toss baby potatoes, asparagus, or green beans into the sauce before the oven roast. Add 5 minutes to the cook time for potatoes.
How do I keep the chicken skin crispy?+
Pat it bone-dry before searing, don't move it in the pan, and serve immediately — sitting in the sauce will soften the skin over time.
Do I need an oven-safe skillet for this recipe?+
Yes, the method is designed for a skillet that can move directly from the stovetop into a 400°F oven. Cast iron or oven-safe stainless steel works well. Check the manufacturer’s heat limit, especially if the pan has a coated handle or lid components. If your skillet is not oven-safe, transfer the simmering sauce and seared thighs to a preheated baking dish, keeping the chicken skin-side up. You may lose a little heat during transfer, so rely on the 175°F internal temperature rather than appearance alone.
Why are chicken thighs cooked to 175°F?+
Chicken thighs contain more connective tissue than lean breast meat, so they benefit from cooking beyond the basic safe threshold. At 175°F, that connective tissue has more opportunity to soften, giving the dark meat a tender, succulent texture. Insert an instant-read thermometer into the thickest portion without touching bone, which can distort the reading. Begin checking during the stated 12–15 minute roasting window. Remove the skillet when the thighs reach 175°F rather than extending the roast unnecessarily, since prolonged heat can still dry them out.
Can I make this recipe without a meat thermometer?+
A thermometer is strongly recommended because thigh size, skillet material, and oven calibration all affect cooking speed. Visual cues alone cannot confirm doneness reliably. If necessary, cut into the thickest section near the bone: the meat should be opaque, the juices should not look bloody, and the texture should be tender. However, cutting releases juices and still provides less certainty than a temperature reading. An inexpensive instant-read thermometer also prevents overcooking, making it one of the most useful tools for consistently juicy chicken.
Should I remove the chicken thigh bones before serving?+
There is no need to remove the bones before serving. Bone-in thighs hold their shape well, look attractive on the plate, and are easy for diners to navigate with a knife and fork. If you prefer boneless portions for meal-prep bowls, let the cooked thighs rest briefly, then pull or slice the meat from the bones before portioning. Keep the skin attached if desired, and spoon the sauce around the meat. Remember that the recipe’s alternative is 4 boneless thighs if you want to avoid bones from the outset.
What size skillet should I use?+
Use a large oven-safe skillet that holds all six bone-in thighs in a single layer without significant overlap. A pan around 12 inches is generally practical, although the exact fit depends on thigh size and skillet shape. Each piece needs direct contact with the hot surface during searing; crowding creates trapped steam and unevenly pale skin. If your skillet is smaller, working in batches is better than packing the chicken tightly. Return all the thighs to the sauce skin-side up before transferring the pan to the oven.
Can I eat the cooked lemon slices?+
Yes, the lemon rounds are edible, but whether you enjoy them depends on your preference for assertive citrus flavors. Light caramelization softens the fruit and mellows some of its sharpness, while the peel and white pith retain a pleasant bitterness for some diners. Treat the slices as an optional garnish rather than expecting everyone to eat them whole. The important point is to brown them only lightly for 1–2 minutes. Deeply charred peel can dominate the sauce with harsh bitterness.
How can I tell when the skillet is hot enough for searing?+
The olive oil should look fluid and shimmer across the skillet, but it should not be smoking heavily. When the edge of a thigh touches the surface, you should hear an immediate, energetic sizzle. Place the chicken away from you to reduce splatter, then leave it undisturbed. A quiet pan produces slow rendering and pale skin, while excessive smoke signals that the oil or seasoning may scorch. Medium-high heat is the target, but adjust slightly because burner output and skillet materials vary.
Why does the recipe use smashed garlic instead of minced garlic?+
Smashed cloves expose enough surface area to infuse the butter and broth while remaining large enough to resist scorching. Minced garlic has many tiny edges, and those pieces can turn dark during even a short cook in a skillet that was just used for searing. The larger cloves also become soft and mellow as the sauce simmers. Press each peeled clove firmly with the flat side of a knife, but leave it mostly intact. Add it only after reducing the burner from medium-high to medium.

Recipe by Sarah Mitchell
Recipe developer · Practical family cooking
Get more recipes like this
Get a free collection of 15 easy family recipes delivered to your inbox.
You May Also Like
Hand-picked favorites from across RecipeNest.

The Best Chocolate Chip Cookies
Stop searching for the best chocolate chip cookies. This recipe delivers a soft, chewy texture with buttery edges and gooey chocolate in every bite — the ultimate homemade cookie experience.
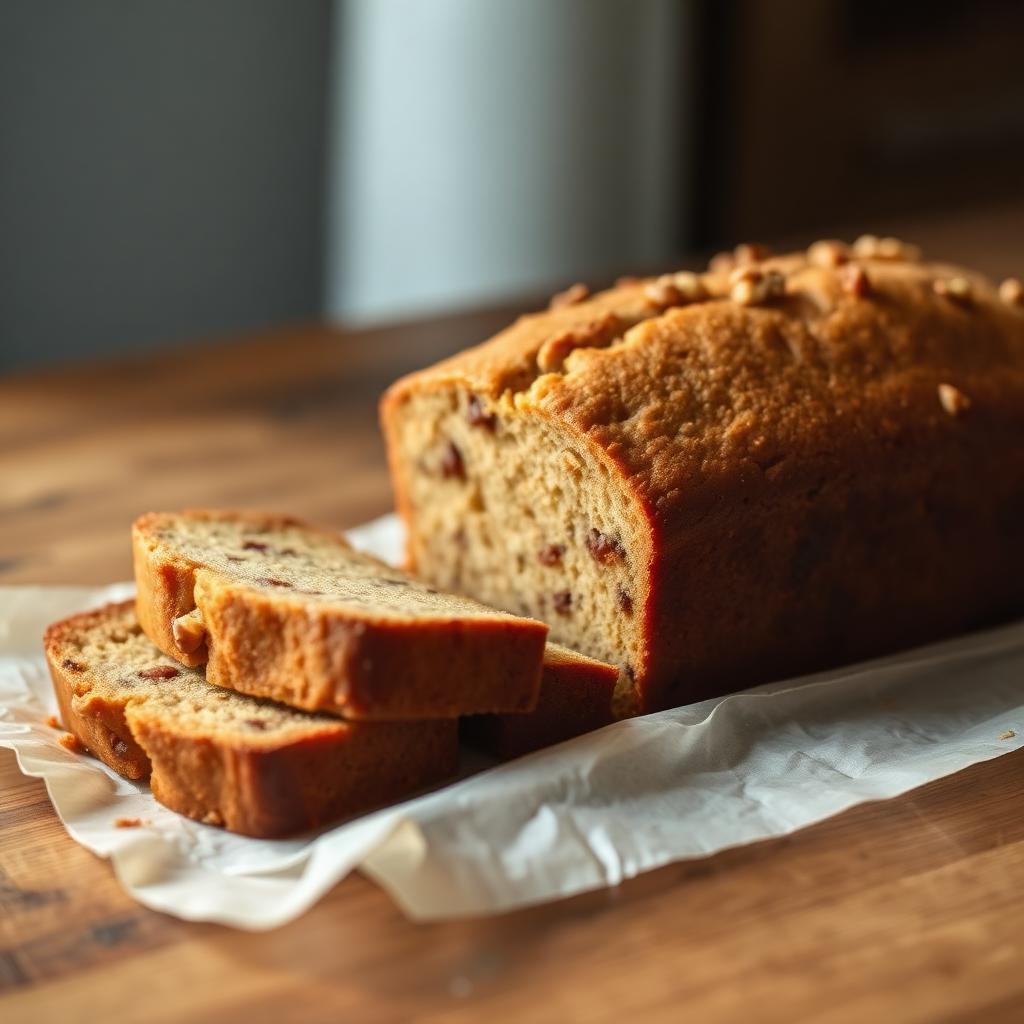
The Best Moist Banana Bread
Discover how to make the best moist banana bread using only one bowl. This homemade banana bread recipe delivers a soft, bakery-style loaf that is perfect for utilizing overripe bananas.
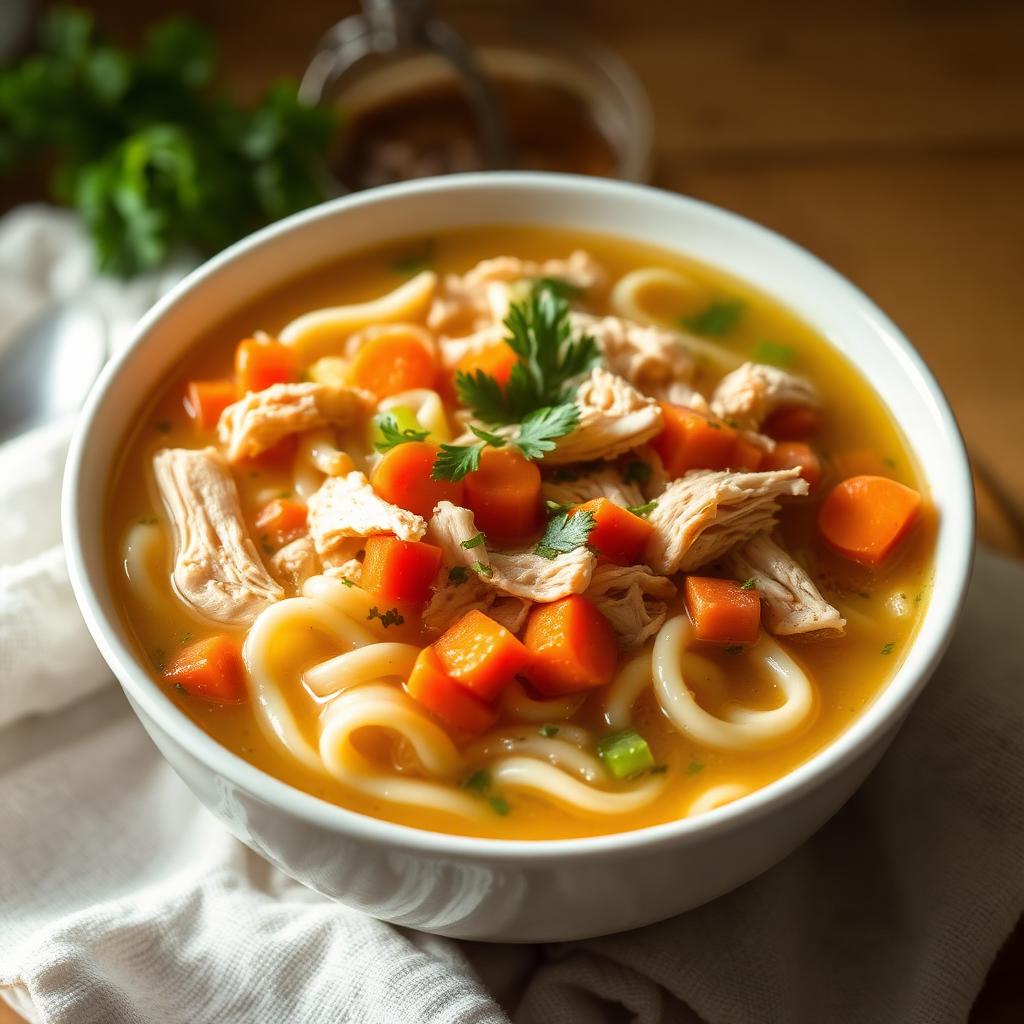
Classic Chicken Soup
This classic chicken soup recipe is the ultimate homemade chicken noodle soup — cozy, restorative, and ready in under an hour. Made with tender shredded chicken, egg noodles, carrots, celery, and fresh herbs in a golden broth, this old-fashioned chicken soup is the go-to comfort food for cold days and sick days alike.
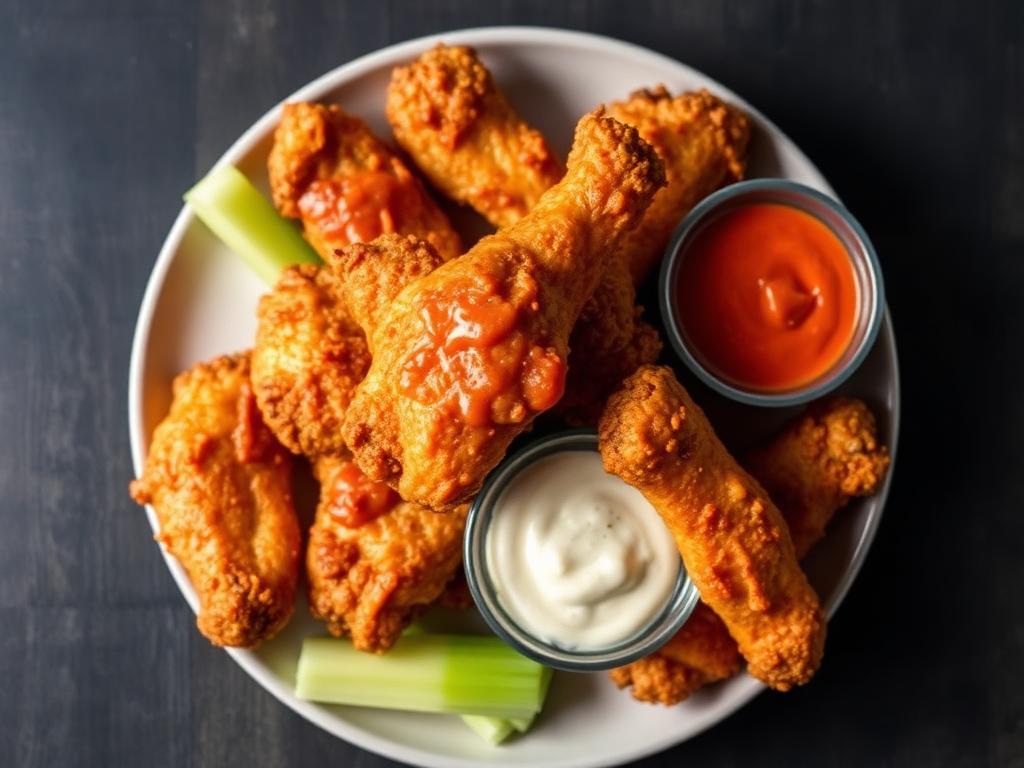
Crispy Air Fryer Chicken Wings
Stop settling for soggy wings and try these air fryer chicken wings. These crispy wings use no flour or breading, making them the perfect keto chicken wings for your next party.