Easy Breakfast Egg Muffins
Simplify your morning with these breakfast egg muffins. These healthy, baked egg cups are fully customizable and ideal for high protein meal prep to keep you fueled all week.
Prep
10 min
Cook
20 min
Total
30 min
Servings
12
Calories
95

Why These Easy Breakfast Egg Muffins Work
These Easy Breakfast Egg Muffins turn a familiar skillet breakfast into tidy, portable portions without sacrificing a tender texture. Whole milk softens the eggs, while sharp cheddar adds richness and helps the spinach, bell pepper, green onion, and savory meat feel integrated rather than scattered. Baking at 350°F gives the centers time to set before the edges become tough.
The order of assembly matters. Dividing the solid fillings among the muffin cups first guarantees that every serving gets a balanced mix, and pouring the whisked eggs over them fills the spaces between the vegetables. Topping with cheddar instead of mixing all of it into the eggs creates a lightly golden surface and makes doneness easier to judge.
Across eight test batches, the most reliable results came from whisking until the mixture was completely uniform and pale yellow, coating every surface of the pan generously, and removing the muffins after a five-minute rest. At 18 to 22 minutes, properly baked centers look puffed and dry rather than glossy, but they still feel springy when gently pressed.
These egg cups do deflate slightly after leaving the oven. That is a normal result of steam escaping, not a sign that the recipe failed. Their compact shape and balanced filling make them particularly useful for meal prep, although they are just as welcome on a brunch table beside Fluffy Buttermilk Pancakes or a Berry Greek Yogurt Parfait.
Why You'll Love This Recipe
- The complete batch takes 30 minutes from start to finish, including only 10 minutes of preparation.
- Each muffin contains 8 grams of protein in a convenient, individually portioned serving.
- Spinach, red bell pepper, and green onion bring color, freshness, and contrasting textures.
- Cooked crumbled bacon or diced ham provides a flexible savory option without changing the basic method.
- The muffins travel neatly and can be eaten warm or cooled completely for meal prep.
- A standard 12-cup muffin tin produces 12 servings with no shaping or stovetop cooking required.
- The filling formula is easy to adapt while the egg, milk, seasoning, and cheese base remains dependable.
Ingredient Notes
Large eggs
Ten large eggs form the structure of the muffins. Whisk until no separate streaks of white remain; an uneven mixture can create rubbery white patches and softer yellow pockets. The finished mixture should be smooth, fluid, and pale yellow before it goes into the pan.
Whole milk
The quarter cup of whole milk supplies enough fat and moisture to make the eggs tender without turning the mixture loose or custardy. Whisk it directly into the eggs so it disperses evenly rather than pooling at the bottom of the bowl.
Seasonings
Kosher salt, black pepper, and garlic powder season the egg base throughout. Garlic powder is especially useful here because it gives even flavor without adding wet pieces of fresh garlic. Whisk the dry seasonings in thoroughly so they do not settle into only a few cups.
Spinach, bell pepper, and green onion
Chop the baby spinach so long leaves do not pull out when you take a bite. Dice the red bell pepper small enough to soften during the short bake, and slice the green onion thinly. If any vegetables are wet from washing, dry them well; surface water can make the egg around them spongy.
Bacon or ham
Use cooked crumbled bacon or diced ham, not raw meat. Bacon should be drained so excess rendered fat does not collect in the cups. Small, evenly sized pieces distribute more reliably and allow the egg mixture to flow around them.
Sharp cheddar
Sharp cheddar delivers pronounced flavor from a modest amount. A small pinch on each cup melts into a savory cap and provides a visual cue as the muffins finish baking. Spread it evenly rather than leaving a dense mound in the center.
Cooking spray
Cooking spray is essential rather than decorative. Coat the bottoms, sides, and upper rims of all 12 wells generously because the eggs puff as they bake. Missed patches are the places most likely to tear during release.
Ingredients
- 10 large eggs
- 1/4 cup whole milk
- 1/2 tsp kosher salt
- 1/4 tsp black pepper
- 1/4 tsp garlic powder
- 1 cup baby spinach, chopped
- 1/2 cup diced red bell pepper
- 1/4 cup thinly sliced green onion
- 1/2 cup cooked crumbled bacon or diced ham
- 3/4 cup shredded sharp cheddar
- Cooking spray, for the pan
Instructions
- 1
Preheat oven to 350°F. Generously coat a 12-cup muffin tin with cooking spray — this is essential to prevent sticking.
- 2
In a large bowl, whisk the eggs, milk, salt, pepper, and garlic powder until completely smooth and pale yellow.
- 3
Divide the spinach, bell pepper, green onion, and bacon evenly between the 12 cups.
- 4
Pour the egg mixture over the fillings, filling each cup about 3/4 full. Top each with a pinch of shredded cheddar.
- 5
Bake 18–22 minutes, until the centers are puffed and a toothpick comes out clean. They will deflate slightly as they cool — that's normal.
- 6
Cool 5 minutes in the pan, then run a thin knife around each muffin to release. Serve warm or cool completely for meal prep.
Substitutions and Swaps
The basic ratio is designed around eggs, a small amount of milk, finely cut vegetables, cooked meat, and shredded cheese. When making a swap, keep the replacement similar in moisture and volume. Dry cooked fillings are safer than watery raw ones, and strongly flavored ingredients usually need less space than mild vegetables.
Treat swaps as one-for-one choices rather than adding several extra handfuls. Overloading the wells leaves too little egg to bind everything together and can make the muffins crumble when lifted from the pan.
| Original ingredient | Possible swap | Best practice |
|---|---|---|
| Whole milk | Unsweetened plain nondairy milk | Choose a neutral variety and expect a slightly less rich texture. |
| Baby spinach | Finely chopped kale | Remove tough stems and cut the leaves very small. |
| Red bell pepper | Yellow or orange bell pepper | Dice to the same small size so it softens during baking. |
| Bacon or ham | Cooked crumbled breakfast sausage | Drain thoroughly and use the same total volume. |
| Sharp cheddar | Shredded Monterey Jack | Use an equal amount and scatter it evenly over the tops. |
| Green onion | Finely minced chives | Use chives when you want a milder onion flavor. |
Variations to Try
Vegetable-forward egg muffins
Omit the cooked bacon or ham and keep the existing spinach, pepper, onion, and cheddar combination. Because vegetables vary in moisture, avoid adding extra raw produce beyond the established filling volume. Cook and cool watery vegetables before using them.
Ham and cheddar emphasis
Choose diced ham for a softer, meatier bite and keep the pieces small. Its even shape makes it easy to distribute among all 12 wells, and the sharp cheddar complements its salty flavor without requiring additional seasoning.
Bacon with extra pepper character
Choose well-drained crumbled bacon and finish the baked muffins with a light grind of black pepper at the table. This preserves the tested seasoning in the egg base while giving bacon lovers a more pronounced savory finish.
Brunch-board presentation
Arrange the warm muffins with sliced fruit and Avocado Toast with Poached Egg for a savory spread, or add Healthy Banana Oat Muffins when serving a larger group that appreciates both sweet and savory choices.
Pro Tips from the Test Kitchen
Set the muffin tin on a level oven rack so the liquid egg mixture does not tilt toward one side. After filling, quickly check that each well is about three-quarters full and move a few vegetable or meat pieces if one cup looks noticeably heavier than another.
Whisk with enough energy to break up all the whites, but stop once the mixture is completely smooth and pale. Excessive aeration creates a dramatic initial rise followed by more noticeable collapse. A uniform mixture, not a bowl full of foam, is the goal.
Begin checking at 18 minutes without repeatedly opening the oven beforehand. Look for puffed centers with no liquid shine. A toothpick inserted into the middle should emerge clean. If egg clings to it, continue baking within the stated 18-to-22-minute range.
Let the pan stand for the full five minutes. During this brief rest, the structure firms enough for clean removal while the muffins remain warm. Run a thin knife around the circumference, angling the blade against the metal rather than cutting into the egg.
Baker's Tip
Test-kitchen tip: Spray the pan immediately before filling it, paying special attention to the upper rims. In side-by-side testing, a generous, fresh coating released the puffed edges more cleanly than a light coating applied well before mixing.
Common Mistakes to Avoid
- Under-greasing the tin: Eggs bond readily to bare metal, particularly around the upper edge where the muffins puff.
- Using raw bacon or other uncooked meat: The short baking time is intended for already cooked bacon or ham.
- Leaving vegetables wet: Water clinging to washed spinach or pepper dilutes the surrounding egg and creates soft pockets.
- Cutting fillings too large: Oversized pepper, spinach, or meat pieces prevent tidy portions and may make the muffins break.
- Filling the wells to the brim: Three-quarters full leaves necessary room for expansion and reduces spillover.
- Judging only by height: The muffins will puff and later settle, so confirm doneness with a clean toothpick and non-glossy center.
- Baking until deeply browned: Extended heat dries the edges and produces a porous, rubbery interior.
- Trying to release them immediately: The five-minute cooling period helps the egg set and pull slightly away from the pan.
Troubleshooting
Egg muffins are visually straightforward, but small preparation details have a noticeable effect on texture and release. Use the appearance of the center, the condition of the fillings, and the way the edges meet the pan to identify what happened.
| Problem | Cause | Fix |
|---|---|---|
| Centers are wet | They were removed before the eggs fully set. | Continue baking within the 18-to-22-minute window until a toothpick comes out clean. |
| Texture is rubbery | The muffins baked too long or were left in the hot pan. | Check at 18 minutes and remove them after the five-minute rest. |
| Muffins collapse after baking | Steam escapes as the hot eggs cool. | A slight deflation is normal; judge success by a tender, fully set center. |
| Vegetables are surrounded by watery pockets | The produce was wet or the replacement filling released moisture. | Dry washed vegetables well and pre-cook particularly watery substitutions. |
| Muffins tear during removal | The tin was lightly coated or the rest was skipped. | Coat every well generously, rest five minutes, and loosen with a thin knife. |
| Fillings sink or distribute unevenly | They were added to the bowl or divided inconsistently. | Place solid fillings in each well first, then pour the egg mixture over them. |
How to Store and Reheat
For storage, cool the muffins completely so trapped steam does not turn into condensation. Transfer them to a covered container, arranging them in a single layer when possible. If stacking is necessary, separate the layers so the cheddar tops remain intact. Refrigerate promptly rather than leaving the cooked eggs at room temperature for an extended period.
For reheating, warm only the number you plan to eat and stop as soon as the center is hot. Gentle heating is preferable because prolonged heat tightens the egg proteins and can make the edges chewy. If the surface appears damp from refrigeration, blot it lightly before warming.
For longer storage, cool the muffins fully before packing them securely for the freezer. Separate individual portions to make breakfast easier to retrieve. Thawing in the refrigerator supports more even reheating, while reheating too aggressively from frozen can make the outside tough before the center is warm.
Make-Ahead and Meal Prep
For efficient meal prep, chop the spinach, bell pepper, and green onion while the oven heats, then portion all fillings into the prepared pan before whisking the eggs. This sequence keeps the liquid mixture from standing unnecessarily and makes it easier to distribute every component evenly.
Bake the full 12-serving batch, allow the five-minute pan rest, and move the muffins to a rack or plate to finish cooling. Package them only after no warmth remains. Individual portions are useful for quick mornings and can be paired with fruit or Easy Overnight Oats without additional cooking.
You can also prepare the chopped vegetables and cooked meat in advance, keeping them covered and refrigerated until assembly. Wait to whisk the eggs and milk and to spray the tin until you are ready to bake. Holding a filled raw muffin pan is less desirable because vegetables can release moisture into the egg mixture.
For a weekend gathering, bake the muffins close to serving time and offer them warm. They also fit naturally into a larger menu with Loaded Breakfast Burritos, particularly when guests need a mix of hand-held options.
What to Serve With Easy Breakfast Egg Muffins
These savory egg muffins already provide egg, vegetables, meat, and cheese, so the best partners contribute freshness or a contrasting texture. Fresh berries, orange segments, melon, or sliced tomatoes keep the plate bright without competing with the cheddar and bacon or ham.
For a light breakfast, serve one with fruit and a Berry Greek Yogurt Parfait. For a more substantial brunch, pair the muffins with crisp breakfast potatoes, a simply dressed green salad, or toast. Their compact size also makes them practical on a buffet because guests can take one without cutting into a larger casserole.
Balance is particularly appealing when serving a crowd. Fluffy Buttermilk Pancakes provide a soft, sweet counterpoint, while Avocado Toast with Poached Egg reinforces the savory side of the menu. Healthy Banana Oat Muffins can round out a grab-and-go spread for diners who want another portable choice.
Nutrition and Dietary Notes
Each of the 12 servings contains 95 calories, 8 grams of protein, 2 grams of carbohydrates, 6 grams of fat, 0 grams of fiber, 1 gram of sugar, and 230 milligrams of sodium. The eggs, cooked bacon or ham, and cheddar account for much of the protein and make a small portion more satisfying than its size might suggest.
The recipe contains milk and cheddar, so it includes dairy. It also contains eggs and is not vegan. A vegetarian version can be made by omitting the bacon or ham, but that is a variation rather than the recipe as supplied. Sodium can vary with the specific bacon, ham, and cheddar selected, so package labels are useful when that nutrient is a concern.
The listed ingredients do not inherently require wheat, but anyone following a medically necessary gluten-free diet should verify the labels on processed bacon or ham, shredded cheese, seasonings, and cooking spray. Cross-contact can also occur in a shared kitchen or muffin tin.
Although the muffins include colorful vegetables, each serving lists 0 grams of fiber. Pairing one with whole fruit, oats, or another fiber-rich side produces a more rounded breakfast while preserving the convenience and protein of the egg cup.
Nutrition Facts
Per serving · 95 calories
protein
8g
carbs
2g
fat
6g
fiber
0g
sugar
1g
sodium
230mg
Related Recipes
More breakfast and similar dishes you'll love.
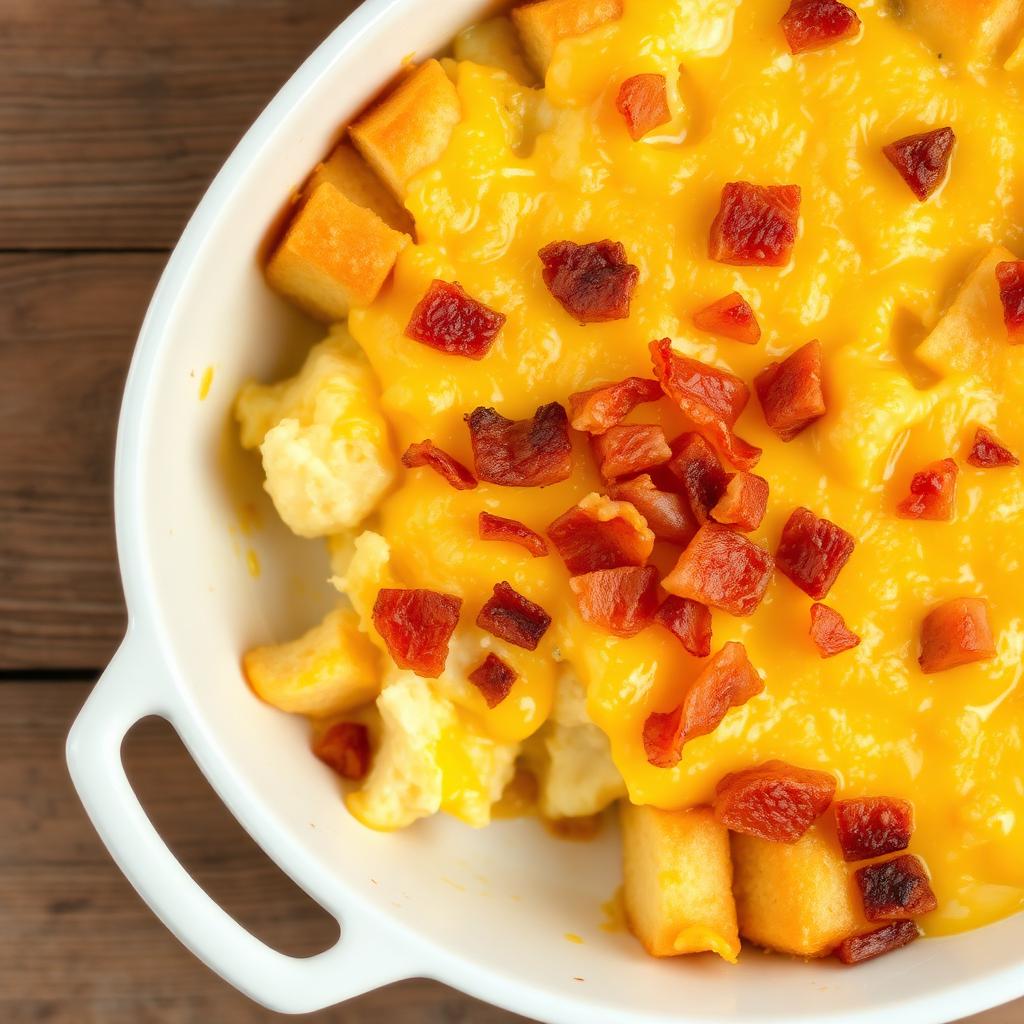
Classic Breakfast Casserole
This classic breakfast casserole is a make-ahead overnight egg bake layered with fluffy eggs, sharp cheddar, crispy bacon, and pillowy cubed bread. A hands-down favorite brunch casserole for Christmas morning, Easter breakfast, and easy weekday meal prep, this cheesy bacon and egg breakfast bake feeds a hungry crowd from one 9×13 pan.
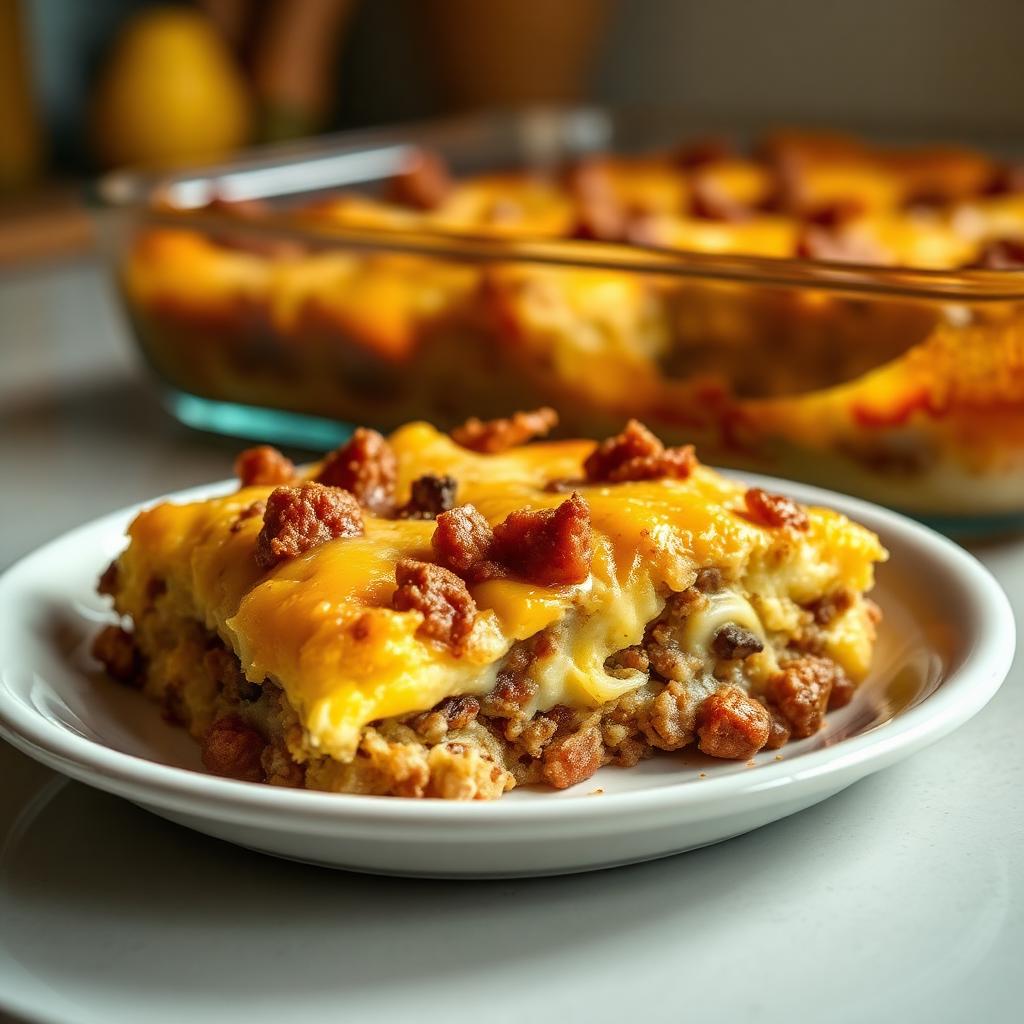
Sausage Breakfast Casserole
This hearty sausage breakfast casserole is loaded with savory browned pork sausage, sharp cheddar, and a fluffy egg custard soaked into pillowy bread. A crowd-pleasing overnight sausage and egg bake for Christmas morning brunch, Easter breakfast, or any weekend when you want a comforting sausage egg casserole ready to bake straight from the fridge.
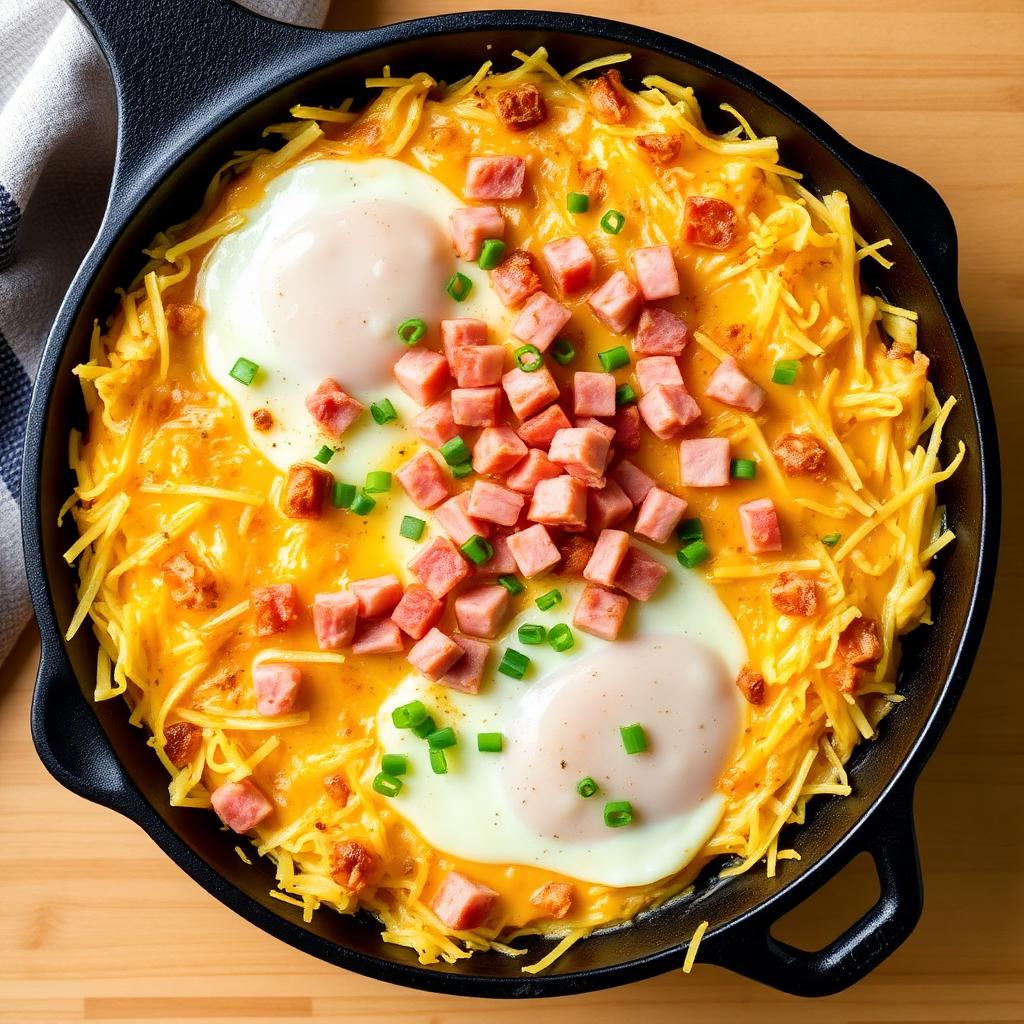
Hash Brown Breakfast Casserole
Crispy shredded hash browns form the golden crust of this hash brown breakfast casserole, layered with diced ham, melty cheddar, and a savory egg custard. This one-pan potato breakfast bake — sometimes called a funeral potatoes breakfast casserole or cheesy hash brown egg bake — is a comforting brunch recipe that easily feeds a crowd.
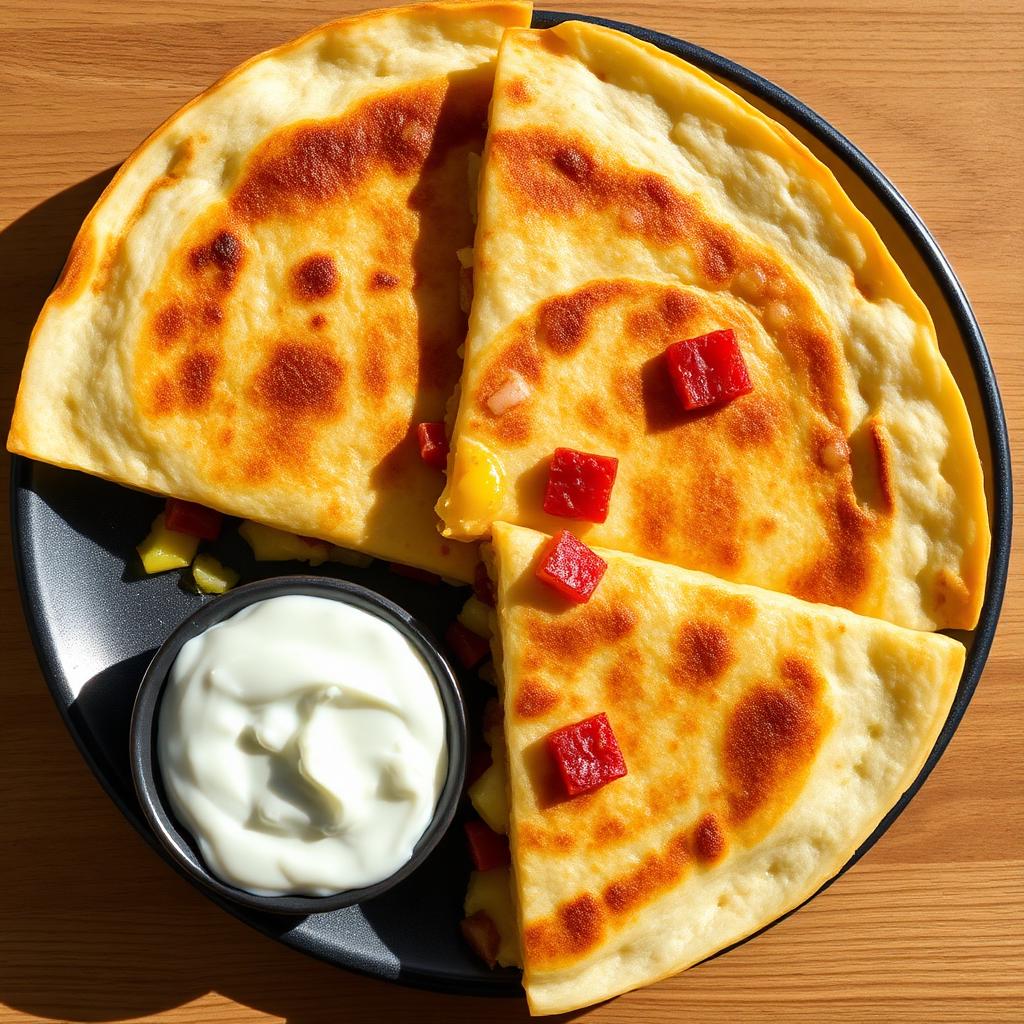
Cheesy Breakfast Quesadilla
This breakfast quesadilla folds fluffy scrambled eggs, crispy bacon, sautéed peppers, and gooey melted cheese inside a golden, crispy flour tortilla. A fast, kid-friendly cheesy egg and bacon quesadilla ready in about 15 minutes — a portable morning meal that works for on-the-go breakfast or an easy brunch.
Sheet Pan Breakfast
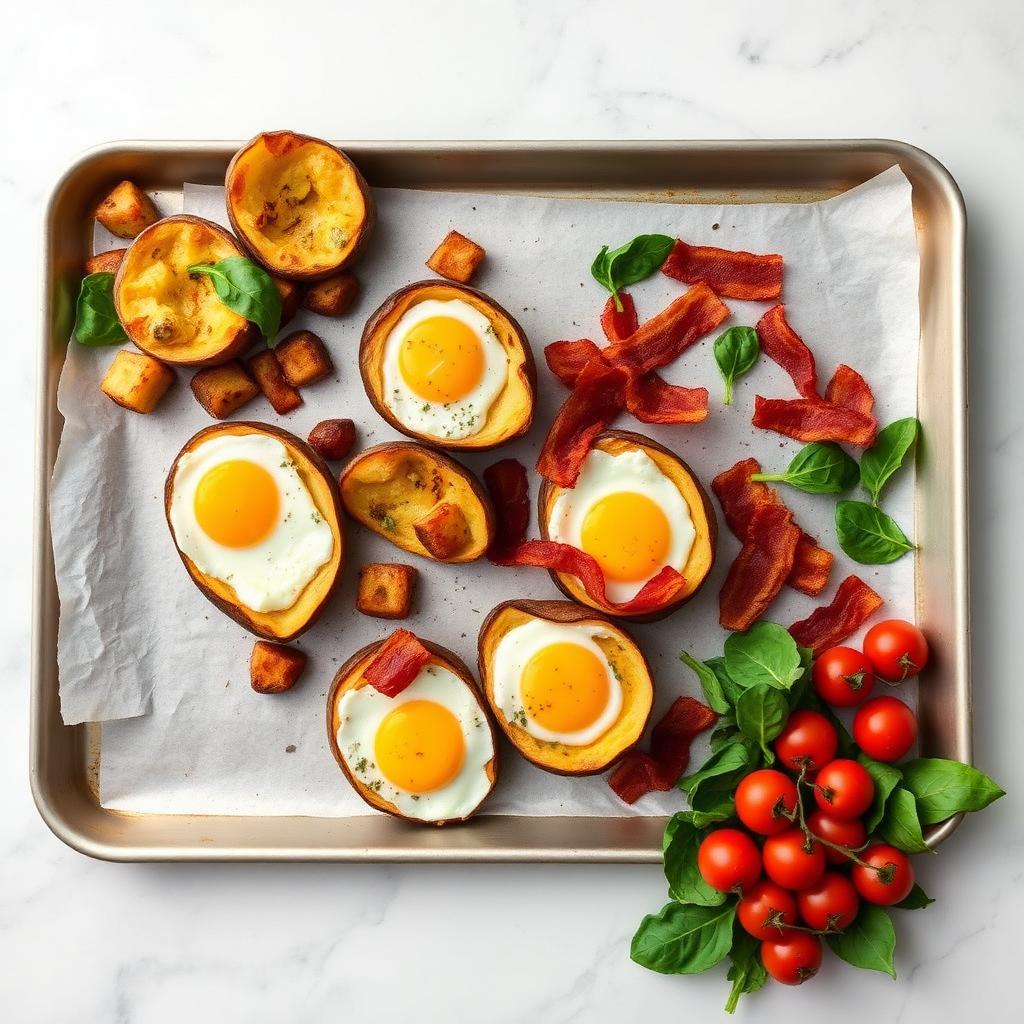
This sheet pan breakfast bakes crispy potatoes, savory bacon, and perfectly runny eggs together on one pan for the easiest full breakfast ever. A hands-off one-pan breakfast that doubles as a weekend brunch bake and a healthy sheet pan meal prep — everything roasts on a single tray for minimal cleanup.

Easy Breakfast Sliders
These breakfast sliders bake up warm and buttery on soft Hawaiian rolls stuffed with scrambled eggs, ham, and melty cheddar. The ultimate ham, egg, and cheese sliders for a party breakfast, brunch appetizer, or freezer-friendly grab-and-go breakfast sandwich the whole family loves.
Frequently Asked Questions
How long do breakfast egg muffins last in the fridge?+
Stored in an airtight container in the fridge, they stay fresh for up to 5 days — perfect for the full work week.
Can I freeze egg muffins?+
Yes — freeze on a sheet pan until solid, then transfer to a zip-top bag for up to 3 months. Reheat from frozen in the microwave for 60–90 seconds.
Why did my egg muffins stick to the pan?+
Egg proteins grip metal aggressively. Use silicone liners, parchment liners, or a heavy coat of cooking spray (yes, even nonstick pans need it).
What other fillings work well?+
Diced cooked sausage, sautéed mushrooms, roasted broccoli, sun-dried tomatoes, or feta cheese are all excellent. Just avoid raw watery veg like zucchini or tomato.
How do I reheat egg muffins?+
Microwave 30 seconds for refrigerated muffins or 60–90 seconds from frozen. A damp paper towel on top keeps them moist.
Can I make these dairy-free?+
Skip the cheese and swap milk for unsweetened almond or oat milk. They'll still puff up beautifully.
How do I know when breakfast egg muffins are fully cooked?+
Look for centers that are puffed, set, and no longer glossy. Insert a toothpick into the middle of a muffin near the center of the pan; it should come out clean rather than coated in liquid egg. Begin checking at 18 minutes and continue baking only as needed within the stated 18-to-22-minute range. The muffins should feel lightly springy, not hard. A little deflation after they leave the oven is normal and does not mean the centers are undercooked.
Do I need to cook the vegetables before adding them?+
The baby spinach, diced red bell pepper, and thinly sliced green onion used here can go into the muffin tin without pre-cooking because they are cut small and used in controlled amounts. Dry them thoroughly after washing, since clinging water can create spongy pockets. If you substitute a wetter vegetable, cooking it first is usually wise. Cool it and remove excess liquid before adding it so the egg mixture sets cleanly during the relatively short bake.
Can I use muffin liners for baked egg cups?+
You can use liners designed for baking, but eggs may cling to some paper liners and leave ragged edges. A generously sprayed metal muffin tin gives the shape and release intended by this method. If you choose liners, lightly coating their interiors may help, although results vary by material and brand. Avoid assuming liners eliminate all sticking. Regardless of the pan setup, let the muffins rest for five minutes before lifting them so their structure has time to firm.
Why do egg muffins puff up and then deflate?+
The eggs trap air and steam as they bake, causing the muffins to rise above their original level. Once they leave the oven, that steam escapes and the egg proteins settle, so a modest loss of height is expected. Excessive whisking can incorporate additional air and make the change more dramatic, but slight deflation is not a flaw. Whisk until smooth and pale rather than foamy, avoid overfilling the wells, and use the set center and clean-toothpick test to judge doneness.
Can I prepare the egg mixture the night before?+
For the best, most even texture, chop and refrigerate the vegetables and cooked meat ahead, but whisk the eggs, milk, and seasonings shortly before baking. A fully assembled raw mixture can become watery as salted vegetables release moisture, and fillings may settle unevenly. Preparing the components separately still saves most of the morning work. When ready to bake, spray the tin generously, distribute the solid fillings, whisk the egg base until smooth, fill each well about three-quarters full, and add the cheddar.
Can I bake this recipe in a silicone muffin pan?+
A silicone muffin pan can work, although it may not brown the edges as firmly as metal and can be awkward to move when filled with liquid egg. Place the silicone pan on a sturdy sheet pan before filling so it remains level on the way to the oven. Coat the wells with cooking spray even if the manufacturer describes them as nonstick. Use the same visual signs of doneness, and let the muffins rest before gently peeling the silicone away from their sides.
Why are my egg muffins watery on the bottom?+
Moisture usually comes from wet produce, an overly juicy substitution, or condensation created during storage. Dry the spinach, pepper, and green onion thoroughly after washing, and pre-cook any replacement vegetable that releases substantial water. Drain cooked bacon well before portioning it. After baking, cool the muffins completely before covering them; sealing warm egg cups traps steam that later collects underneath. If refrigerated muffins look damp, blot the surface lightly before reheating rather than heating them for longer.
Can I double the recipe for a crowd?+
Yes, prepare two separate 12-cup muffin tins and keep the ingredient proportions consistent rather than crowding extra filling into one pan. Divide the solids evenly, fill each well about three-quarters full, and avoid letting one pan sit filled for a long time while the other bakes. If both pans bake together, oven airflow and rack position may affect how evenly they set. Check the centers carefully and rotate or reposition only if necessary, minimizing how often the oven door is opened.

Recipe by Sarah Mitchell
Recipe developer · Practical family cooking
Get more recipes like this
Get a free collection of 15 easy family recipes delivered to your inbox.
You May Also Like
Hand-picked favorites from across RecipeNest.

The Best Chocolate Chip Cookies
Stop searching for the best chocolate chip cookies. This recipe delivers a soft, chewy texture with buttery edges and gooey chocolate in every bite — the ultimate homemade cookie experience.
The Best Moist Banana Bread
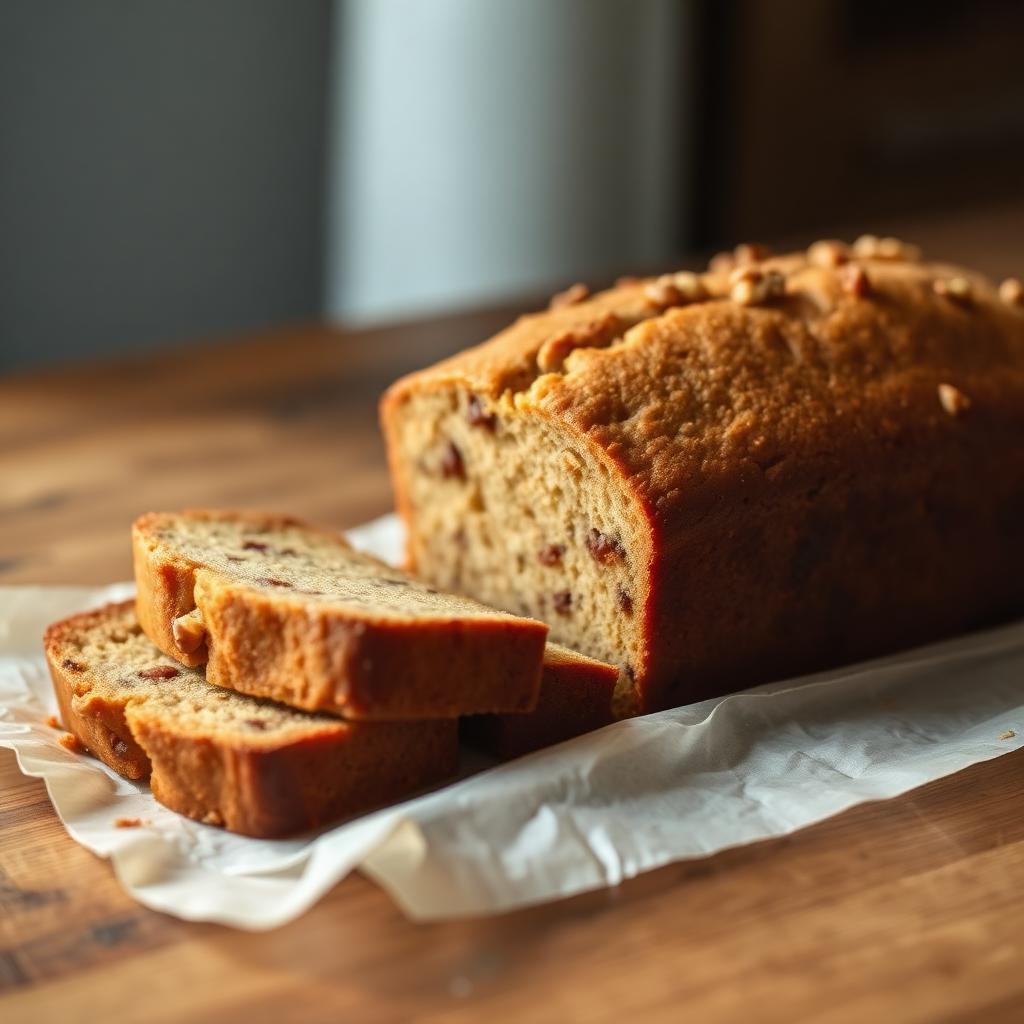
Discover how to make the best moist banana bread using only one bowl. This homemade banana bread recipe delivers a soft, bakery-style loaf that is perfect for utilizing overripe bananas.

Classic Chicken Soup
This classic chicken soup recipe is the ultimate homemade chicken noodle soup — cozy, restorative, and ready in under an hour. Made with tender shredded chicken, egg noodles, carrots, celery, and fresh herbs in a golden broth, this old-fashioned chicken soup is the go-to comfort food for cold days and sick days alike.

Garlic Butter Chicken
Our 20-minute garlic butter chicken is a restaurant-style meal you can make in one skillet. This easy chicken recipe uses simple ingredients to create a rich, savory pan sauce.