Fudgy Chocolate Brownies
These fudgy chocolate brownies are incredibly dense and rich with a signature crackly top. This simple one-bowl recipe means you can have homemade brownies ready for the oven in minutes.
Prep
10 min
Cook
25 min
Total
35 min
Servings
16
Calories
240
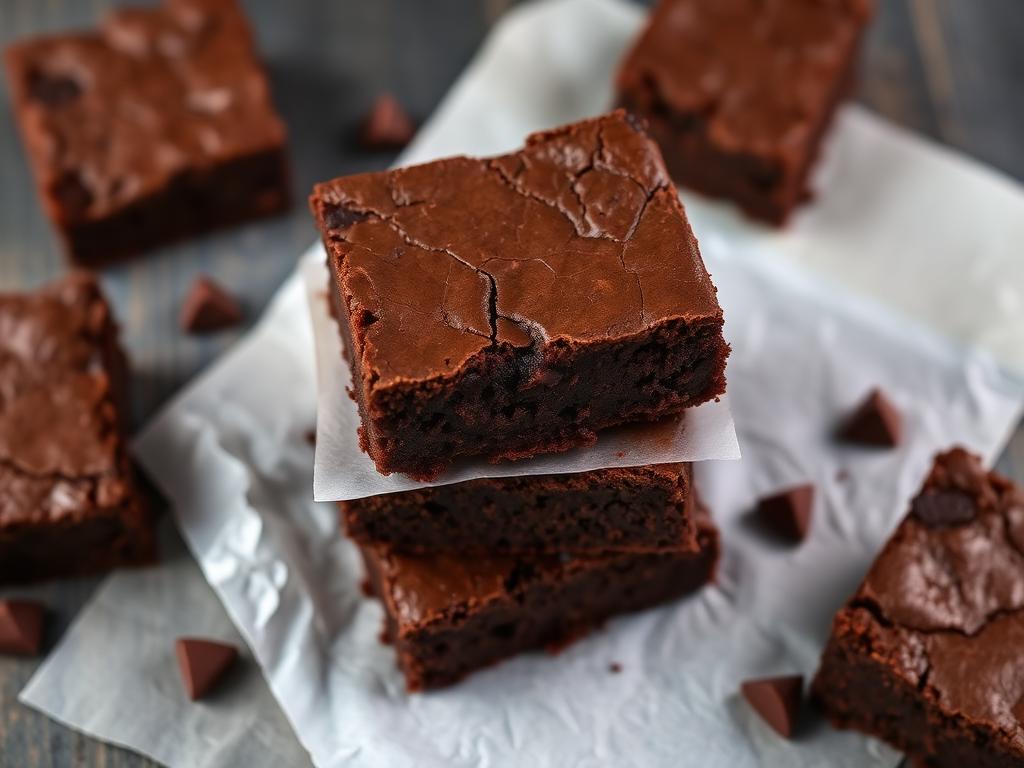
Why This Fudgy Chocolate Brownies Works
This recipe achieves the ultimate fudgy texture through a precise, high-ratio formula of fat and sugar to flour. With one full cup of melted butter and only one cup of all-purpose flour, we create a batter that is rich and dense from the start. Melting the butter, rather than creaming it with sugar, is a critical technique here. It coats the flour proteins and inhibits gluten development, preventing the brownies from becoming cakey and ensuring every bite is moist and tender. This method eliminates the aeration that causes a light, airy crumb, which is exactly what we want to avoid in a truly fudgy brownie. The result is a substantial, satisfyingly dense texture that defines this recipe.
The signature crackly, paper-thin crust is a direct result of the high sugar content and mixing technique. By whisking two cups of sugar into the hot melted butter, we create a sugar-saturated solution. As the brownies bake, this sugar layer on the surface crystallizes, forming that coveted shiny, meringue-like top. The four large eggs play a multifaceted role: they provide essential moisture, act as a powerful emulsifier to bind the butter and water-based ingredients, and contribute protein for structure. This high egg content creates a rich, almost custardy interior that sets this recipe apart from drier, more crumbly alternatives.
Finally, the deep chocolate flavor is delivered through a dual approach. One cup of unsweetened cocoa powder provides the foundational, intense chocolate notes without adding the extra fat and emulsifiers found in baking chocolate. This allows the butter and eggs to control the texture. Then, we fold in a full cup of chocolate chips, which create decadent pockets of melted chocolate throughout the finished brownies. This layering of chocolate flavor—a rich cocoa base punctuated by gooey, melted chips—ensures a complex and deeply satisfying chocolate experience from crust to center. The entire batter comes together in one bowl, bakes in under 30 minutes, and relies on simple pantry staples to produce consistently bakery-quality results.
Why You'll Love This Recipe
- One-Bowl Wonder: The entire recipe comes together in a single bowl, making for incredibly easy preparation and even faster cleanup.
- Ultimate Fudgy Texture: A carefully balanced ratio of melted butter, sugar, and flour guarantees a dense, moist, and supremely fudgy result every time.
- Signature Crackly Top: Our specific mixing method ensures you'll get that beautiful, shiny, paper-thin crust that signifies a perfect brownie.
- Deep, Layered Chocolate Flavor: Using both cocoa powder for a rich base and chocolate chips for melted pockets creates an intensely satisfying chocolate experience.
- Quick and Easy: With just 10 minutes of prep and a 25-minute bake time, you can have warm, homemade brownies ready in about half an hour.
- Pantry-Friendly Ingredients: This recipe uses common, simple ingredients you likely already have on hand.
- Crowd-Pleasing Classic: It's a reliable, go-to recipe for potlucks, bake sales, or a simple weeknight treat that is universally loved.
Ingredient Notes
Melted Butter
We use one full cup (two sticks) of melted, unsalted butter. Using unsalted butter allows you to control the total sodium content by adding a precise 1/2 teaspoon of salt. The key here is that the butter is melted, not just softened. When you whisk the sugar into hot melted butter, it helps dissolve the sugar crystals, which is the first step toward achieving that iconic shiny crust. Furthermore, melted butter coats the flour particles differently than creamed butter, limiting gluten formation and resulting in a denser, fudgier brownie instead of a light, cakey one.
Granulated Sugar
Two cups of granulated sugar might seem like a lot, but it's essential for both the texture and the appearance of these brownies. Sugar is hygroscopic, meaning it attracts and holds onto moisture, which contributes significantly to the brownies' fudgy, moist interior and helps them stay fresh for days. It's also the primary ingredient responsible for creating the beautiful, crackly top. Don't be tempted to reduce the sugar, as doing so will negatively impact the final texture, making the brownies drier and more cake-like.
Eggs
This recipe calls for four large eggs, which is more than many other brownie recipes. The eggs serve several critical functions. They act as a binding agent, holding everything together. They provide much of the moisture for the batter. Their protein content adds structure, preventing the brownies from being a gooey mess. And the yolks add unparalleled richness and fat, contributing to the decadent, custardy chew that defines a truly great fudgy brownie. Using room temperature eggs helps them incorporate more smoothly into the batter without causing the melted butter to seize and separate.
Unsweetened Cocoa Powder
One cup of unsweetened cocoa powder provides the deep, foundational chocolate flavor. You can use either natural or Dutch-processed cocoa powder in this recipe. Natural cocoa powder will have a slightly more acidic, sharp chocolate flavor, while Dutch-processed cocoa is darker in color and has a smoother, more mellow flavor. Both work beautifully, so you can use whichever you have on hand or prefer. By using cocoa powder instead of melted chocolate for the base, we control the fat content and achieve a chewier texture.
All-Purpose Flour
A minimal amount of all-purpose flour—just one cup—is used to provide just enough structure to hold the brownies together without making them tough or cakey. The low flour-to-fat ratio is a hallmark of fudgy brownies. It's crucial to measure the flour correctly (by spooning it into the measuring cup and leveling it off) and to avoid overmixing once it's added. Mix just until the last streaks of flour disappear to keep the gluten development to a minimum and ensure the most tender result possible.
Achieving the Perfect Brownie Texture
The difference between a fudgy brownie and a cakey one comes down to a few key factors: the ratio of ingredients and the mixing method. This recipe is engineered for maximum fudginess. Understanding these distinctions will help you appreciate why each step is so important.
| Characteristic | Fudgy Brownies (This Recipe) | Cakey Brownies |
|---|---|---|
| Fat-to-Flour Ratio | High (1 cup butter to 1 cup flour) | Lower (Less fat per cup of flour) |
| Primary Fat | Melted Butter | Creamed Butter or Oil |
| Leavening | None (Relies on eggs for lift) | Baking powder or soda is added |
| Mixing Method | Butter and sugar are whisked | Butter and sugar are creamed to incorporate air |
| Final Texture | Dense, moist, chewy, similar to fudge | Lighter, drier, open crumb, similar to cake |
Baker's Tip
For the shiniest, crackliest top, make sure your melted butter is still warm (but not sizzling hot) when you add the sugar. Whisk vigorously for a full minute until the mixture is thick, glossy, and slightly pulled away from the sides of the bowl. This helps dissolve the sugar and sets the stage for a perfect meringue-like crust.
Ingredients
- 1 cup butter, melted
- 2 cups sugar
- 4 eggs
- 1 tbsp vanilla
- 1 cup cocoa powder
- 1 cup flour
- 1/2 tsp salt
- 1 cup chocolate chips
Instructions
- 1
Preheat oven to 350°F; line 9×13 pan with parchment.
- 2
Whisk melted butter and sugar.
- 3
Add eggs and vanilla.
- 4
Mix in cocoa, flour, and salt.
- 5
Fold in chocolate chips.
- 6
Spread in pan; bake 22–25 minutes until set.
- 7
Cool completely before slicing.
Pro Tips from Our Test Kitchen
- Embrace the Parchment Sling: Line your 9x13 inch pan with parchment paper, leaving a few inches of overhang on the two long sides. This creates a 'sling' that allows you to lift the entire slab of cooled brownies out of the pan for easy, clean cutting.
- Don't Overmix the Batter: Once you add the dry ingredients (flour, cocoa, salt), mix only until they are just combined. A few streaks of flour are perfectly fine. Overmixing develops gluten in the flour, which will result in tough, dry, and rubbery brownies instead of tender, fudgy ones.
- The Toothpick Test is Key: To check for doneness, insert a toothpick into the center of the brownies around the 22-minute mark. You want it to come out with moist, sticky crumbs attached. If it comes out clean, the brownies are overbaked. If it comes out with wet, liquid batter, they need a few more minutes.
- Cool Completely for Clean Cuts: This is the hardest but most important rule. Let the brownies cool in the pan completely to room temperature (at least 2 hours) before even thinking about slicing. Warm brownies are too gooey and will fall apart. For ultra-clean squares, chill the cooled slab in the refrigerator for 30 minutes before cutting.
- Use a Hot, Clean Knife: For bakery-perfect slices, run a large, sharp chef's knife under hot water and wipe it dry before each and every cut. The heat melts the chocolate and fat as it slices, preventing drag and smearing.
- Bloom the Cocoa: For an even deeper chocolate flavor, whisk the cocoa powder into the hot melted butter along with the sugar. The heat 'blooms' the cocoa, intensifying its flavor compounds for a richer, more complex chocolate profile.
- Make It a Dessert Board: These brownies are a fantastic centerpiece for a dessert platter. Cut them into bite-sized squares and arrange them with other bar cookies, like our popular Classic Lemon Bars, to create a beautiful and delicious spread for any party.
Substitutions
For Butter
If you only have salted butter, you can use it and reduce the added salt to 1/4 teaspoon. For a dairy-free version, a high-quality vegan butter substitute that is solid at room temperature can be used. Using oil (like canola or coconut) will work in a pinch, but it will slightly alter the texture, making the brownies a bit more dense and greasy.
For Sugar
For a slightly deeper, more caramelly flavor, you can substitute up to half of the granulated sugar (1 cup) with packed light brown sugar. This will also make the brownies even moister and chewier due to the molasses content in the brown sugar.
For All-Purpose Flour
For a gluten-free version, you can substitute the all-purpose flour with a high-quality 1-to-1 gluten-free baking flour blend containing xanthan gum. We've had good results with brands designed for direct substitution in baking.
For Vanilla Extract
While vanilla enhances the chocolate flavor, you can get creative. Try substituting the vanilla with 1 teaspoon of peppermint extract for a mint-chocolate brownie. Alternatively, adding 1 to 2 teaspoons of instant espresso powder along with the dry ingredients will amplify the chocolate flavor without making the brownies taste like coffee.
For Chocolate Chips
Feel free to swap the semisweet chocolate chips with an equal amount of dark chocolate chunks, milk chocolate chips, white chocolate chips, or even peanut butter or butterscotch chips. A combination of different chips also works wonderfully.
Recipe Variations
Espresso Brownies
To intensify the chocolate flavor, dissolve 1 to 2 teaspoons of instant espresso powder in the 1 tablespoon of vanilla extract before adding it to the batter. The coffee flavor won't be prominent, but it will make the chocolate taste richer and more profound.
Nutty Brownies
For added texture and a classic pairing, fold in 1 cup of toasted and chopped nuts along with the chocolate chips. Walnuts, pecans, or even hazelnuts are excellent choices.
Salted Caramel Swirl Brownies
After spreading the batter in the pan, drop spoonfuls of thick caramel sauce over the top. Use a knife to gently swirl the caramel into the batter. After baking and cooling, sprinkle the top with flaky sea salt for a delicious sweet and salty combination.
Peanut Butter Cup Brownies
Press whole or chopped miniature peanut butter cups into the top of the batter before baking. Alternatively, you can create a peanut butter swirl by microwaving 1/2 cup of creamy peanut butter until it's pourable and swirling it into the batter in the pan.
S'mores Brownies
In the last 5 minutes of baking, pull the brownies from the oven and top with 1 1/2 cups of miniature marshmallows and 1/2 cup of crushed graham cracker pieces. Return to the oven until the marshmallows are puffed and lightly golden.
Ultimate Dessert Mashup
For a truly decadent treat, bake these brownies and then top them with the filling from our No-Bake Cheesecake Bars. Chill until the cheesecake layer is firm. It combines two incredible desserts into one show-stopping bar.
Common Mistakes to Avoid
Brownies are simple, but a few common missteps can be the difference between good and great. Here’s how to avoid the pitfalls and ensure fudgy perfection.
| Mistake | What Happens | How to Fix It |
|---|---|---|
| Overbaking | The brownies become dry, hard at the edges, and have a cakey, crumbly texture instead of a fudgy one. | Check for doneness at the minimum baking time (22 minutes). A toothpick inserted in the center should come out with moist, fudgy crumbs, not clean. The center should be just set. |
| Overmixing after adding flour | Develops too much gluten, resulting in tough, dense, and rubbery brownies. | Once the flour and cocoa are added, mix on low speed or by hand only until the ingredients are just incorporated. A few floury streaks are okay. |
| Cutting the brownies while still warm | The structure hasn't fully set, causing them to fall apart into a gooey mess. The squares will be misshapen and messy. | Patience is a virtue! Allow the brownies to cool completely in the pan on a wire rack for at least 2 hours before attempting to slice them. |
| Using cold eggs and butter | Cold eggs can cause the warm, melted butter to seize and re-solidify, creating a greasy, separated batter and an oily final product. | Let eggs sit out on the counter for 30 minutes before starting. If you're short on time, place them in a bowl of warm (not hot) water for 5-10 minutes. |
| Not using a parchment paper sling | The brownies stick tenaciously to the pan, making them nearly impossible to remove without destroying them. | Always line the 9x13 pan with parchment, allowing it to hang over the long sides. This allows you to easily lift the entire cooled slab out for perfect cutting. |
Baker's Tip
If your brownies do turn out a bit dry from overbaking, don't throw them away! Crumble them up to use as a delicious ice cream topping or as the base for a chocolate trifle layer.
Troubleshooting
Why didn't my brownies get a shiny, crackly top?
The coveted shiny top comes from dissolving the sugar into the fat and eggs to create a meringue-like surface. This issue usually arises from one of two things: the butter wasn't warm enough when you added the sugar, or you didn't whisk the butter-sugar-egg mixture vigorously enough. For best results, use warm melted butter and whisk the sugar and eggs until the mixture is thick, pale, and glossy.
Why are my brownies greasy or oily?
A greasy texture is often a sign that the emulsion broke, meaning the fat (butter) separated from the other ingredients. This is most commonly caused by adding cold eggs directly to the warm butter mixture, which can cause the butter to seize and separate. Using room temperature eggs helps everything combine smoothly. It can also happen if the brownies are slightly underbaked, so be sure the center is just set before removing from the oven.
Why are my brownies cakey instead of fudgy?
A cakey texture is the number one enemy of this recipe. It's almost always caused by too much air being incorporated into the batter. This happens if you cream the butter and sugar together with an electric mixer as you would for a cake, or if you overmix the batter after adding the flour, which develops gluten. Stick to melted butter and mix by hand with a whisk and spatula until just combined.
Why did my brownies sink in the middle after baking?
A dramatic sinkhole in the center is a classic sign of underbaking. While the edges cook faster, the center hadn't had enough time for its structure to set. When you removed it from the oven, the still-liquid center collapsed under its own weight. To avoid this, make sure a toothpick inserted in the very center comes out with moist crumbs, not wet batter. A slight sinking is normal for a fudgy brownie, but a major crater means it needed more time.
Why are my brownies crumbly?
Crumbly brownies are typically overbaked brownies. Even a couple of extra minutes in the 350°F oven can bake out the moisture that keeps them fudgy and cohesive. The carryover heat will continue to cook the brownies as they cool in the pan, so it's best to err on the side of caution and pull them when they still seem a tiny bit underdone in the absolute center.
Serving Suggestions
These Fudgy Chocolate Brownies are a powerhouse of flavor all on their own, but they also serve as a perfect canvas for a variety of delicious pairings. The most classic presentation is serving a slightly warmed brownie with a generous scoop of high-quality vanilla bean ice cream. The contrast between the warm, gooey chocolate and the cold, creamy vanilla is timeless for a reason. A drizzle of hot fudge or salted caramel sauce can elevate it even further into a restaurant-worthy dessert. For a more sophisticated touch, a dollop of unsweetened whipped cream and a scattering of fresh raspberries provides a bright, tart counterpoint to the rich chocolate.
When serving a crowd, think beyond the individual plate. Cut the brownies into smaller, two-bite squares and arrange them on a large platter. They make a wonderful, easy-to-handle addition to any dessert table or bake sale, standing proudly next to classics like The Best Moist Banana Bread or The Best Chocolate Chip Cookies. They can also be crumbled and used as a textural element in other desserts. Try layering brownie crumbles with pudding and whipped cream for a decadent trifle, or use them as a crunchy, flavorful topping for a bowl of ice cream or yogurt.
For an afternoon coffee or tea break, a simple, unadorned brownie is perfect. The intense chocolate flavor pairs beautifully with the bitter notes of coffee or black tea. Because this recipe yields 16 generous servings, it’s ideal for gatherings. Consider creating a dessert bar where guests can customize their brownie with bowls of toppings like sprinkles, chopped nuts, various sauces, and whipped cream. It's an interactive and fun way to serve a classic dessert.
Storage Instructions
- At Room Temperature: Store the brownies in an airtight container at room temperature. They will stay moist and fudgy for up to 4 days. Placing a slice of bread in the container can help maintain moisture.
- In the Refrigerator: For longer storage, you can keep the brownies in an airtight container in the refrigerator for up to one week. Note that refrigeration will make them firmer and denser. You can enjoy them cold or let them come to room temperature before serving.
- Freezing the Whole Slab: To freeze for later, allow the entire slab of brownies to cool completely. Do not slice it. Wrap the slab tightly in two layers of plastic wrap, followed by a layer of aluminum foil. It can be frozen for up to 3 months.
- Freezing Individual Squares: For portion-controlled treats, cut the cooled brownies into squares. Wrap each square individually in plastic wrap and then place them all in a freezer-safe zip-top bag. This makes it easy to grab one at a time.
- Thawing: To thaw a whole slab or individual brownies, simply leave them wrapped on the counter at room temperature for a few hours. A single brownie will thaw much faster, usually within 30-60 minutes.
Make-Ahead Tips
These brownies are an excellent make-ahead dessert, as their flavor and texture actually improve with time. Baking them a day in advance allows the flavors to meld and deepen, resulting in an even more intense chocolate taste. Simply bake as directed, let them cool completely in the pan, then cover the pan tightly with foil or plastic wrap and store at room temperature for up to 24 hours before slicing and serving. This not only saves you time on the day of an event but also yields a better-tasting brownie.
For longer-term planning, the freezer is your best friend. You can bake the brownies up to three months ahead of time. For the best results, freeze the entire slab unsliced. Let it cool completely, then wrap it securely in a double layer of plastic wrap and a final layer of aluminum foil to protect against freezer burn. When you're ready to serve, remove the slab from the freezer and let it thaw at room temperature for 3-4 hours before slicing. This method preserves the perfect texture and makes it seem like you just baked them.
How We Tested This Recipe
Here in the RecipeNest test kitchen, our goal was to create the ultimate fudgy brownie recipe using simple, accessible ingredients. This recipe is the result of eight separate test batches, each tweaking a single variable to understand its effect on the final product. We used a standard, calibrated 350°F home oven (non-convection) and a light-colored metal 9x13 inch pan to ensure our results are repeatable for home cooks. Our initial tests focused on the chocolate source. A version with melted baking chocolate was good, but it was denser and more truffle-like; using 1 cup of cocoa powder provided the perfect chewy, fudgy texture we were aiming for, while chocolate chips provided the melted pockets of chocolate everyone loves.
We then dedicated several batches to the fat-to-flour ratio. Early versions with less butter or more flour consistently came out more cake-like. We found that the 1:1 ratio by volume (1 cup butter to 1 cup flour) was the sweet spot for a brownie that was structurally sound but maximally fudgy. We also confirmed that using melted butter, rather than creaming softened butter, was non-negotiable for achieving a dense crumb and avoiding a cakey texture. Whisking the sugar into the warm butter until glossy was a technique we refined to guarantee the crackly top.
Finally, we tested baking times meticulously. We found that in our test oven, 22 minutes resulted in a slightly gooey center that was perfect for those who like a lava-cake-like experience, while 25 minutes produced a brownie that was fully set but still intensely fudgy. We established the 22-25 minute window to account for variations in ovens. We also noted that a glass pan required an additional 3-5 minutes of baking time compared to the metal pan. The final recipe was a unanimous favorite among our testers for its deep chocolate flavor, perfect fudgy chew, and that sought-after shiny crust.
Nutrition Facts
Per serving · 240 calories
protein
3g
carbs
32g
fat
12g
fiber
2g
sugar
24g
sodium
100mg
Related Recipes
More desserts and similar dishes you'll love.
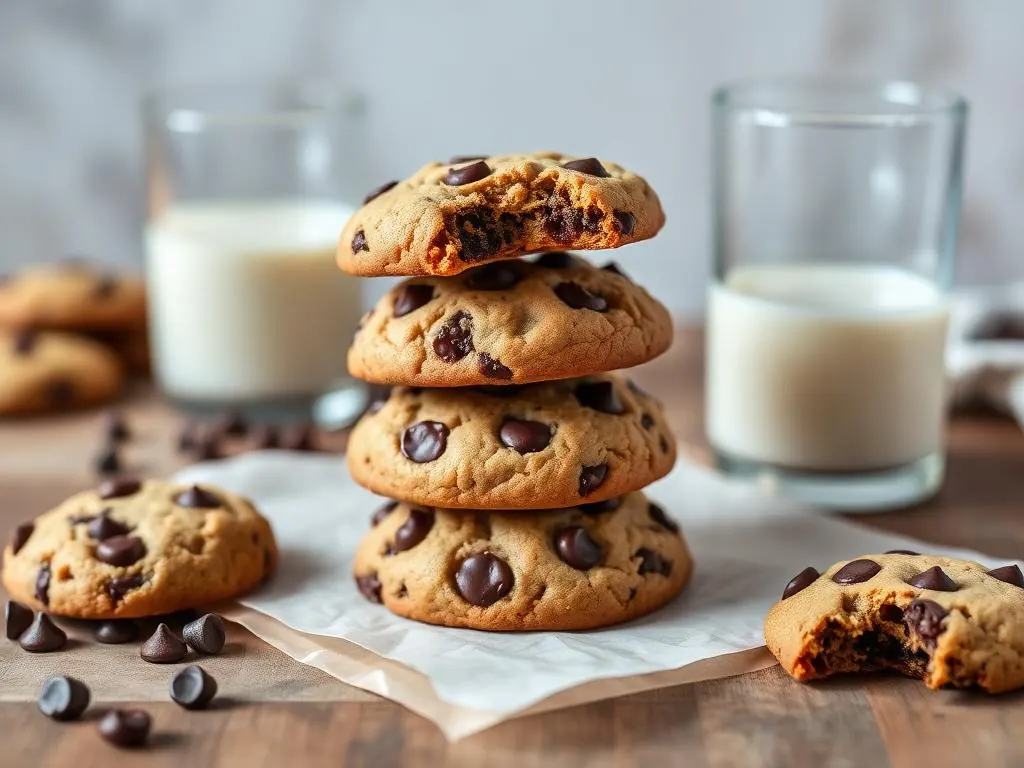
The Best Chocolate Chip Cookies
Stop searching for the best chocolate chip cookies. This recipe delivers a soft, chewy texture with buttery edges and gooey chocolate in every bite — the ultimate homemade cookie experience.
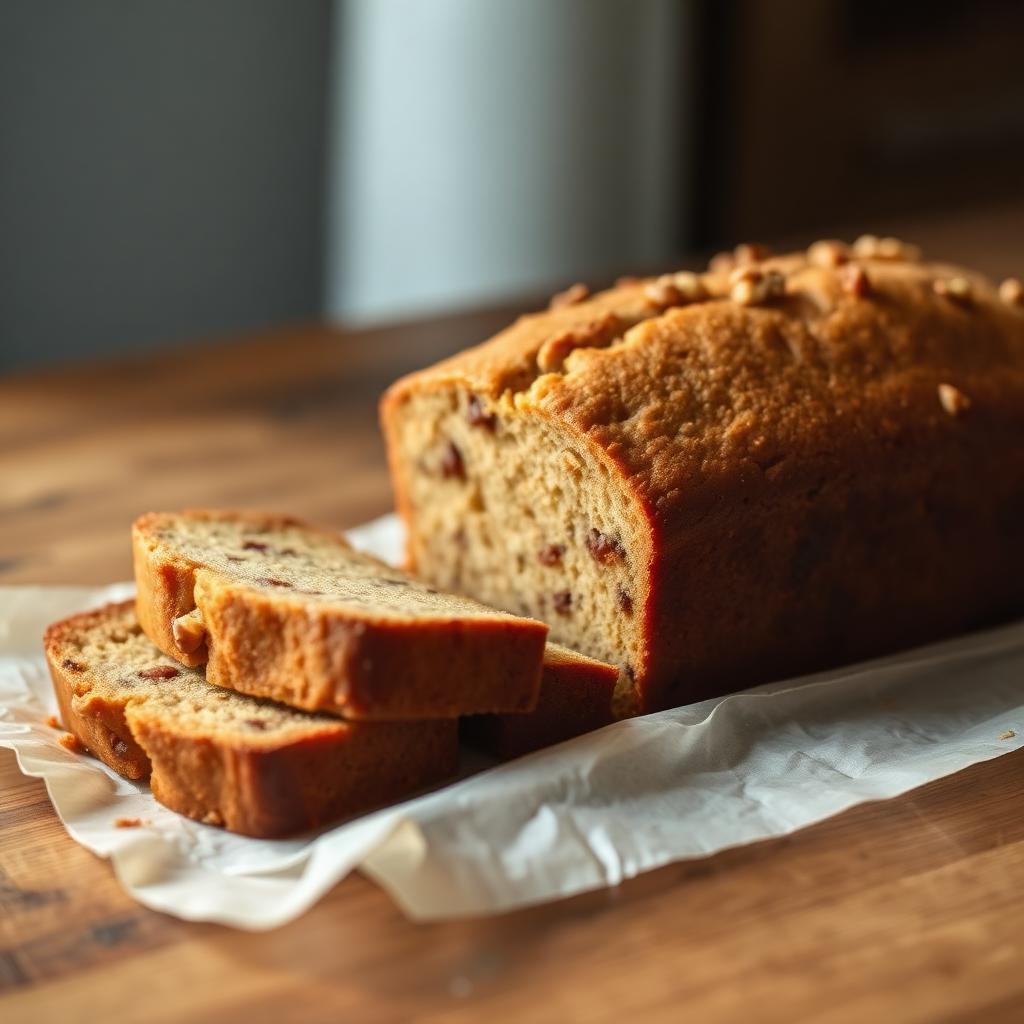
The Best Moist Banana Bread
Discover how to make the best moist banana bread using only one bowl. This homemade banana bread recipe delivers a soft, bakery-style loaf that is perfect for utilizing overripe bananas.
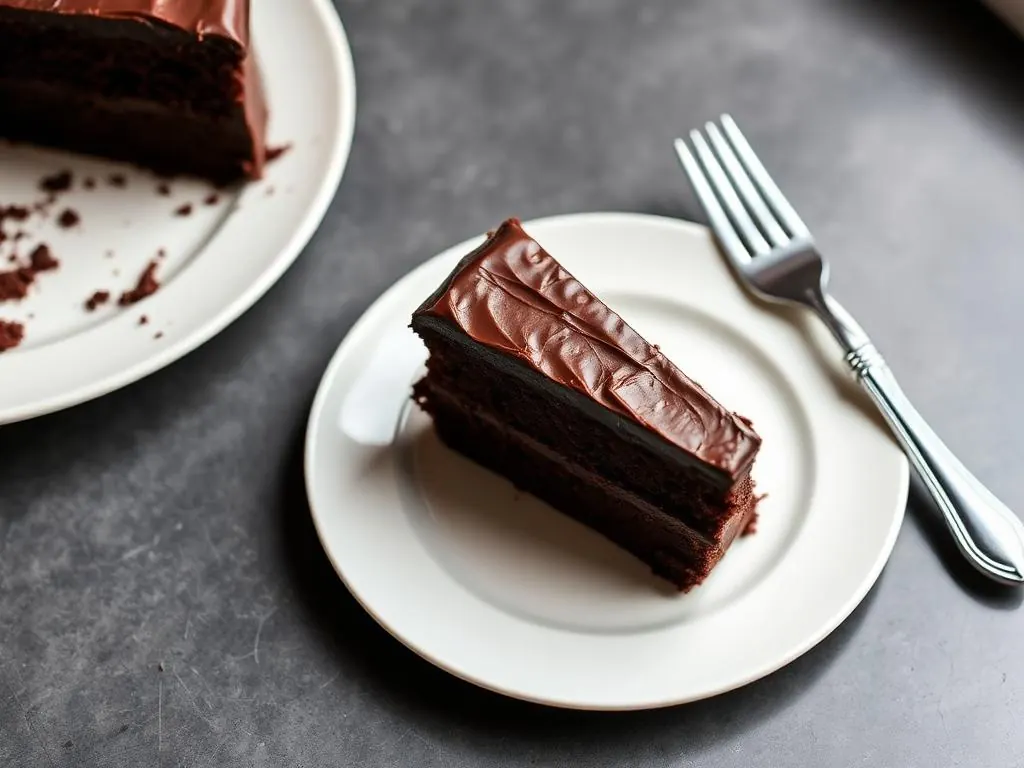
Classic Chocolate Layer Cake
This classic Chocolate Layer Cake is incredibly moist and decadent. Covered in a rich chocolate buttercream, this from-scratch cake is the perfect centerpiece for birthdays and celebrations.
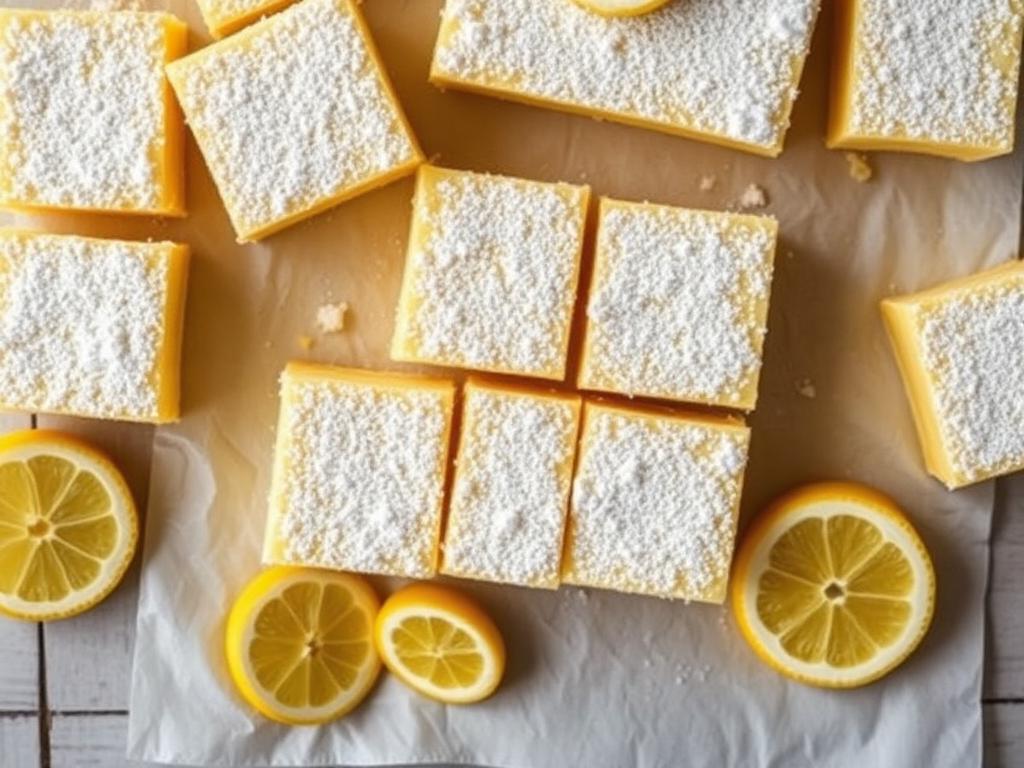
Classic Lemon Bars
These classic lemon bars strike the perfect balance between a buttery shortbread crust and tangy lemon curd. This easy lemon dessert is a staple recipe for citrus lovers everywhere.
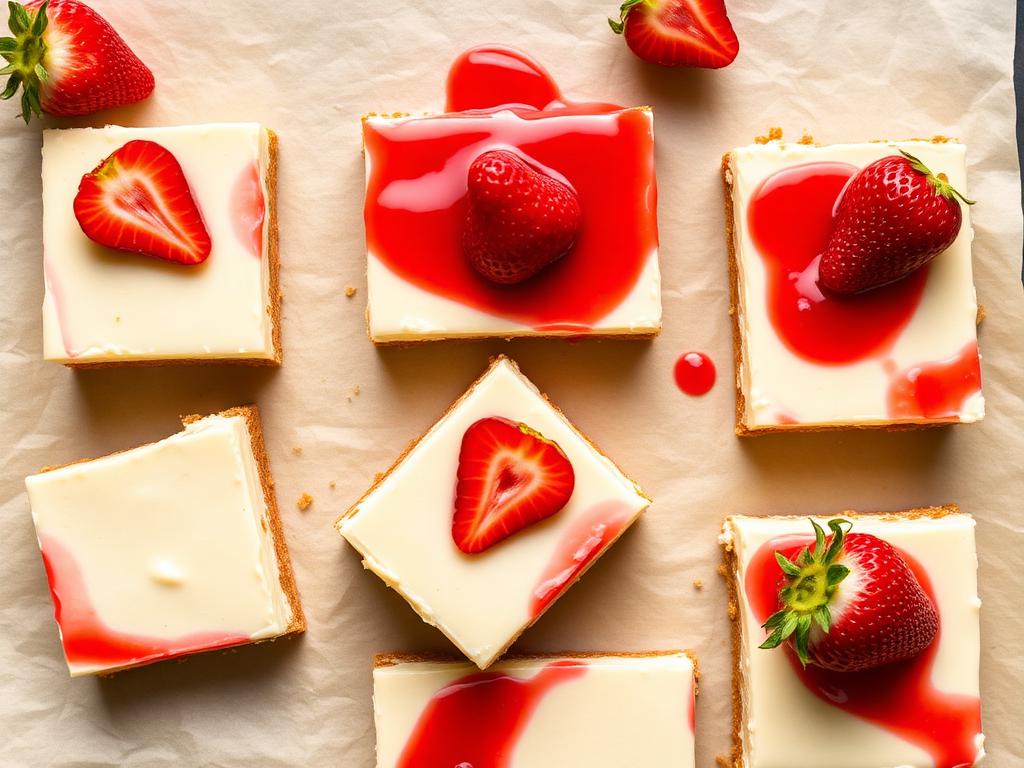
No-Bake Cheesecake Bars
Indulge in these creamy no-bake cheesecake bars, the perfect easy no bake dessert for hot days. Featuring a classic graham cracker crust and fresh berry topping, they are incredibly simple to make.
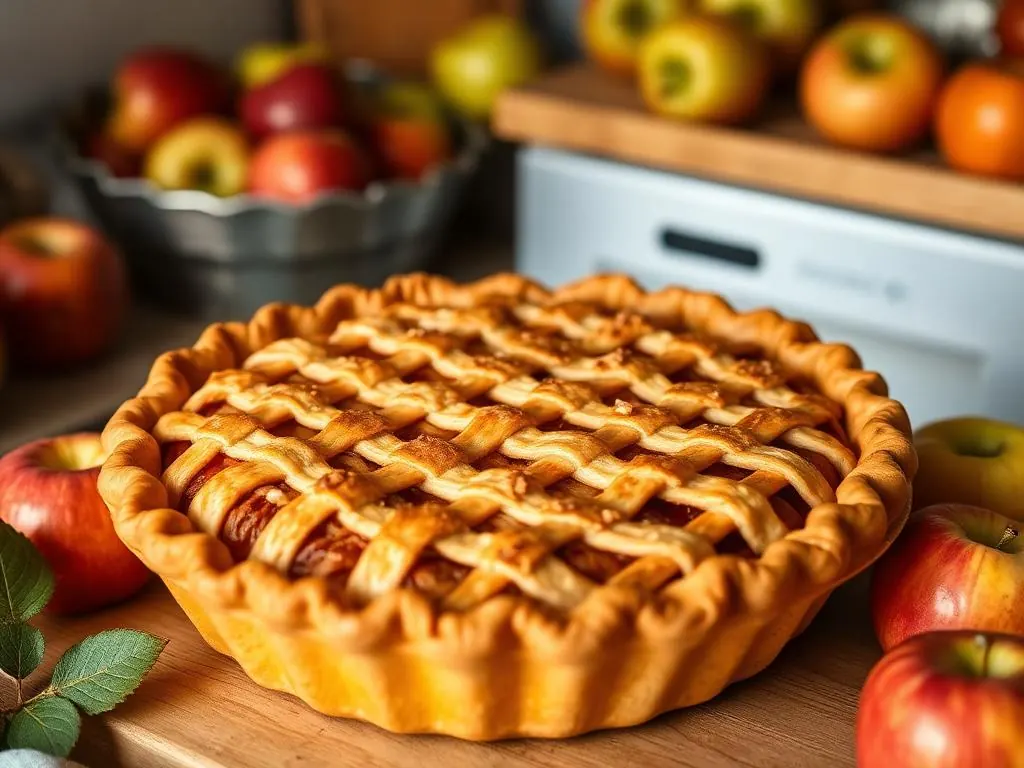
Homemade Apple Pie
Our Homemade Apple Pie features a golden, flaky pie crust and a perfectly spiced cinnamon apple filling. This traditional dessert recipe is a warm and comforting classic for any occasion.
Frequently Asked Questions
Can I make brownies ahead of time?+
Yes — store in an airtight container in the fridge for up to 3 days. Reheat gently to preserve texture and flavor.
Can I freeze brownies?+
Most components freeze well for up to 3 months. Cool completely before freezing and thaw overnight in the refrigerator.
What can I serve with this brownies?+
Pair with a simple green salad, crusty bread, or roasted vegetables for a complete meal the whole family will love.
Can I use a different size pan for this recipe?+
Yes, but you must adjust the baking time. For an 8x8 or 9x9 inch pan, the brownies will be much thicker and will require a longer baking time, likely 35-45 minutes. For an 11x7 inch pan, the thickness is similar to a 9x13, so the baking time will be very close to the original 22-25 minutes. Always use the toothpick test to check for doneness, as pan size and material can significantly affect bake time.
Can I reduce the amount of sugar in this recipe?+
We strongly advise against reducing the sugar. The 2 cups of sugar are critical not just for sweetness, but for the brownie's structure and texture. Sugar contributes to the moisture, the dense fudginess, and is absolutely essential for creating the signature shiny, crackly top. Reducing it will result in a drier, more cake-like brownie that lacks the classic characteristics of this recipe.
What is the difference between using cocoa powder and melted chocolate in a brownie recipe?+
Cocoa powder provides a pure, concentrated chocolate flavor and, because it's a dry ingredient, contributes to a chewier final texture. Melted chocolate contains cocoa solids and cocoa butter, which adds more fat and results in a denser, richer, more melt-in-your-mouth texture. This recipe uses cocoa powder for a classic fudgy-chewy base and adds chocolate chips to introduce those pockets of melted chocolate.
My brownies came out underdone and gooey in the middle. What happened?+
This usually means they simply needed more time in the oven. Oven temperatures can vary, and pan material (glass vs. metal) also affects baking. A perfectly baked fudgy brownie will have set edges and a center that is no longer liquid, but a toothpick inserted should still come out with moist crumbs. If the center is truly liquid, it needed more time. Let underbaked brownies cool completely, as they will continue to set and may still be delicious, albeit very gooey.
Is it possible to double this recipe?+
Yes, you can double the ingredients, but for the best results, we recommend baking the batter in two separate 9x13 inch pans. Trying to bake a double batch in a very large or deep pan (like a half-sheet pan) makes it very difficult to cook evenly. The edges will likely overbake and become dry before the center has a chance to set.
Why is it so important to use melted butter instead of creamed butter?+
The method used to incorporate fat is a key differentiator between brownie types. Creaming softened butter with sugar whips air into the mixture, which acts as a leavener and creates a lighter, fluffier, cake-like texture. Using melted butter minimizes aeration. It coats the flour proteins to prevent excess gluten development, which is the secret to a dense, rich, and ultra-fudgy brownie.
Do I need an electric mixer for this recipe?+
No, an electric mixer is not necessary and is actually not recommended. This recipe is designed to be made by hand with a whisk and a spatula. Over-mixing is a primary cause of tough brownies, and mixing by hand gives you more control to ensure you only mix until the ingredients are just combined.

Recipe by Sarah Mitchell
Recipe developer · Practical family cooking
Get more recipes like this
Get a free collection of 15 easy family recipes delivered to your inbox.
You May Also Like
Hand-picked favorites from across RecipeNest.
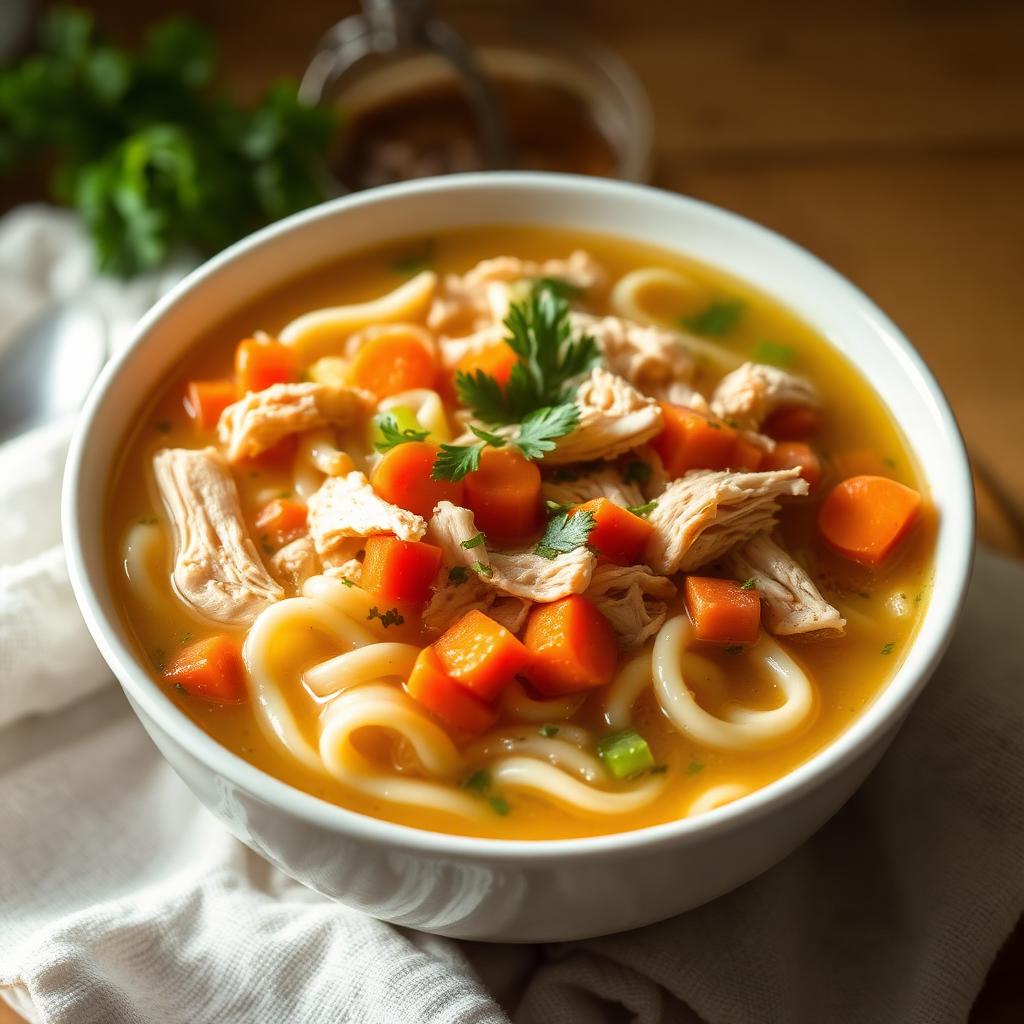
Classic Chicken Soup
This classic chicken soup recipe is the ultimate homemade chicken noodle soup — cozy, restorative, and ready in under an hour. Made with tender shredded chicken, egg noodles, carrots, celery, and fresh herbs in a golden broth, this old-fashioned chicken soup is the go-to comfort food for cold days and sick days alike.
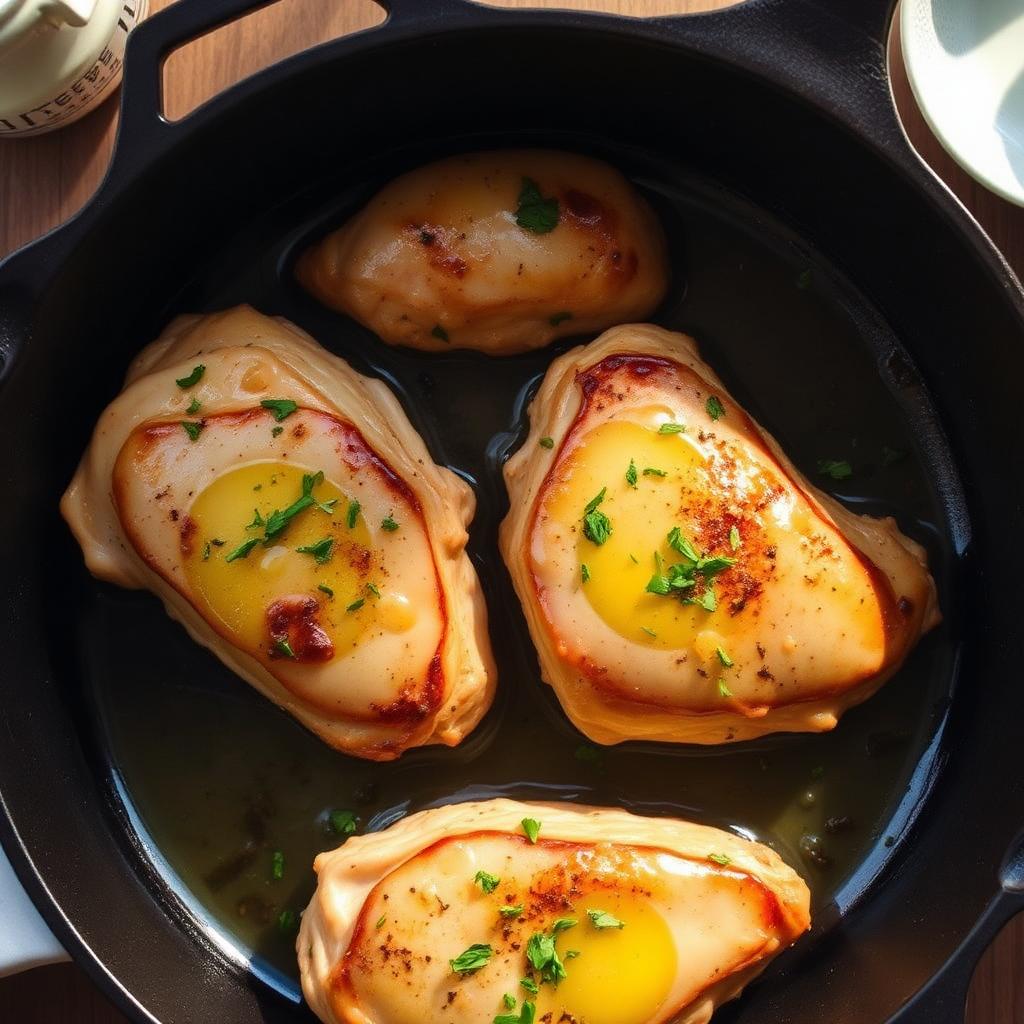
Garlic Butter Chicken
Our 20-minute garlic butter chicken is a restaurant-style meal you can make in one skillet. This easy chicken recipe uses simple ingredients to create a rich, savory pan sauce.
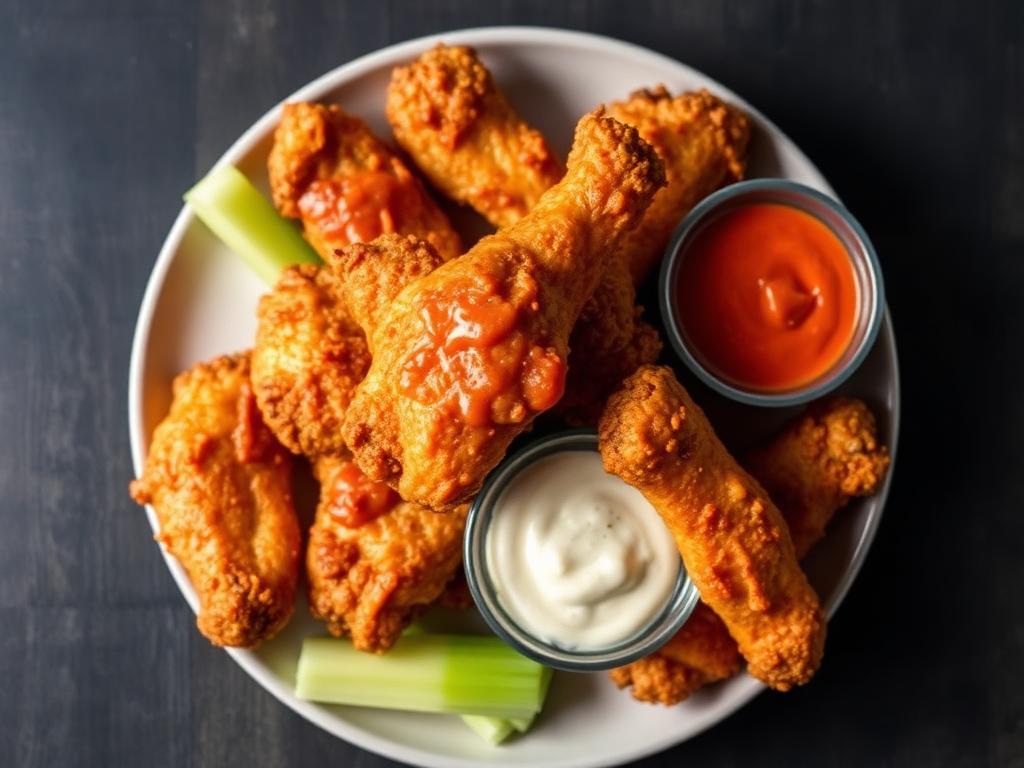
Crispy Air Fryer Chicken Wings
Stop settling for soggy wings and try these air fryer chicken wings. These crispy wings use no flour or breading, making them the perfect keto chicken wings for your next party.
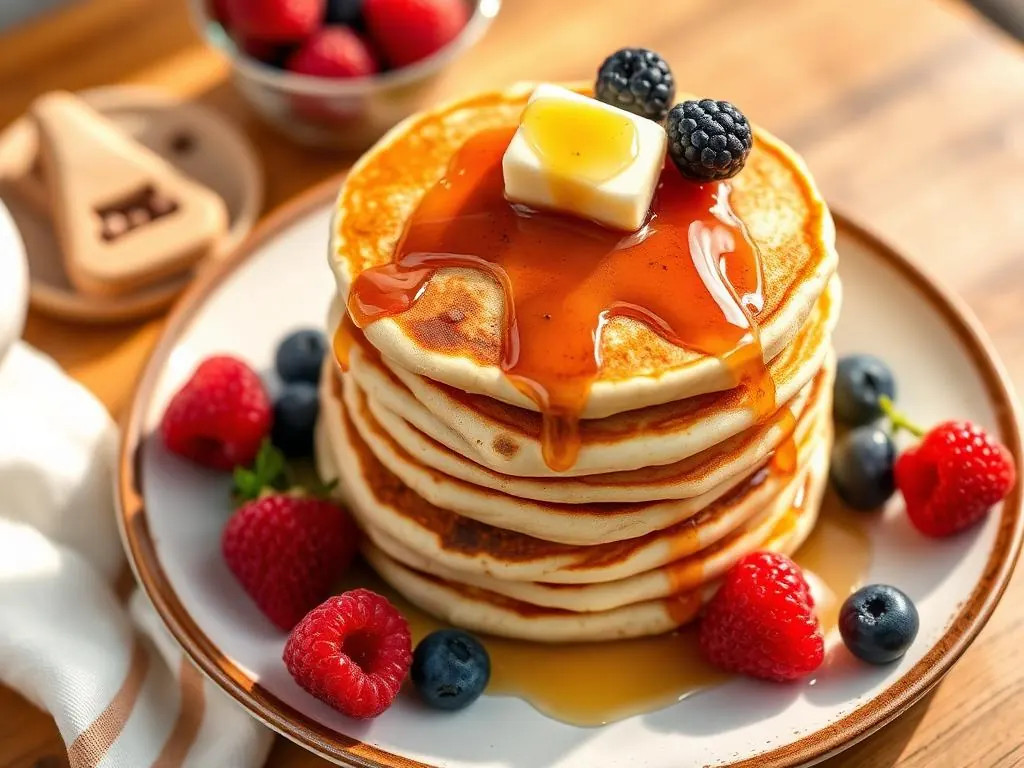
Fluffy Buttermilk Pancakes
Master the art of Sunday morning with these classic Buttermilk Pancakes. These tall, fluffy pancakes are made from scratch and serve as the foundation for the ultimate homemade breakfast.