No-Bake Cheesecake Bars
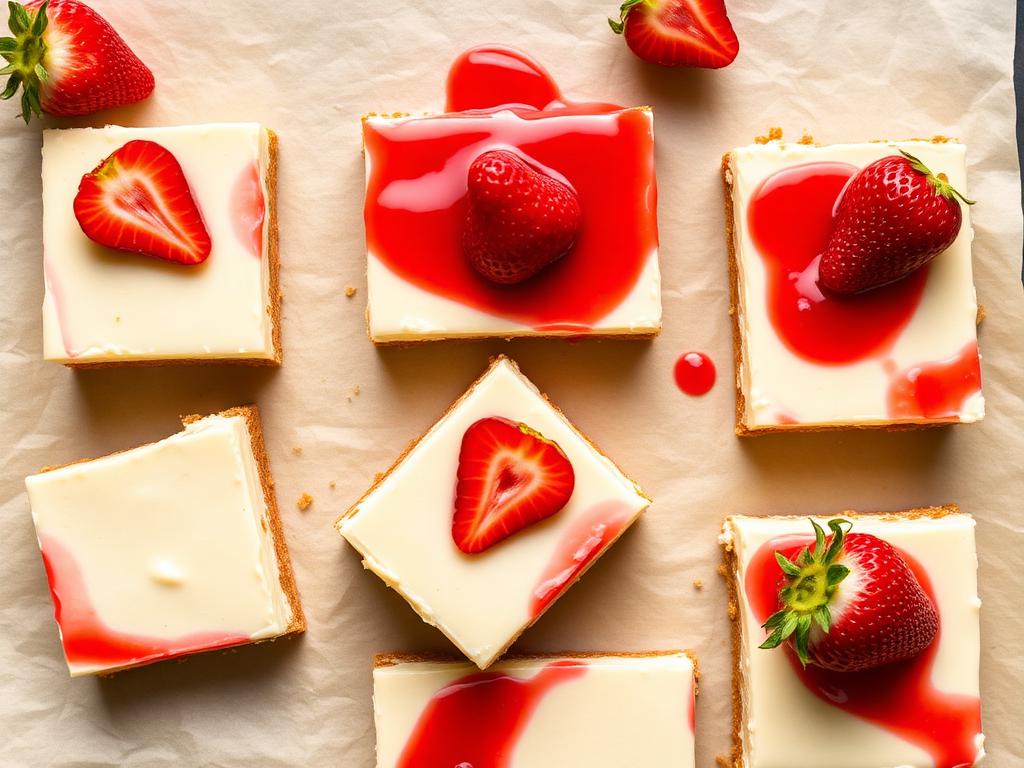
Indulge in these creamy no-bake cheesecake bars, the perfect easy no bake dessert for hot days. Featuring a classic graham cracker crust and fresh berry topping, they are incredibly simple to make.
Prep
15 min
Cook
0 min
Total
4 hr 15 min
Servings
12
Calories
320
Why This No-Bake Cheesecake Bars Works
This No-Bake Cheesecake Bar recipe is a revelation for anyone who loves the creamy indulgence of cheesecake but shies away from the complexities of baking. We've meticulously developed this recipe to eliminate common pitfalls like cracked tops, watery fillings, or soggy crusts, often associated with traditional baked cheesecakes. The genius lies in its simplicity and the precise ratios of ingredients, ensuring a consistently delightful result every time.
The crust, a simple yet sturdy blend of graham cracker crumbs and melted butter, forms a perfect foundation. It's pressed firmly into the pan, creating a crisp, buttery base that holds up beautifully to the rich filling without becoming crumbly or too soft. We found that a 9x9 inch pan provides the ideal thickness for both the crust and the cream cheese layer, ensuring each bar is perfectly portioned and easy to handle.
Our filling strikes a masterful balance of tangy cream cheese, just the right amount of sweetness from powdered sugar, and a hint of vanilla, all lightened by a cloud-like whipped heavy cream. This combination yields a remarkably smooth, airy, yet utterly decadent texture that melts in your mouth. The chilling process is crucial here; it allows the flavors to meld and the structure to set, transforming simple ingredients into a sophisticated dessert.
What truly sets these bars apart is their effortless elegance. They require no oven time, making them a fantastic option for warm weather or when your oven is occupied with other dishes. The total active prep time is minimal, leaving the refrigerator to do the heavy lifting. The result is a dessert that looks impressive, tastes incredible, and offers a perfect blend of creamy texture and bright, fresh berry topping, making it a staple for any gathering.
Why You'll Love This Recipe
- Effortless Elegance: No baking required, making it perfect for novice bakers and busy hosts alike.
- Rich, Creamy Texture: The filling is incredibly smooth and light, a hallmark of a great cheesecake.
- Perfectly Balanced Flavor: A delightful blend of sweet, tangy, and vanilla notes that satisfy without being overwhelming.
- Quick Prep Time: Only 15 minutes of hands-on work; the fridge does the rest.
- Versatile Topping Options: While berries are classic, the neutral base welcomes a variety of flavor additions.
- Crowd-Pleasing Portions: Easily cut into 12 generous bars, ideal for parties and potlucks.
- Make-Ahead Friendly: Can be prepared well in advance, freeing up your event day.
Ingredient Notes
Graham Cracker Crumbs
These form the buttery, crisp foundation of our cheesecake bars. For the best texture, ensure your crumbs are fine and uniform. You can buy pre-crushed crumbs or crush whole graham crackers in a food processor for a fresher flavor. The slight sweetness and signature honeyed notes of graham crackers are essential to the overall taste profile.
Melted Butter
Unsalted melted butter binds the graham cracker crumbs together, creating a sturdy and flavorful crust. Make sure it's fully melted but not scorching hot when combined with the crumbs. The butter quantity is precisely calibrated to achieve a crust that's firm enough to hold its shape but not overly greasy or hard when chilled.
Cream Cheese
The heart of any cheesecake, softened cream cheese is non-negotiable for a smooth, lump-free filling. We specify 16 ounces, which is typically two blocks of full-fat cream cheese. Allow it to come to room temperature for at least 30-60 minutes before mixing; this ensures it creams beautifully with the sugar and vanilla, preventing any curdled appearance or texture.
Powdered Sugar
Unlike granulated sugar, powdered sugar (confectioners' sugar) dissolves instantly into the cream cheese, contributing to the ultra-smooth texture of the filling without any graininess. Its fine consistency is key to achieving that luxurious mouthfeel. The 1 cup amount provides the perfect level of sweetness, complementing the tang of the cream cheese.
Vanilla
Pure vanilla extract elevates all the other flavors in the cheesecake, adding warmth and depth. We recommend using a good quality pure vanilla extract, not imitation, for the best aroma and taste. One teaspoon is enough to impart its characteristic fragrance without overpowering the delicate cream cheese flavor.
Heavy Cream
Whipped to stiff peaks, heavy cream is what gives our no-bake cheesecake its light, airy, and incredibly creamy texture. It's crucial to use cold heavy cream (at least 36% milk fat) for successful whipping. This step transforms the dense cream cheese mixture into a delightful, ethereal cloud that sets up beautifully in the refrigerator.
No-Bake Cheesecake Consistency Guide
| Stage of Chilling | Visual/Tactile Cue | Expected Consistency |
|---|---|---|
| Immediately After Spreading | Soft, slightly fluid, shiny | Soft, mousse-like, won't hold distinct shape |
| After 1 Hour Chilling | Slightly firmer edge, center still soft | Spoonable but not fully set |
| After 2-3 Hours Chilling | Edges firming up, center still yields to light touch | Soft set, might be sliceable with care |
| After 4 Hours Chilling | Firm to the touch, opaque surface | Fully set, holds shape when sliced, creamy yet structured |
| After 6+ Hours/Overnight | Very firm, clean slices, vibrant topping | Optimal firm yet creamy texture, ideal for serving |
Baker's Tip
For the cleanest slices, dip your knife in hot water and wipe it clean between each cut. This prevents the cheesecake from sticking and ensures sharp, beautiful portions.
Ingredients
- 2 cups graham cracker crumbs
- 1/2 cup melted butter
- 16 oz cream cheese, softened
- 1 cup powdered sugar
- 1 tsp vanilla
- 1 cup heavy cream
- Fresh berries, for topping
Instructions
- 1
Mix crumbs and butter; press into a parchment-lined 9×9 pan.
- 2
Beat cream cheese, sugar, and vanilla until smooth.
- 3
Whip cream to stiff peaks; fold into cream cheese.
- 4
Spread over crust.
- 5
Chill 4 hours.
- 6
Top with berries and slice.
Pro Tips from Our Test Kitchen
- Room Temperature Cream Cheese is a Must: We can't stress this enough. Cold cream cheese will result in a lumpy filling. Let it sit on the counter for at least an hour before you start.
- Don't Over-Whip the Heavy Cream: Whip until stiff peaks form, but stop there. Over-whipping can lead to a grainy texture in the final cheesecake. Watch for a cloud-like consistency that holds its shape.
- Gentle Folding is Key: When combining the whipped cream with the cream cheese mixture, fold gently. This preserves the airiness of the whipped cream, ensuring a light and fluffy cheesecake. Use a spatula and a figure-eight motion.
- Parchment Paper Slings: For easy removal of the entire cheesecake from the pan, leave an overhang of parchment paper on two opposite sides. Once chilled, you can lift the entire block out effortlessly for clean slicing.
- Chill Thoroughly: The 4-hour chill time is a minimum. For the absolute best results and cleanest slices, plan to chill these bars overnight. The extra time allows the filling to firm up perfectly and the flavors to fully meld.
- Topping Timing: If using fresh berries, add them just before serving. This keeps them vibrant and prevents their juices from bleeding into the cheesecake or making it soggy. For a more structured presentation, arrange them artfully.
- Flavor Booster: A tiny pinch of salt (1/8 teaspoon) in the cream cheese mixture can subtly enhance all the sweet and tangy flavors without making the dessert taste salty. We've found this makes a noticeable difference.
Substitutions
Graham Cracker Crumbs
If graham crackers aren't available or you prefer a different flavor, you can substitute with digestive biscuits, shortbread cookies, vanilla wafers, or even chocolate wafer cookies (like for a Homemade Apple Pie crust). Ensure the quantity remains 2 cups of fine crumbs for the correct crust consistency.
Melted Butter
While butter provides the best flavor and texture, refined coconut oil can be used as a dairy-free alternative for the crust. The flavor will be slightly different, but the binding properties are similar. Margarine is another option, though it may result in a slightly softer crust.
Cream Cheese
For a slightly lighter version, you can use Neufchâtel cheese, which is lower in fat but maintains a similar tang and texture. Ensure it's full-fat Neufchâtel for the best results. We do not recommend using fat-free cream cheese as it often contains too much water and won't set properly.
Powdered Sugar
While powdered sugar is ideal for its smooth texture, you can use an equal amount of granulated sugar if absolutely necessary. However, beat the cream cheese and granulated sugar together for longer (at least 3-4 minutes) to ensure the sugar fully dissolves, preventing any grittiness.
Heavy Cream
For a dairy-free option, well-chilled full-fat canned coconut cream (the thick part from the top of a can of coconut milk, not coconut beverage) can be whipped to stiff peaks and used in place of heavy cream. Ensure it's very cold and has no added sweeteners.
Recipe Variations
Lemon Raspberry Cheesecake Bars
Add 2 tablespoons of fresh lemon juice and 1 teaspoon of lemon zest to the cream cheese mixture for a bright, zesty flavor. Top with fresh raspberries and a dusting of powdered sugar just before serving. The tartness of the lemon and raspberries beautifully complements the creamy cheesecake.
Chocolate Swirl Cheesecake Bars
Melt 1/2 cup of semi-sweet chocolate chips with 2 tablespoons of heavy cream. Once slightly cooled, dollop spoonfuls of the chocolate mixture over the spread cheesecake filling and use a skewer or knife to gently swirl it into the cream cheese layer before chilling. This adds a delightful chocolate ribbon through each bar, reminiscent of a rich Fudgy Chocolate Brownies flavor.
Salted Caramel Pecan Cheesecake Bars
Prepare a batch of homemade or store-bought salted caramel sauce. Drizzle a generous amount over the chilled cheesecake bars just before serving, and then sprinkle with toasted chopped pecans. The combination of sweet, salty, and nutty is incredibly addictive.
Oreo Cheesecake Bars
Replace graham cracker crumbs with 2 cups of crushed Oreo cookies (cream filling included) for the crust. For an extra chocolatey kick, fold 1/2 cup of coarsely chopped Oreos into the cream cheese filling before spreading. This is a favorite for fans of The Best Chocolate Chip Cookies who want a different cookie twist.
Pumpkin Spice Cheesecake Bars (Seasonal)
During fall, incorporate 1/2 cup of pumpkin puree and 1 1/2 teaspoons of pumpkin pie spice into the cream cheese mixture. The earthy warmth of the pumpkin and spices transforms these bars into a festive, seasonal treat, pairing wonderfully with a slice of Classic Chocolate Layer Cake for a dessert buffet.
Tropical Mango Cheesecake Bars
Fold in 1/2 cup of finely diced fresh mango into the cream cheese filling before spreading. For topping, arrange thin slices of fresh mango and a sprinkle of toasted shredded coconut. This variation brings a bright, sunny flavor perfect for summer gatherings.
Common Mistakes to Avoid
| Mistake | What Happens | Fix |
|---|---|---|
| Using cold cream cheese | Lumpy, grainy filling; uneven texture | Always use softened, room temperature cream cheese (at least 1 hour out of fridge). |
| Over-mixing the filling | Incorporates too much air, leading to a less dense set | Beat only until smooth and combined, then fold in whipped cream gently. |
| Under-chilling | Cheesecake is too soft, won't hold shape, messy slices | Chill for a minimum of 4 hours, preferably overnight for optimal firmness. |
| Over-whipping heavy cream | Cream becomes grainy or separates, cheesecake loses airiness | Whip only until stiff peaks form; stop as soon as it holds its shape. |
| Crust isn't pressed firmly enough | Crumbly, loose crust that falls apart when sliced | Press the crust down very firmly with the bottom of a glass or your hand. |
| Adding toppings too early | Berries bleed, crust gets soggy, cheesecake looks unappealing | Add fresh fruit or wet toppings just before serving for best presentation and texture. |
Baker's Tip
If your cream cheese is still a bit cold, you can microwave it in 15-second bursts, gently mixing after each, until softened. Be careful not to melt it.
Troubleshooting
My crust is too crumbly.
This usually means there wasn't enough butter or it wasn't pressed firmly enough. Ensure you have 1/2 cup of melted butter and really compact the crumbs into the pan. If it's too late, try pressing it down more firmly with the back of a spoon or a flat-bottomed glass before adding the filling. For future attempts, make sure your crumbs are fine and uniform.
My filling is lumpy.
The primary culprit here is cold cream cheese. It's difficult to beat cold cream cheese into a smooth consistency. Always start with softened, room temperature cream cheese. If you find lumps, continue beating the cream cheese, powdered sugar, and vanilla mixture on medium speed until completely smooth before folding in the whipped cream. A rubber spatula can help scrape down the sides of the bowl to ensure everything is incorporated.
The cheesecake didn't set properly.
This can happen if the heavy cream wasn't whipped to stiff peaks, or if the cheesecake wasn't chilled long enough. Make sure your heavy cream is very cold before whipping, and whip until it holds firm peaks. Also, ensure the cheesecake chills for the full 4 hours, or even longer (up to overnight) for a firmer set. Humidity in your kitchen can also sometimes affect setting time.
The cheesecake tastes too sweet (or not sweet enough).
Our recipe uses 1 cup of powdered sugar, which provides a balanced sweetness for most palates. If you prefer it less sweet, you can reduce the powdered sugar by 1/4 cup. If you prefer it sweeter, you can add an additional 1/4 cup. Adjusting vanilla extract by a small amount (1/4 teaspoon more or less) can also subtly alter perceived sweetness.
The edges of the cheesecake are hard or dry.
This might occur if the pan isn't covered properly during chilling, leading to dehydration. Make sure to cover the pan tightly with plastic wrap after spreading the filling. This not only prevents drying but also keeps any refrigerator odors from being absorbed by the cheesecake. Also, ensure your parchment paper covers the base completely without gaps.
Serving Suggestions
These No-Bake Cheesecake Bars are incredibly versatile and can be served in many ways beyond the classic fresh berries. For a simple yet elegant presentation, a light dusting of cocoa powder or a drizzle of chocolate sauce adds a touch of sophistication. A dollop of extra whipped cream on top of each bar before serving is always a welcome addition, especially when paired with a strong cup of coffee or a dessert wine.
Consider pairing these bars with a contrasting texture or flavor. A small scoop of tangy raspberry sorbet or a scoop of vanilla bean ice cream alongside a bar can create a delightful interplay of temperatures and consistencies. For a more decadent experience, a warm fruit compote, such as cherry or blueberry, spooned over the chilled bars introduces a comforting warmth and juicy sweetness. These bars also stand beautifully on a dessert platter alongside other favorites like The Best Chocolate Chip Cookies or a slice of Classic Chocolate Layer Cake, offering a lighter option for guests.
They are also perfect for a picnic or potluck, as they transport well when kept chilled. Pack them in a cooler and top them with berries or a drizzle of caramel just before serving at your destination. For an easy weeknight dessert, simply slice and enjoy, perhaps with a sprig of fresh mint for a pop of color and freshness.
Storage Instructions
- Refrigeration: Store leftover cheesecake bars in an airtight container in the refrigerator for up to 3-4 days.
- Prevent Drying: To prevent the surface from drying out or absorbing refrigerator odors, place a piece of plastic wrap directly on the surface of the cheesecake before sealing the container.
- Airtight is Key: Ensure the container is truly airtight to maintain freshness and prevent moisture loss.
- Serving Temperature: While they are best served well-chilled, allowing them to sit at room temperature for 5-10 minutes before eating can slightly soften the texture for a more luxurious mouthfeel.
- Topping Storage: If topped with fresh berries, consume within 1-2 days as berries can start to break down and release moisture.
Make-Ahead Tips
These No-Bake Cheesecake Bars are an ideal make-ahead dessert, perfect for busy entertainers. You can prepare the entire recipe, including the crust and filling, up to 2 days in advance. Simply cover the pan tightly with plastic wrap (or transfer slices to an airtight container) and store it in the refrigerator. This allows the flavors to deepen and the texture to firm up perfectly, often resulting in an even better tasting cheesecake.
If you're making them further in advance than 2 days, we recommend preparing and chilling the cheesecake base, but holding off on adding any fresh fruit toppings. Fresh berries are best added just before serving to maintain their vibrant appearance and prevent them from becoming soggy or releasing too much juice into the cheesecake. This strategy ensures a pristine presentation when it's time to serve.
For maximum convenience, you can even prepare the graham cracker crust up to 3 days ahead of time and store it, tightly covered, in the refrigerator. When you're ready to make the filling, your crust will be perfectly chilled and ready to go, saving you a few precious minutes on the day of assembly. This flexibility makes these bars a go-to for holidays or large gatherings.
How We Tested This Recipe
At RecipeNest, developing a recipe like these No-Bake Cheesecake Bars involves rigorous testing to ensure consistently excellent results. Our initial test batch focused on the crust, experimenting with ratios of graham cracker crumbs to melted butter. We found that 2 cups of crumbs to 1/2 cup butter created the perfect balance—firm enough to hold its shape but not overly hard, eliminating the common issue of a crumbly or greasy base. We also tested pressing techniques, confirming that firm, even pressure is key.
The filling was where most of our subsequent testing occurred. Batch three involved tweaking the amount of powdered sugar; too little made it bland, too much overwhelmed the cream cheese. The 1 cup ratio provided the ideal sweetness. We also experimented with vanilla amounts, landing on 1 teaspoon for a pronounced, but not overpowering, flavor. A crucial discovery was the impact of cream cheese temperature. Our first attempt with slightly cold cream cheese resulted in tiny lumps, prompting our strong recommendation for fully softened cream cheese. We meticulously timed the whipping of heavy cream, noting that 2-3 minutes on medium-high speed typically yields stiff peaks without over-whipping.
The chilling time was also carefully monitored across several batches. While 2 hours provided a soft set, our taste testers unanimously preferred the texture and stability after a minimum of 4 hours, with overnight chilling producing the absolute best, most sliceable bars. We used a standard 9x9 inch square pan with parchment paper slings for all tests, ensuring our instructions for removal and serving are foolproof. Each iteration was tasted blind by our test kitchen panel, assessing texture, flavor, and visual appeal, until these precise instructions and ingredient amounts achieved the consistent 'wow' factor we aim for.
Nutrition Facts
Per serving · 320 calories
protein
4g
carbs
28g
fat
22g
fiber
1g
sugar
20g
sodium
240mg
Related Recipes
More desserts and similar dishes you'll love.
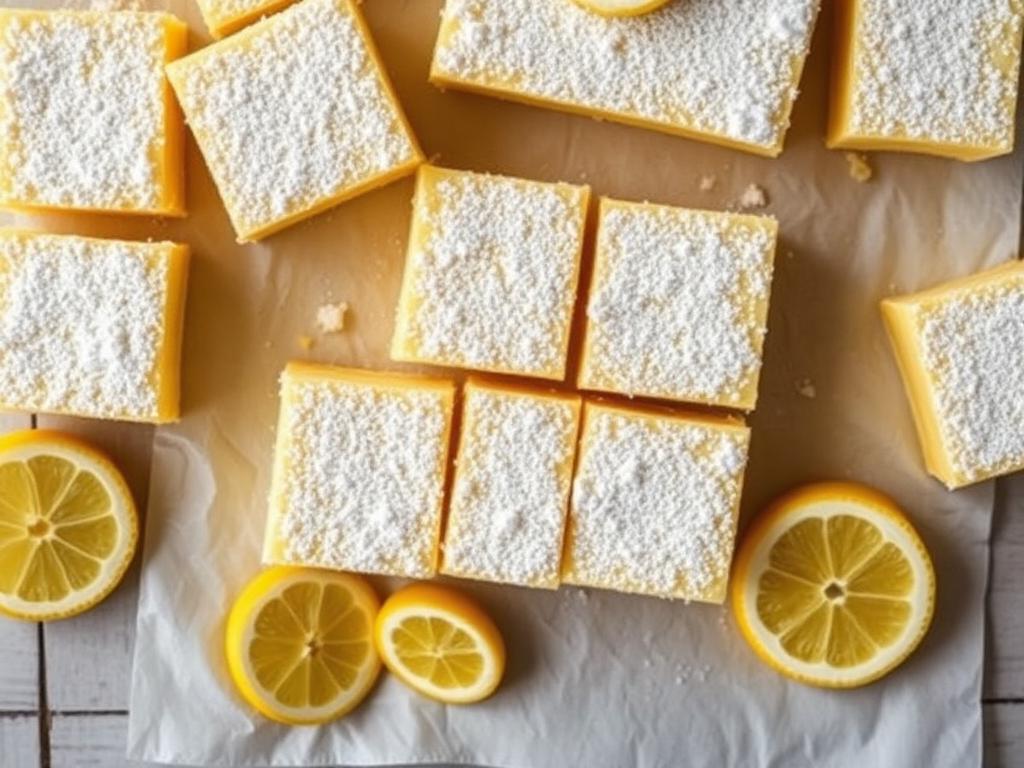
Classic Lemon Bars
These classic lemon bars strike the perfect balance between a buttery shortbread crust and tangy lemon curd. This easy lemon dessert is a staple recipe for citrus lovers everywhere.
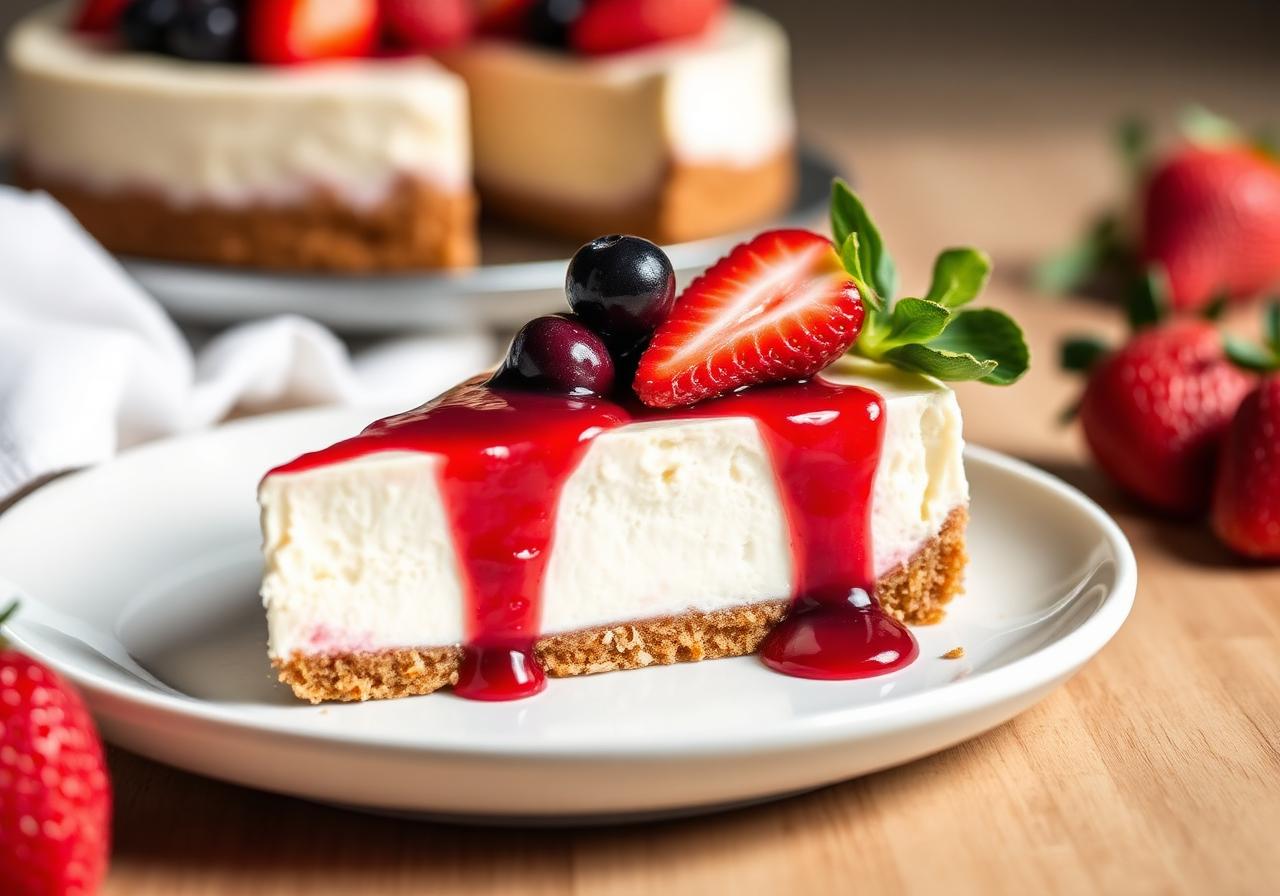
High Protein Cottage Cheese Cheesecake
This healthy Cottage Cheese Cheesecake delivers 22g of protein per slice without sacrificing flavor. A creamy, high-protein dessert featuring a classic graham crust that the whole family will love.
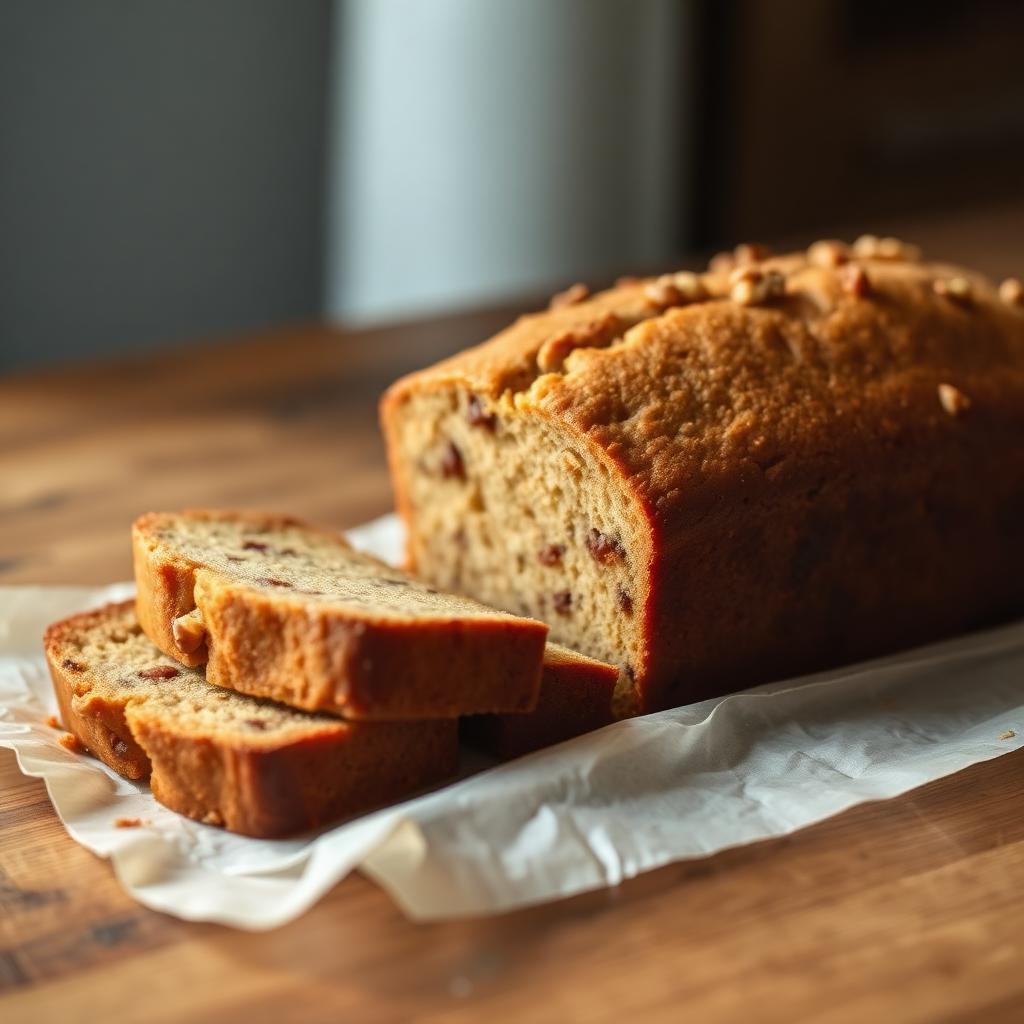
The Best Moist Banana Bread
Discover how to make the best moist banana bread using only one bowl. This homemade banana bread recipe delivers a soft, bakery-style loaf that is perfect for utilizing overripe bananas.
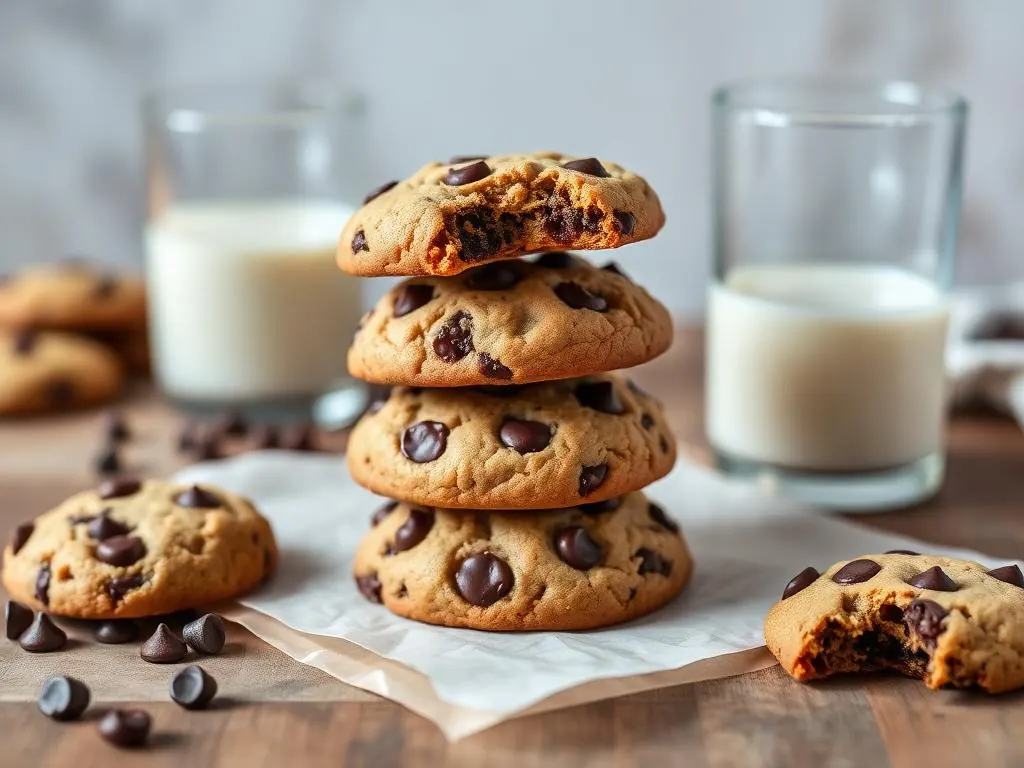
The Best Chocolate Chip Cookies
Stop searching for the best chocolate chip cookies. This recipe delivers a soft, chewy texture with buttery edges and gooey chocolate in every bite — the ultimate homemade cookie experience.
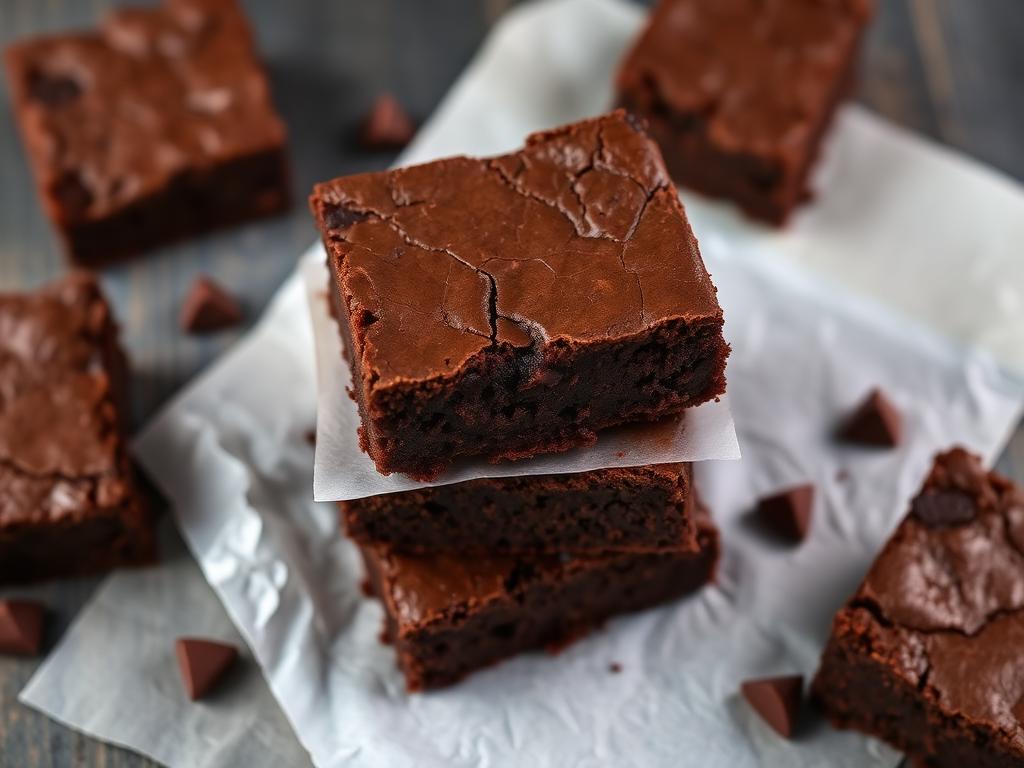
Fudgy Chocolate Brownies
These fudgy chocolate brownies are incredibly dense and rich with a signature crackly top. This simple one-bowl recipe means you can have homemade brownies ready for the oven in minutes.
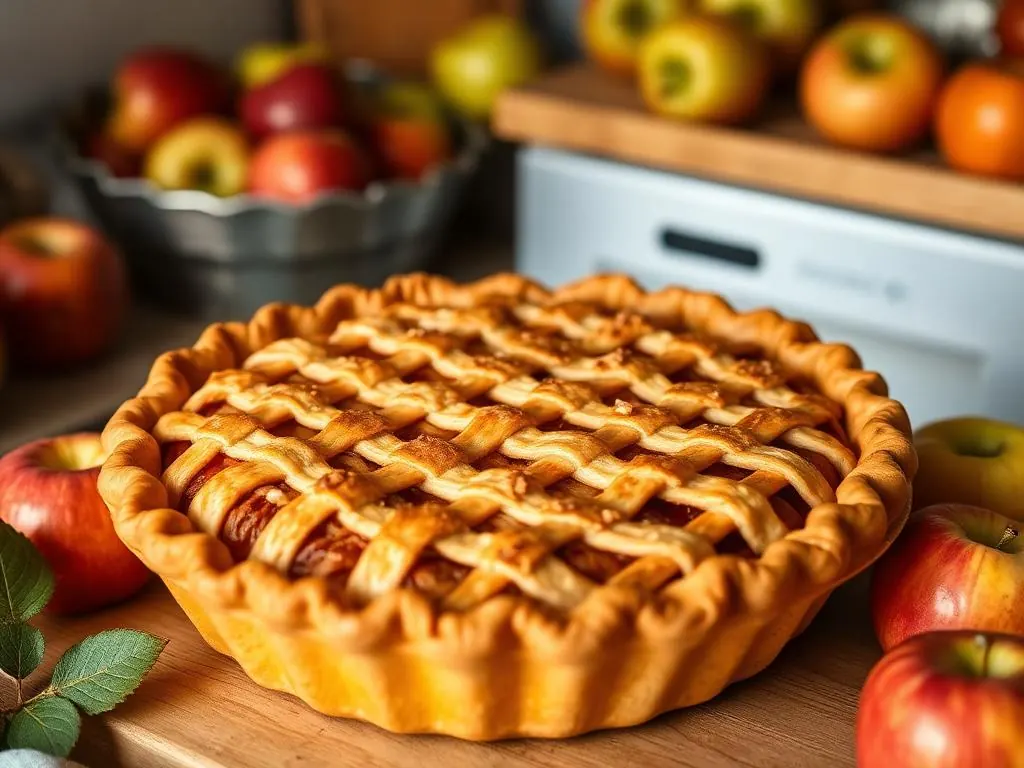
Homemade Apple Pie
Our Homemade Apple Pie features a golden, flaky pie crust and a perfectly spiced cinnamon apple filling. This traditional dessert recipe is a warm and comforting classic for any occasion.
Frequently Asked Questions
Can I make cheesecake bars ahead of time?+
Yes — store in an airtight container in the fridge for up to 3 days. Reheat gently to preserve texture and flavor.
Can I freeze cheesecake bars?+
Most components freeze well for up to 3 months. Cool completely before freezing and thaw overnight in the refrigerator.
What can I serve with this cheesecake bars?+
Pair with a simple green salad, crusty bread, or roasted vegetables for a complete meal the whole family will love.
What kind of cream cheese should I use for no-bake cheesecake bars?+
For the best results, use full-fat block cream cheese. Avoid cream cheese spreads that come in tubs, as they often contain more water and stabilizers, which can prevent the cheesecake from setting properly and lead to a less rich flavor. Ensure your cream cheese is at room temperature before mixing.
Why is my no-bake cheesecake filling grainy?+
A grainy filling is almost always due to cold cream cheese. When cream cheese isn't fully softened, it doesn't incorporate smoothly with the sugar and can create small lumps. Always let your cream cheese come to room temperature for at least an hour before you begin mixing to ensure a perfectly smooth and creamy texture.
Can I use different types of cookies for the crust?+
Absolutely! While graham crackers are classic, you can easily substitute them with other crisp cookies. Vanilla wafers, digestive biscuits, shortbread, or even chocolate cookies like Oreos (crushed with the filling) make excellent crusts. Just ensure you still have 2 cups of fine crumbs and adjust the melted butter slightly if the cookies are very dry or very oily.
How can I prevent my cheesecake bars from sticking to the pan?+
The best way to prevent sticking and ensure easy removal is to line your 9x9 inch pan with parchment paper, leaving an overhang on two opposite sides. These overhangs act as 'slings' that allow you to lift the entire chilled cheesecake out of the pan before slicing. This method ensures clean edges and simplifies portioning.
Can I reduce the sugar in this recipe?+
Yes, you can adjust the sweetness to your preference. Our recipe uses 1 cup of powdered sugar, which provides a balanced sweetness. If you prefer a less sweet cheesecake, you can reduce the powdered sugar by up to 1/4 cup. We don't recommend reducing it more significantly, as it can affect the overall texture and balance of flavors.
What's the best way to slice no-bake cheesecake bars cleanly?+
For perfectly clean slices, ensure your cheesecake is thoroughly chilled, ideally for at least 4 hours or overnight. Dip a sharp, thin knife into hot water, wipe it dry, and then make each cut. Repeat this process for every slice – dip, wipe, cut. This technique helps the knife glide through the creamy filling without dragging or tearing.
How long do I need to whip the heavy cream to stiff peaks?+
The time can vary depending on your mixer and the temperature of the cream, but typically, whipping 1 cup of very cold heavy cream to stiff peaks takes about 2-3 minutes on medium-high speed. You'll know it's ready when the cream holds firm peaks when the whisk is lifted, and it has a light, airy, cloud-like consistency. Be careful not to over-whip, which can turn it grainy.

Recipe by Sarah Mitchell
Recipe developer · Practical family cooking
Get more recipes like this
Get a free collection of 15 easy family recipes delivered to your inbox.
You May Also Like
Hand-picked favorites from across RecipeNest.
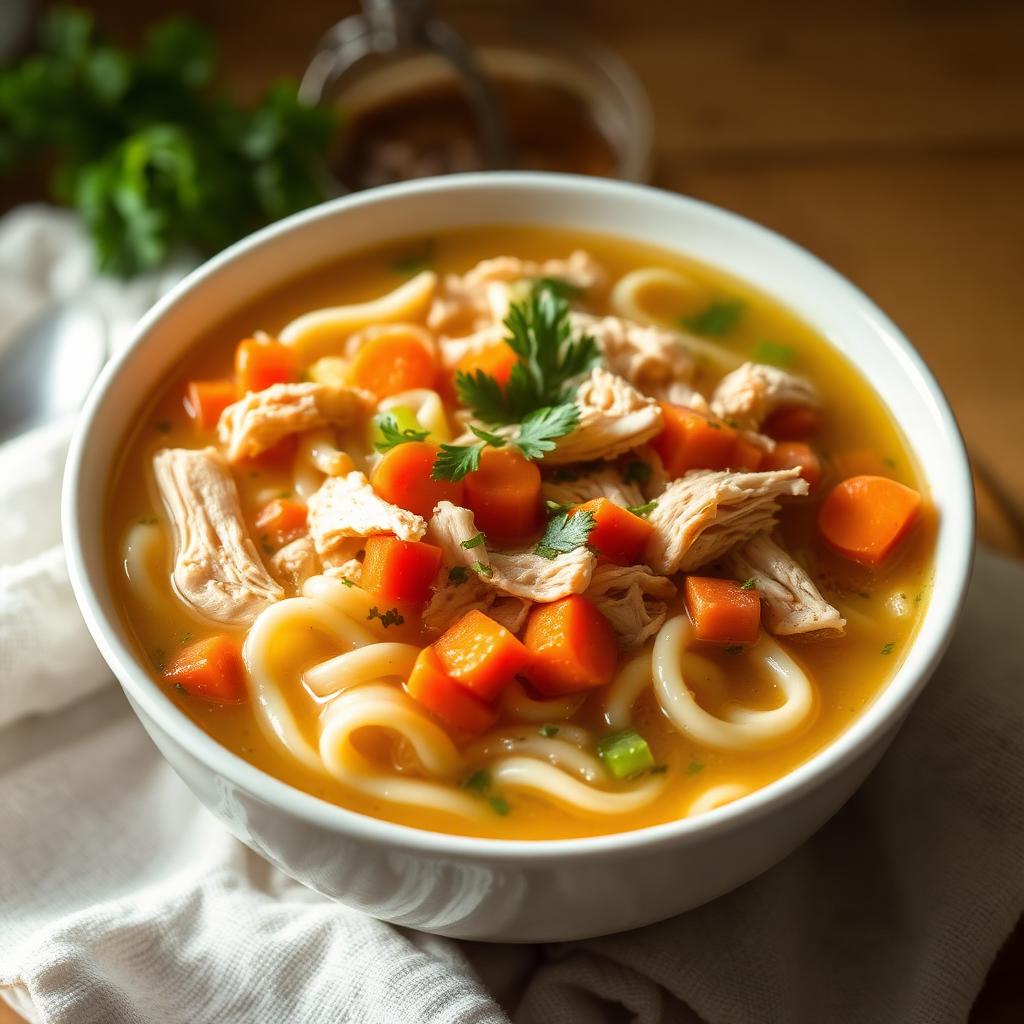
Classic Chicken Soup
This classic chicken soup recipe is the ultimate homemade chicken noodle soup — cozy, restorative, and ready in under an hour. Made with tender shredded chicken, egg noodles, carrots, celery, and fresh herbs in a golden broth, this old-fashioned chicken soup is the go-to comfort food for cold days and sick days alike.
Garlic Butter Chicken
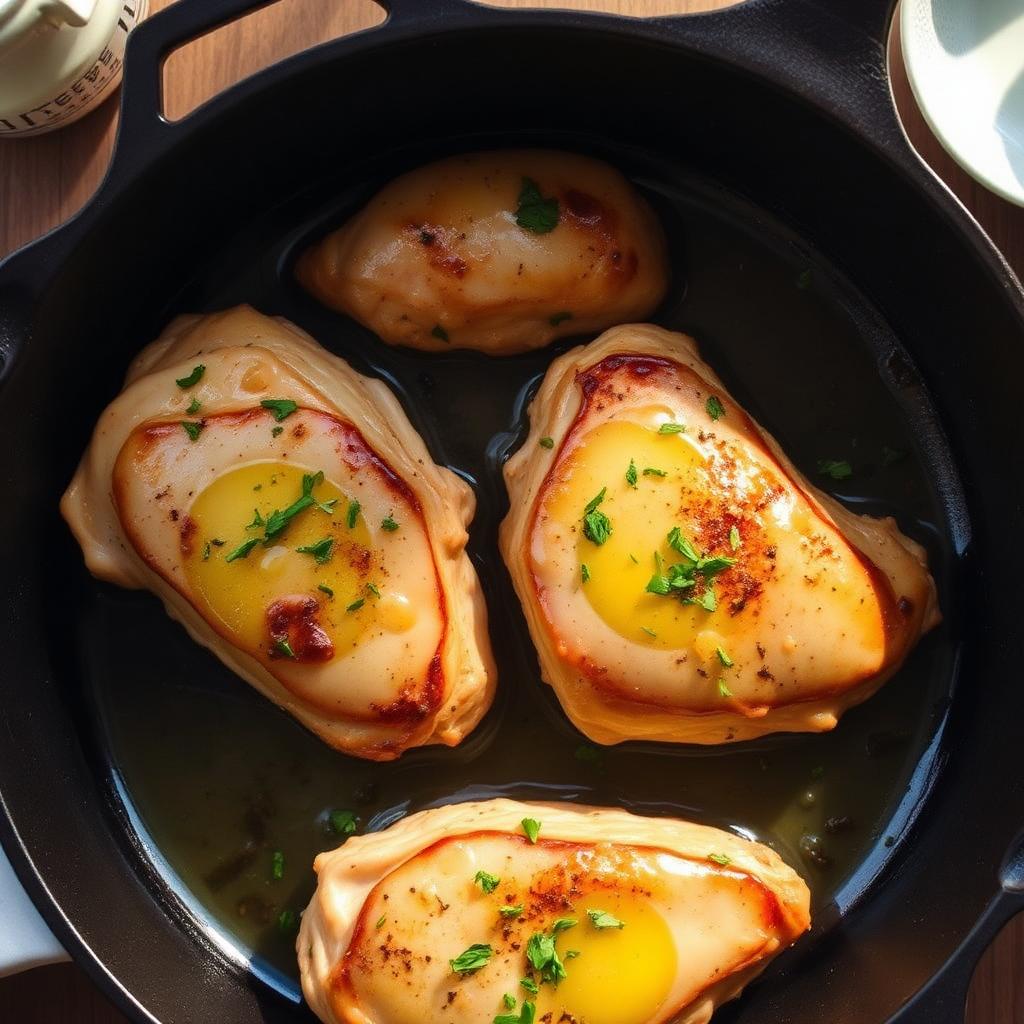
Our 20-minute garlic butter chicken is a restaurant-style meal you can make in one skillet. This easy chicken recipe uses simple ingredients to create a rich, savory pan sauce.

Crispy Air Fryer Chicken Wings
Stop settling for soggy wings and try these air fryer chicken wings. These crispy wings use no flour or breading, making them the perfect keto chicken wings for your next party.
Fluffy Buttermilk Pancakes
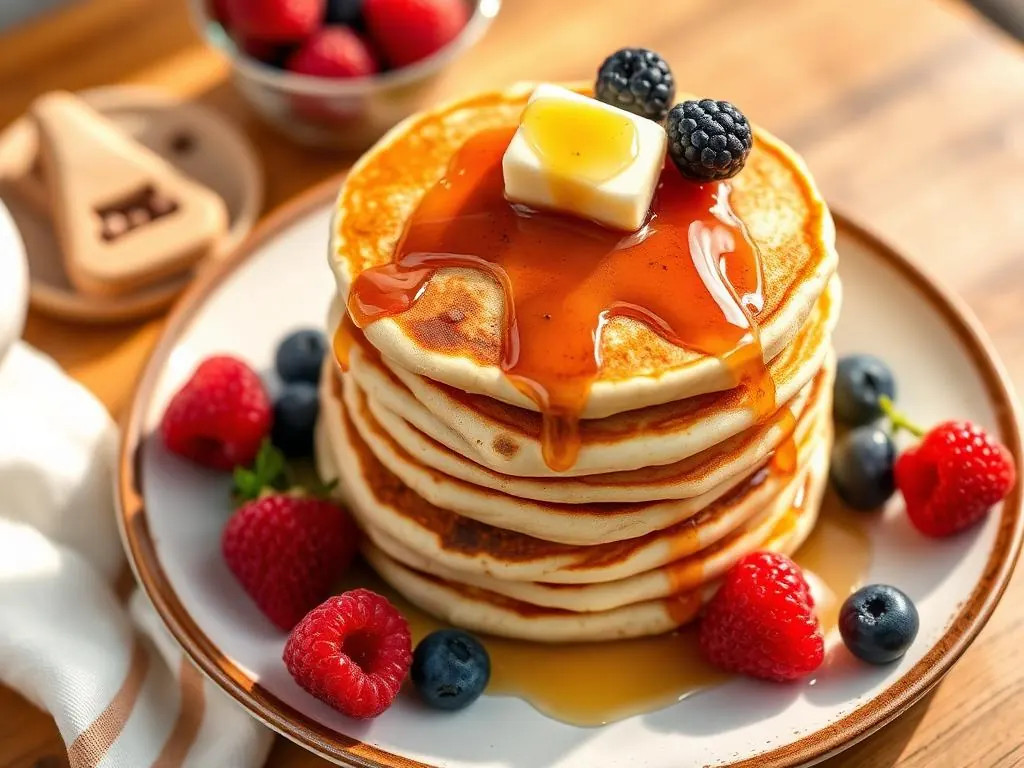
Master the art of Sunday morning with these classic Buttermilk Pancakes. These tall, fluffy pancakes are made from scratch and serve as the foundation for the ultimate homemade breakfast.