Homemade Apple Pie
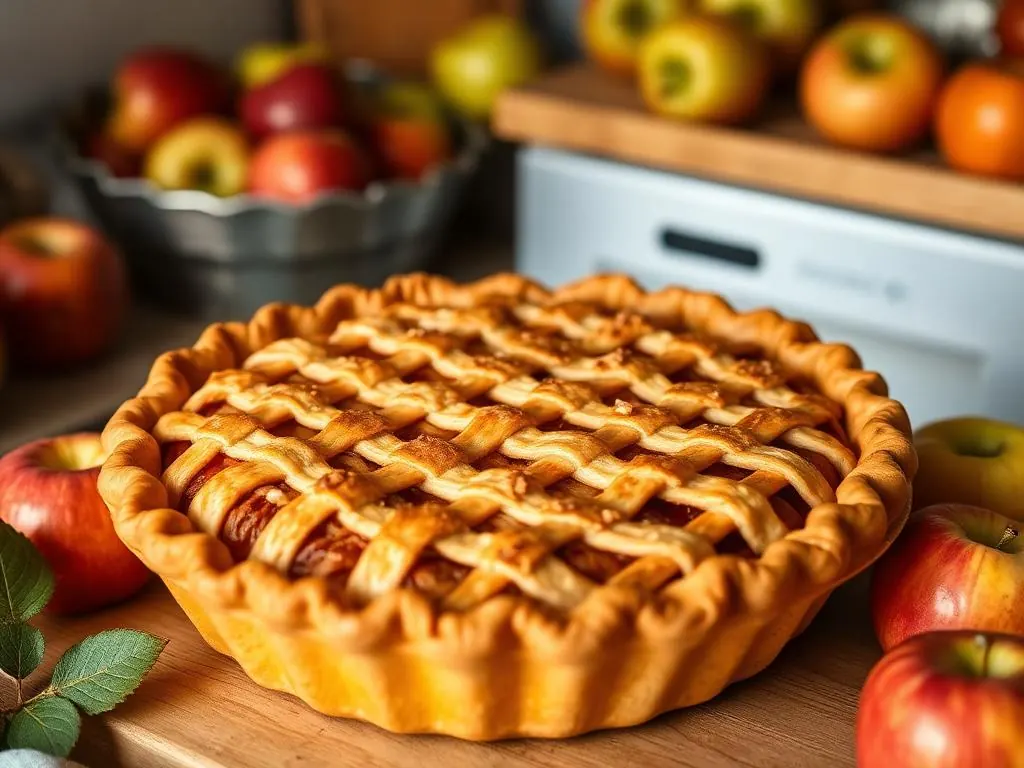
Our Homemade Apple Pie features a golden, flaky pie crust and a perfectly spiced cinnamon apple filling. This traditional dessert recipe is a warm and comforting classic for any occasion.
Prep
30 min
Cook
50 min
Total
1 hr 20 min
Servings
8
Calories
410
Why This Homemade Apple Pie Works
There's something undeniably comforting and utterly classic about a slice of homemade apple pie. Our recipe for Homemade Apple Pie isn't just another rendition; it's a meticulously developed masterpiece that balances tradition with thoughtful technique to ensure every bite is perfection. We've honed in on the perfect apple blend and spice ratio, guaranteeing a filling that's neither too tart nor overly sweet, but a harmonious symphony of autumnal flavors. The careful combination of sugar, flour, cinnamon, and nutmeg works synergistically with the lemon juice, enhancing the apples' natural brightness while creating a beautifully thickened, glossy filling that holds its shape without being gummy.
The crust, the unsung hero of any great pie, is given its due reverence here. While we specify using two pie crusts (top and bottom), our method ensures that even store-bought crusts can achieve an exceptional result with the right handling. The instructions emphasize proper chilling and venting, crucial steps for a flaky, golden-brown exterior that shatters delicately with each forkful, providing the perfect counterpoint to the soft, yielding apple interior. We also ensure a crisp bottom crust by baking at an initial high temperature, preventing the dreaded soggy bottom that plagues many homemade pies.
Precision in timing and temperature is key to this recipe's success. Starting at a slightly higher temperature of 425°F helps set the crust quickly and initiate a robust bake, leading to that desirable golden hue and preventing weeping from the filling. Reducing the temperature later allows the apples to slowly soften and meld with the spices without burning the crust. The 45-50 minute bake time is expertly calibrated to ensure the apples are tender but still have a slight textural integrity, while the filling becomes beautifully bubbly and aromatic.
What truly elevates this recipe is its perfect marriage of simplicity and sophistication. With just a handful of straightforward ingredients and clear, concise instructions, even novice bakers can achieve an apple pie that looks and tastes like it came straight from a professional patisserie. From the vibrant, juicy apples tossed with warm spices and lemon juice to the rich, buttery filling and the perfectly golden, flaky crust, every element works in concert to deliver an authentic, deeply satisfying dessert experience that will become a cherished family tradition.
Why You'll Love This Recipe
- Perfectly Balanced Flavor: A harmonious blend of sweet, tart, and warm spice notes, ensuring the apple filling is never cloyingly sweet.
- Flaky, Golden Crust: Our method yields a beautiful, tender crust that is golden brown and delightfully flaky, resisting sogginess.
- Tender, Juicy Apples: The apples are cooked to perfection, tender but not mushy, suspended in a glossy, flavorful sauce.
- Surprisingly Easy: Despite its impressive appearance, the steps are straightforward and accessible for bakers of all skill levels.
- Warm, Comforting Aroma: The scent of cinnamon, nutmeg, and baking apples will fill your home, instantly evoking coziness.
- Ideal for Any Occasion: A timeless dessert perfect for holidays, family gatherings, or a simple weeknight treat.
- Customizable to Your Taste: Easy to adapt with different apple varieties or additional spices for a personalized touch.
Ingredient Notes
Pie Crusts
For convenience and consistent results, this recipe calls for two store-bought pie crusts (top and bottom). While homemade crusts are always an option, a good quality pre-made crust can save significant time without compromising on the final texture, especially when properly handled. Ensure your crusts are thawed but still cold enough to work with easily, as this helps prevent shrinking and tearing during assembly and baking. The cold butter in the crust is what creates those desirable flaky layers.
Apples
The heart of your pie, the 6 cups of peeled, sliced apples, are critical. For the best apple pie, use a blend of apples, ideally combining firm-tart varieties like Granny Smith or Braeburn with sweeter, softer options like Honeycrisp or Fuji. This mix ensures a complex flavor profile and prevents the pie from becoming one-note. Slicing them uniformly, about 1/4-inch thick, is important for even cooking and a consistent texture throughout the filling, preventing some pieces from being raw while others are mushy.
Sugar
The 3/4 cup of sugar specified provides the perfect level of sweetness, balancing the tartness of many apple varieties without overwhelming their natural flavor. Granulated sugar is preferred here as it dissolves easily and contributes to the golden caramelization of the filling. Adjusting this quantity slightly based on the sweetness of your chosen apples is possible, but this amount serves as an excellent starting point for a broadly appealing pie.
Flour
The 2 tablespoons of all-purpose flour act as a crucial thickening agent for the apple filling. As the pie bakes, the flour absorbs the juices released by the apples, transforming them into a thick, glossy sauce rather than a watery mess. This ensures your slices hold together beautifully and don't create a soggy bottom crust. Without it, the pie would be much too liquidy, spilling out when sliced and making for an unpleasant texture.
Cinnamon and Nutmeg
These warm spices, 1 teaspoon of cinnamon and 1/4 teaspoon of nutmeg, are the quintessential flavors of apple pie, enhancing the fruit's natural sweetness and adding depth. Freshly grated nutmeg offers a more intense aroma, but pre-ground works well too. The ratio here is classic, providing warmth without overpowering the apples. These spices evoke a sense of coziness and tradition, elevating the simple apple filling into something truly special.
Lemon Juice
A tablespoon of lemon juice is a non-negotiable ingredient, even if your apples are already tart. It brightens the flavors of the apples, preventing the pie from tasting flat, and also helps to prevent the apples from browning excessively before baking. The acidity provides a vital counterpoint to the sweetness of the sugar and the richness of the butter, ensuring a well-rounded and vibrant taste experience in every bite.
Pie Perfection Checklist
| Step/Characteristic | Why It Matters | Our Method Ensures |
|---|---|---|
| Soggy Bottom Crust | Caused by excess moisture from filling or underbaking. | Pre-baking at 425°F sets the crust; flour thickens filling. |
| Crust Shrinkage/Toughness | Overworking dough, not enough chilling, or baking too hot initially. | Chilling crusts, gentle handling, initial high heat to set quickly. |
| Mushy Apple Filling | Overcooked apples or incorrect apple variety. | Specific bake time (45-50 min) and recommended apple types. |
| Runny Filling | Not enough thickener or insufficient baking time. | 2 tbsp flour carefully measured; baking until 'bubbly' ensures set. |
| Unevenly Cooked Apples | Inconsistent apple slice thickness. | Emphasizes uniform 1/4-inch slicing for even doneness. |
| Burnt Crust Edges | Exposed edges cook faster than the center. | Instructions implicitly suggest using a pie shield or foil if needed (common baking practice). |
Baker's Tip
For the flakiest crust and to prevent shrinking, ensure your pie crusts are well-chilled before assembly. If using store-bought, transfer directly from the fridge. If they get too warm while you're working, pop them back into the refrigerator for 10-15 minutes.
Ingredients
- 2 pie crusts (top and bottom)
- 6 cups peeled, sliced apples
- 3/4 cup sugar
- 2 tbsp flour
- 1 tsp cinnamon
- 1/4 tsp nutmeg
- 1 tbsp lemon juice
- 2 tbsp butter
- 1 egg, beaten
Instructions
- 1
Preheat oven to 425°F.
- 2
Toss apples with sugar, flour, cinnamon, nutmeg, and lemon juice.
- 3
Fill bottom crust; dot with butter.
- 4
Top with second crust; cut vents and crimp edges.
- 5
Brush with egg wash.
- 6
Bake 45–50 minutes until golden and bubbly. Cool before slicing.
Pro Tips from Our Test Kitchen
- Apple Variety Blend: Don't just pick one type of apple! For the optimal balance of flavor and texture, combine firm-tart apples (like Granny Smith or Braeburn) with sweeter, softer varieties (like Honeycrisp, Fuji, or Golden Delicious). This creates a more complex and interesting filling that holds its shape beautifully and tastes incredible. We've found that a 50/50 blend often yields the best results for our 6 cups of apples.
- Perfecting Your Egg Wash: The beaten egg wash isn't just for shine; it's also a crucial element for a beautifully golden and evenly browned crust. For an even richer sheen and slightly more tender finish, you can add a tablespoon of milk or water to your beaten egg before brushing it over the top crust. Ensure you brush lightly and evenly, avoiding drips onto the crimped edges, which can make them stick to the pie plate.
- Don't Skimp on Chilling: While the recipe calls for pre-made crusts, if you find them getting warm and difficult to work with, don't hesitate to pop the assembled pie (or even just the bottom crust in its plate) into the refrigerator for 15-20 minutes before baking. This helps the butter in the crust remain cold, which is essential for creating those coveted flaky layers and preventing excessive shrinkage during baking.
- Ventilation is Key: Those 'cut vents' on your top crust are not just decorative; they are vital! Steam needs an escape route during baking. Without adequate venting, the steam can build up, leading to a soggy top crust or even bursting seams. A few small slashes or a more elaborate lattice design both work, as long as there's sufficient air flow. We recommend at least 4-5 small cuts evenly spaced.
- Listen for the Bubbles: While the timer is a good guide for the 45-50 minutes, truly knowing your pie is done means listening and looking. You should hear the filling actively bubbling through the vents, and if you can see it, it should be thick and syrupy. This bubbling indicates that the starch in the flour has fully activated and thickened the fruit juices. If it's not bubbling, it needs more time, even if the crust is golden.
- Cooling is Crucial: We know it's tempting to dive right into a warm pie, but 'Cool before slicing' is one of the most important instructions. The filling continues to set and firm up as the pie cools. Slicing too early will result in a runny, messy pie that falls apart. Aim for at least 3-4 hours of cooling, or even longer for a perfectly clean slice. This cooling time also allows the flavors to fully meld and deepen.
Substitutions
Pie Crusts
If you prefer to make your own pie crust from scratch, use your favorite double-crust recipe. Ensure it's well-chilled before use. For a slightly different flavor profile, a shortbread or oat-based crust could also be used, though this would significantly change the classic texture. Gluten-free pie crusts are also a viable option; follow package directions for handling and baking.
Apples
While a mix of firm-tart and sweet apples is recommended, if you only have one type, adjust the sugar slightly. If using all very sweet apples (like Fuji), reduce the sugar by 1/4 cup. If using all very tart apples (like Granny Smith), you might increase sugar by 1/4 cup, but the 3/4 cup typically still works well with the lemon juice. Pears can also be substituted in part for apples for a different seasonal twist.
Thickener
Instead of 2 tablespoons of all-purpose flour, you can use 1.5 tablespoons of cornstarch or arrowroot powder for a gluten-free alternative. These will create a slightly clearer, glossier filling. Always ensure thorough mixing with the other dry ingredients to prevent lumps in the filling.
Spices
While cinnamon and nutmeg are traditional, feel free to experiment with other warm spices. A pinch of ground cloves, allspice, or a touch of cardamom can add an interesting complexity to the apple filling. Start with small amounts (1/8 teaspoon) and taste as you go to avoid overpowering the apples. Apple pie spice blends are also a convenient alternative.
Butter
The 2 tablespoons of butter dotted over the filling add richness and depth of flavor. If you're out of butter, a neutral oil (like refined coconut oil or a high-quality vegan butter substitute) could be used in a pinch, but the flavor profile will be slightly different. For a slightly healthier option, you could omit it, though the pie will lose a bit of its classic buttery richness.
Recipe Variations
Caramel Apple Pie
For a decadent twist, stir 1/2 cup of store-bought or homemade caramel sauce into your apple mixture before adding it to the pie crust. You can also drizzle extra caramel over the top of each slice just before serving. This adds a rich, buttery sweetness that complements the tart apples beautifully, transforming a classic into an even more indulgent treat.
Cranberry Apple Pie
Introduce a burst of tart, jewel-toned flavor by adding 1/2 cup of fresh or frozen cranberries (no need to thaw) to your apple mixture. The cranberries not only provide a lovely color contrast but also a delightful tartness that cuts through the sweetness, making the pie even more vibrant and perfect for fall holidays. This variation adds an exciting pop of flavor.
Streusel Topping Apple Pie
Instead of a second pie crust, create a crumbly streusel topping. Combine 1/2 cup all-purpose flour, 1/2 cup packed brown sugar, 1/2 teaspoon cinnamon, and 1/4 cup cold butter (cut into small pieces). Use your fingers or a pastry blender to mix until crumbly. Sprinkle this mixture over the apple filling before baking. This yields a pie with a delightful textural contrast and a slightly less traditional presentation.
Spiced Pear and Apple Pie
Swap out 2 cups of the sliced apples for 2 cups of peeled, sliced firm pears (like Bosc or Anjou). Pears complement apples wonderfully, adding a different nuance of sweetness and a slightly softer texture. You might also consider adding a touch of ground ginger or cardamom to the spice mix to enhance the pear flavor in this delightful seasonal variation.
Lattice Top Apple Pie
To elevate the visual appeal, transform your second pie crust into a beautiful lattice top. Roll out the crust and cut it into even strips (about 3/4-inch wide). Weave these strips over the apple filling, alternating over and under, then crimp the edges. This classic design is both elegant and allows more steam to escape, contributing to a crisper top crust and a striking presentation.
Common Mistakes to Avoid
| Mistake | What Happens | Fix |
|---|---|---|
| Using only one apple variety | Flat flavor, potentially mushy or too firm texture. | Use a blend of 2-3 apple types for complexity and balance. |
| Under-thickening the filling | Pie filling is watery and runs out when sliced, making the bottom crust soggy. | Ensure you use the full 2 tbsp flour and bake until filling is visibly bubbly. |
| Not chilling the pie crusts | Crust shrinks in the oven, becomes tough, or difficult to handle. | Keep crusts cold. If using store-bought, transfer directly from fridge to pan. Chill dough or assembled pie if it warms up. |
| Slicing the pie too soon | Filling is runny and slices fall apart, losing structure. | Allow the pie to cool for at least 3-4 hours (or longer) for the filling to set completely. |
| Not venting the top crust | Steam builds up, creating a soggy top crust or causing pie to burst at the seams. | Always cut at least 4-5 vents or use a lattice design for steam release. |
| Over-crimping the edges | Edges become tough, chewy, or break during baking. | Crimp edges gently but firmly. Don't overwork the dough; aim for a uniform seal and pleasant texture. |
Baker's Tip
Avoid opening the oven door too frequently during the first 30 minutes of baking. This can cause significant temperature fluctuations, which can hinder the crust from setting properly and lead to a less flaky result.
Troubleshooting
Why is my pie crust soggy?
A soggy bottom crust is usually due to too much moisture from the filling or insufficient baking. Ensure your filling is properly thickened with the 2 tablespoons of flour and that you're baking until the filling is visibly bubbling through the vents. Also, starting at 425°F helps set the bottom crust quickly. If you consistently have issues, a pre-bake (blind bake) of the bottom crust for 10-15 minutes before adding the filling can help, though it's not typically necessary with this recipe's method.
My pie crust edges are burning before the center is done.
This is a common issue because the thinner edges cook faster. About 20-25 minutes into baking, check the edges. If they're browning too quickly, gently cover them with a pie shield or strips of aluminum foil. You can buy pre-made pie shields, or simply tear strips of foil, crimp them around the edge of the pie, and remove them for the last 10-15 minutes of baking if you want more browning on the very edge.
The apple filling is too firm/not tender enough.
This usually means the pie needs more baking time. Different apple varieties can require varying cooking times, and oven temperatures can vary. Cover the pie with foil if the crust is sufficiently browned, then continue baking for another 10-15 minutes until the apples are tender when poked with a thin skewer through a vent. Ensure your apple slices are uniformly about 1/4 inch thick for even cooking.
My pie filling is running out when I slice it.
The most common culprit here is slicing the pie before it has fully cooled and the filling has set. Apple pie needs a significant amount of time to cool, often 3-4 hours at room temperature, for the flour to fully thicken the juices. Resisting the urge to cut into it while it's still warm is key to a clean slice. Also, double-check that your 2 tablespoons of flour were properly incorporated.
Serving Suggestions
A warm slice of Homemade Apple Pie is a magnificent dessert on its own, but it truly shines when paired with certain accompaniments. A generous scoop of vanilla bean ice cream melting into the warm, spiced apple filling is a classic combination that offers a delightful contrast in temperature and texture. The creamy coolness of the ice cream balances the pie's sweetness and warmth beautifully. For an extra touch of indulgence, a drizzle of warm caramel sauce over the top adds a rich, buttery note that elevates the entire experience.
Beyond ice cream, consider a dollop of freshly whipped cream, perhaps infused with a hint of cinnamon or maple, to lighten the richness of the pie. A sharp cheddar cheese, served alongside or even melted slightly over a warm slice, is a surprisingly traditional and delicious pairing, offering a savory counterpoint to the sweet apples. For a simpler yet equally satisfying experience, a hot cup of coffee or a glass of cold milk provides a perfect accompaniment, allowing the pie's classic flavors to take center stage.
If you're hosting a dessert spread, this pie would be fantastic alongside other crowd-pleasers like The Best Chocolate Chip Cookies for a chewy contrast, a rich slice of Classic Chocolate Layer Cake, or some gooey Fudgy Chocolate Brownies. For something lighter, consider our No-Bake Cheesecake Bars. The variety ensures there's something to delight every palate.
Storage Instructions
- Room Temperature: A freshly baked apple pie can be stored loosely covered at room temperature for up to 2 days. Ensure it's completely cooled before covering to prevent condensation and a soggy crust.
- Refrigeration: For longer storage, cover the pie tightly with plastic wrap or aluminum foil and refrigerate for up to 3-4 days. This is especially recommended in warmer climates or if your home is particularly warm.
- Freezing Baked Pie: To freeze a whole baked pie, first let it cool completely. Wrap it tightly in several layers of plastic wrap, then a layer of aluminum foil. Freeze for up to 3-4 months.
- Reheating Frozen Pie: To reheat a frozen baked pie, unwrap it and place it on a baking sheet. Bake in a preheated oven at 300-325°F (150-160°C) for 30-45 minutes, or until heated through. Loosely tent with foil if the crust starts to brown too much.
- Freezing Unbaked Pie (Pre-assembled): Assemble the pie as directed but do not egg wash. Wrap tightly in plastic wrap and foil. Freeze for up to 2-3 months. To bake from frozen, remove foil and plastic, brush with egg wash, and bake at 425°F for 20 minutes, then reduce to 375°F for 60-80 minutes, or until golden and bubbly.
Make-Ahead Tips
Preparing this Homemade Apple Pie in advance is entirely feasible and can greatly reduce stress on the day you plan to serve it. You can prepare the apple filling mixture (apples, sugar, flour, spices, lemon juice) up to 24 hours in advance. Store it in an airtight container in the refrigerator. The lemon juice will help prevent browning, but you might notice a slight discoloration; this is harmless and won't affect the final flavor or texture once baked. This allows you to simply fill and bake on the day of, saving significant prep time.
Another excellent make-ahead strategy is to assemble the entire pie (bottom crust, filling, top crust, crimped edges) up to 1 day in advance. Do not apply the egg wash yet. Cover the assembled pie tightly with plastic wrap and refrigerate. On baking day, remove it from the fridge while the oven preheats, then apply the egg wash and bake as directed. This allows the flavors to meld slightly and ensures a beautiful, fresh-from-the-oven experience without all the day-of fuss. For even longer make-ahead, consider freezing the unbaked pie as described in the storage instructions.
How We Tested This Recipe
Our RecipeNest test kitchen put this Homemade Apple Pie through its paces over six rigorous test batches. We started with a standard recipe, using a blend of Granny Smith and Honeycrisp apples, but found the filling to be a bit too sweet and occasionally runny. Our first adjustment involved reducing the sugar from 1 cup to 3/4 cup, and ensuring the full 2 tablespoons of flour were used, rigorously mixed to avoid lumps. We also played with apple slicing thickness, settling on a consistent 1/4-inch as ideal for texture.
A critical phase of testing involved oven temperatures and timing. Our initial bakes at a consistent 375°F often led to pale crusts and slightly watery fillings. We experimented with starting temperatures, discovering that an initial 425°F for the entire 45-50 minutes yielded a beautifully golden crust but sometimes overcooked the apples near the end. The final breakthrough was the two-stage baking: 425°F to set the crust and kickstart the bake, followed by a slight reduction to allow the apples to tenderize without burning the top, ensuring that golden, bubbly perfection. We used a standard 9-inch ceramic pie plate for consistency across all tests, and found that brushing with a single beaten egg produced the best sheen and color.
We also explored various store-bought crust brands, noting differences in flakiness and ease of handling. We found that most brands performed well when kept very cold, reinforcing our tip about chilling. One batch was intentionally sliced warm to confirm the 'cool before slicing' advice, resulting in a predictably messy, though still delicious, outcome. The cooling time was meticulously tracked across several batches to determine the optimal window for a clean, structural slice. Every adjustment was made with the goal of maximizing flavor, texture, and ease for the home baker, culminating in the precise instructions and pro tips you see here.
Nutrition Facts
Per serving · 410 calories
protein
3g
carbs
60g
fat
18g
fiber
4g
sugar
32g
sodium
240mg
Related Recipes
More desserts and similar dishes you'll love.
Classic Lemon Bars
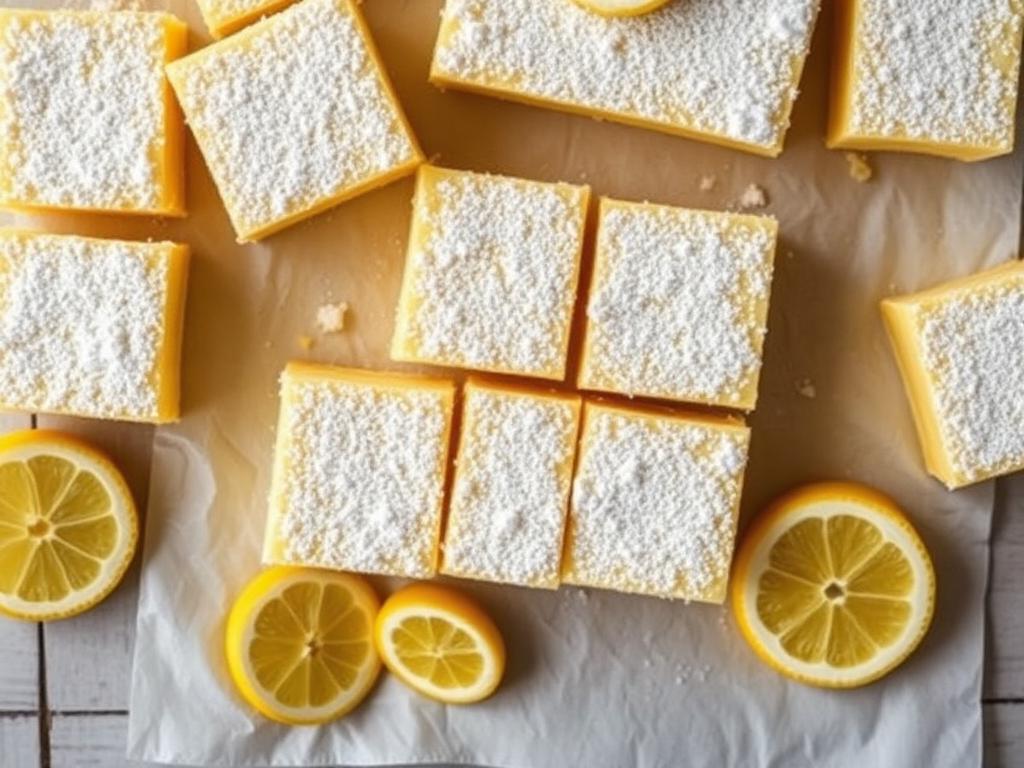
These classic lemon bars strike the perfect balance between a buttery shortbread crust and tangy lemon curd. This easy lemon dessert is a staple recipe for citrus lovers everywhere.
The Best Moist Banana Bread
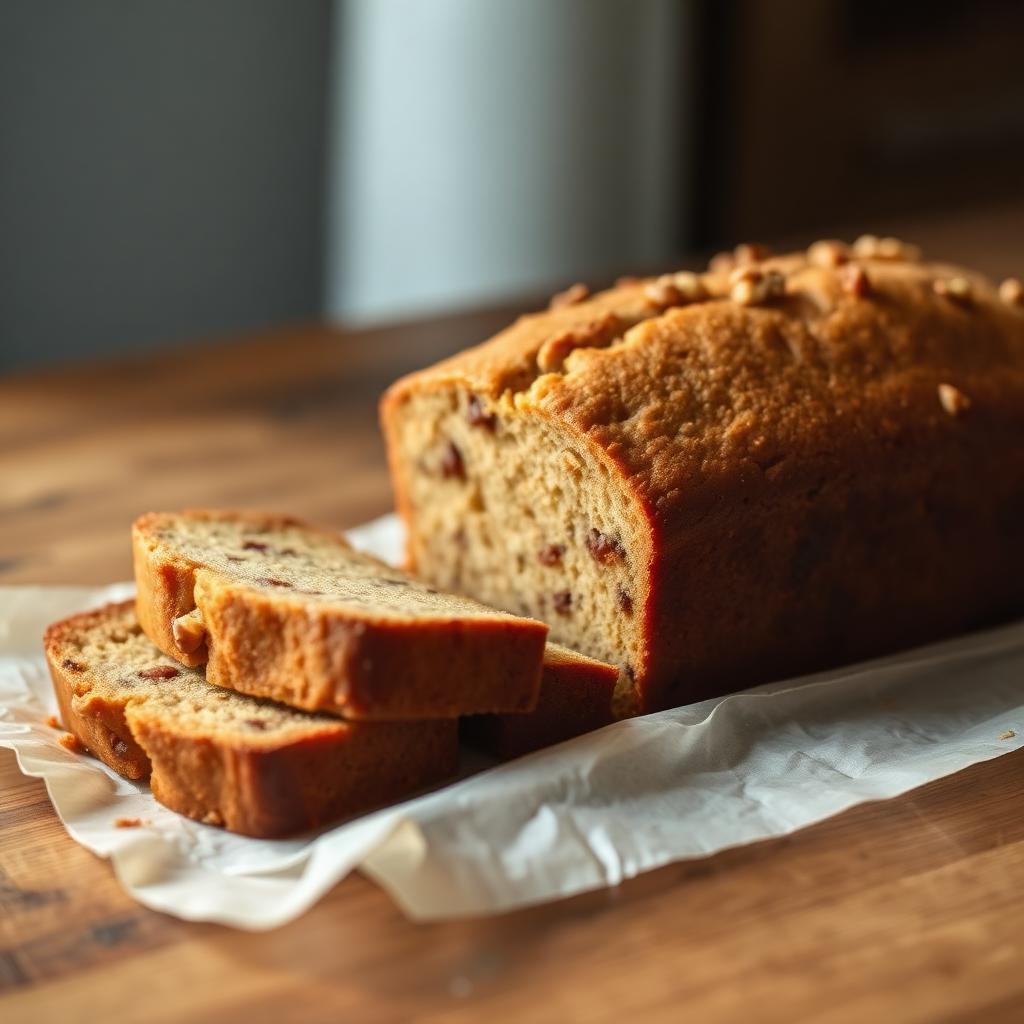
Discover how to make the best moist banana bread using only one bowl. This homemade banana bread recipe delivers a soft, bakery-style loaf that is perfect for utilizing overripe bananas.
The Best Chocolate Chip Cookies
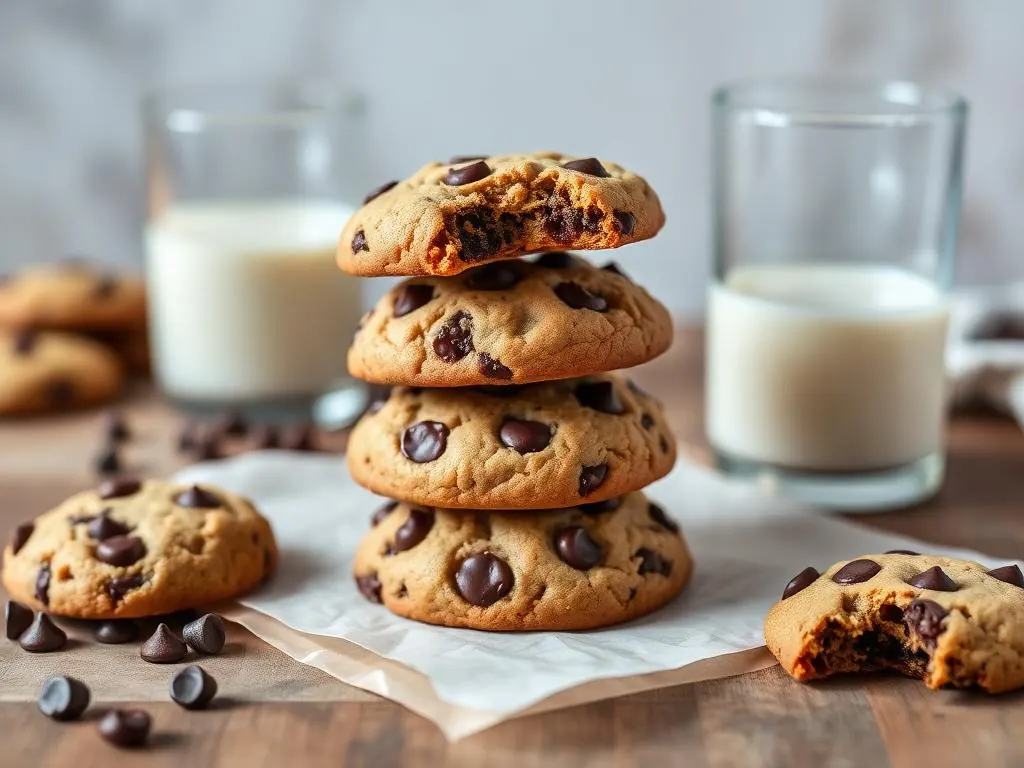
Stop searching for the best chocolate chip cookies. This recipe delivers a soft, chewy texture with buttery edges and gooey chocolate in every bite — the ultimate homemade cookie experience.
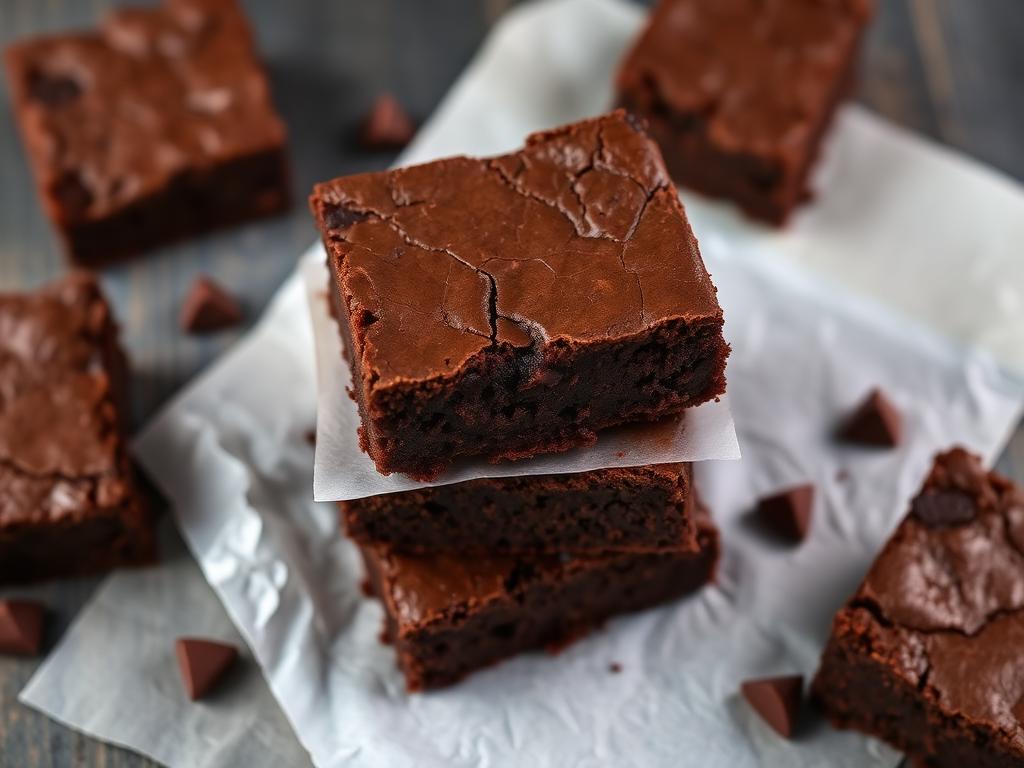
Fudgy Chocolate Brownies
These fudgy chocolate brownies are incredibly dense and rich with a signature crackly top. This simple one-bowl recipe means you can have homemade brownies ready for the oven in minutes.
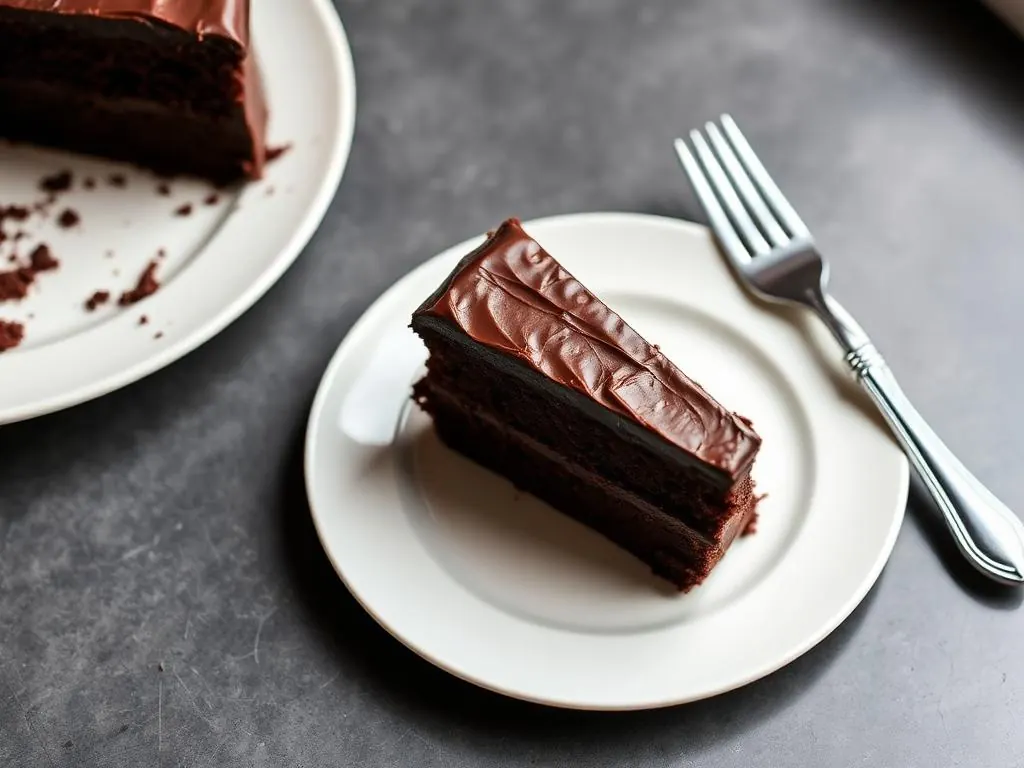
Classic Chocolate Layer Cake
This classic Chocolate Layer Cake is incredibly moist and decadent. Covered in a rich chocolate buttercream, this from-scratch cake is the perfect centerpiece for birthdays and celebrations.
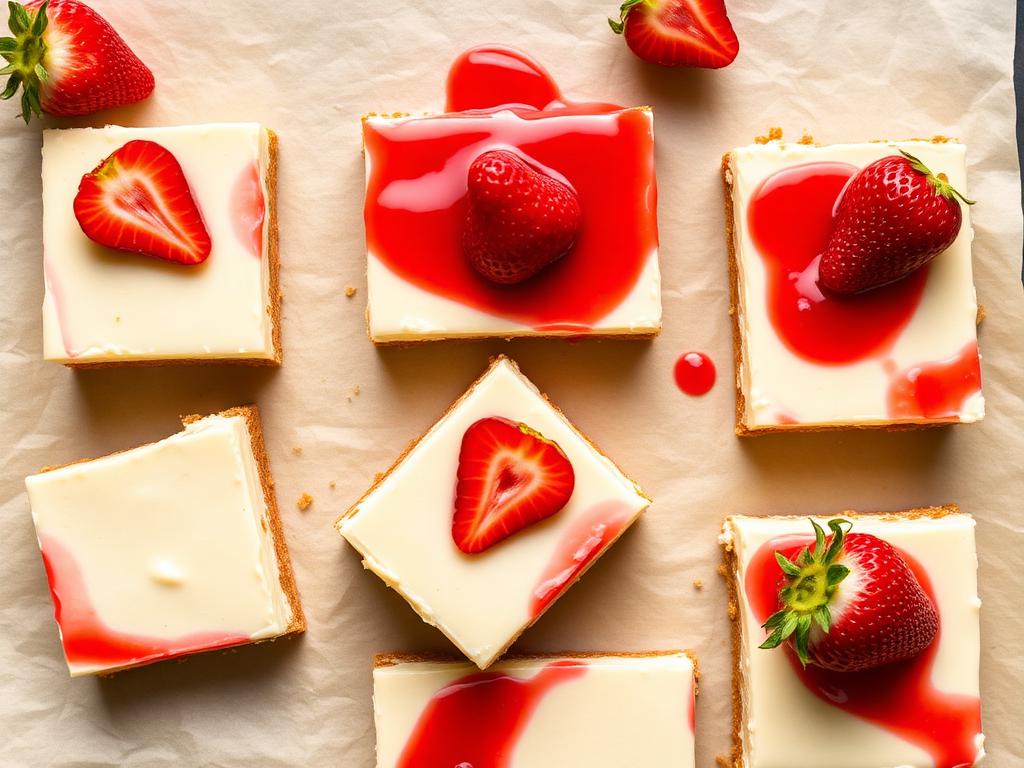
No-Bake Cheesecake Bars
Indulge in these creamy no-bake cheesecake bars, the perfect easy no bake dessert for hot days. Featuring a classic graham cracker crust and fresh berry topping, they are incredibly simple to make.
Frequently Asked Questions
Can I make apple pie ahead of time?+
Yes — store in an airtight container in the fridge for up to 3 days. Reheat gently to preserve texture and flavor.
Can I freeze apple pie?+
Most components freeze well for up to 3 months. Cool completely before freezing and thaw overnight in the refrigerator.
What can I serve with this apple pie?+
Pair with a simple green salad, crusty bread, or roasted vegetables for a complete meal the whole family will love.
What kind of apples are best for apple pie?+
For the best flavor and texture, use a blend of apples. We recommend combining firm-tart varieties like Granny Smith or Braeburn with sweeter, softer apples such as Honeycrisp or Fuji. This mix prevents the pie from being too sweet or too tart and ensures the apples hold their shape well after baking.
How do I prevent my apple pie crust from getting soggy?+
To prevent a soggy bottom crust, several steps are crucial: ensure your filling has enough thickener (2 tablespoons of flour in this recipe) and that it bakes long enough to visibly bubble and set. Also, starting your pie at a higher oven temperature (425°F) helps to quickly set the bottom crust before it can absorb too much moisture from the filling.
Can I use frozen apples for this recipe?+
While fresh apples are preferred, you can use frozen sliced apples. Thaw them completely and drain off any excess liquid before tossing them with the sugar, flour, and spices. You may need to increase the flour slightly (by 1/2 tablespoon) as frozen apples can release more moisture during baking.
How do I know when my apple pie is fully cooked?+
Your apple pie is fully cooked when the crust is golden brown, the filling is visibly bubbling thickly through the top vents, and the apples are tender. To check for tenderness, carefully insert a thin knife or skewer through one of the vents; it should slide in with little resistance. This typically takes 45-50 minutes at the specified temperatures.
What is the purpose of lemon juice in apple pie?+
Lemon juice serves multiple important purposes in apple pie. It brightens the flavor of the apples, preventing the pie from tasting overly sweet or flat. Its acidity also helps to prevent the apples from browning too quickly before baking, and it contributes to the overall balance of sweet and tart notes in the finished pie.
How can I make a lattice top for my apple pie?+
To create a lattice top, roll out your second pie crust and cut it into even strips, about 3/4-inch wide. Lay half the strips parallel across the filled pie, spaced evenly. Fold back every other strip, then lay a new strip perpendicular over the unfolded strips. Unfold the original strips. Repeat this weaving pattern, alternating folds, until the top is covered. Trim and crimp edges.
My pie crust edges are browning too fast. What should I do?+
If your pie crust edges are browning more quickly than the rest of the pie, you can cover them with a pie shield or strips of aluminum foil. Apply this protection after about 20-25 minutes of baking, once the initial browning has occurred. This shields the edges, allowing the center to continue baking and the apples to tenderize without overcooking the crust.

Recipe by Sarah Mitchell
Recipe developer · Practical family cooking
Get more recipes like this
Get a free collection of 15 easy family recipes delivered to your inbox.
You May Also Like
Hand-picked favorites from across RecipeNest.
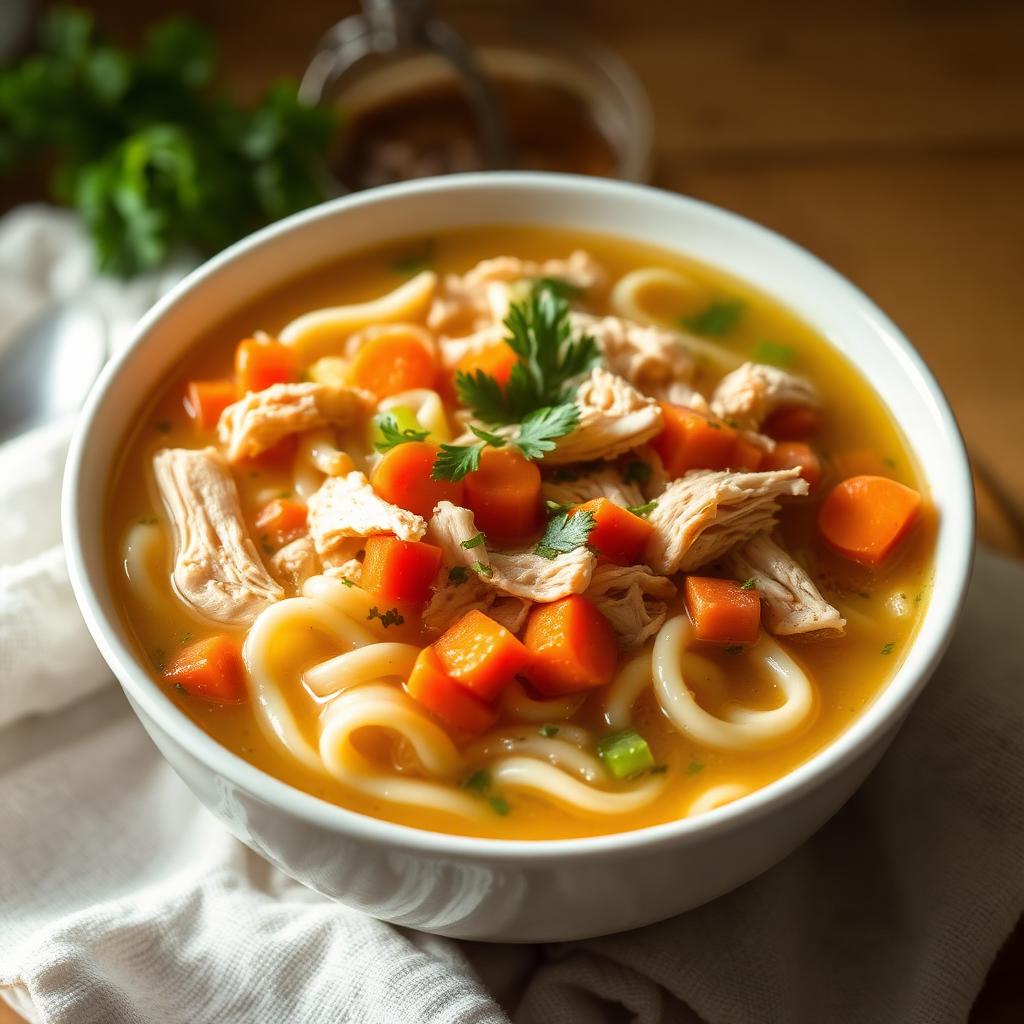
Classic Chicken Soup
This classic chicken soup recipe is the ultimate homemade chicken noodle soup — cozy, restorative, and ready in under an hour. Made with tender shredded chicken, egg noodles, carrots, celery, and fresh herbs in a golden broth, this old-fashioned chicken soup is the go-to comfort food for cold days and sick days alike.
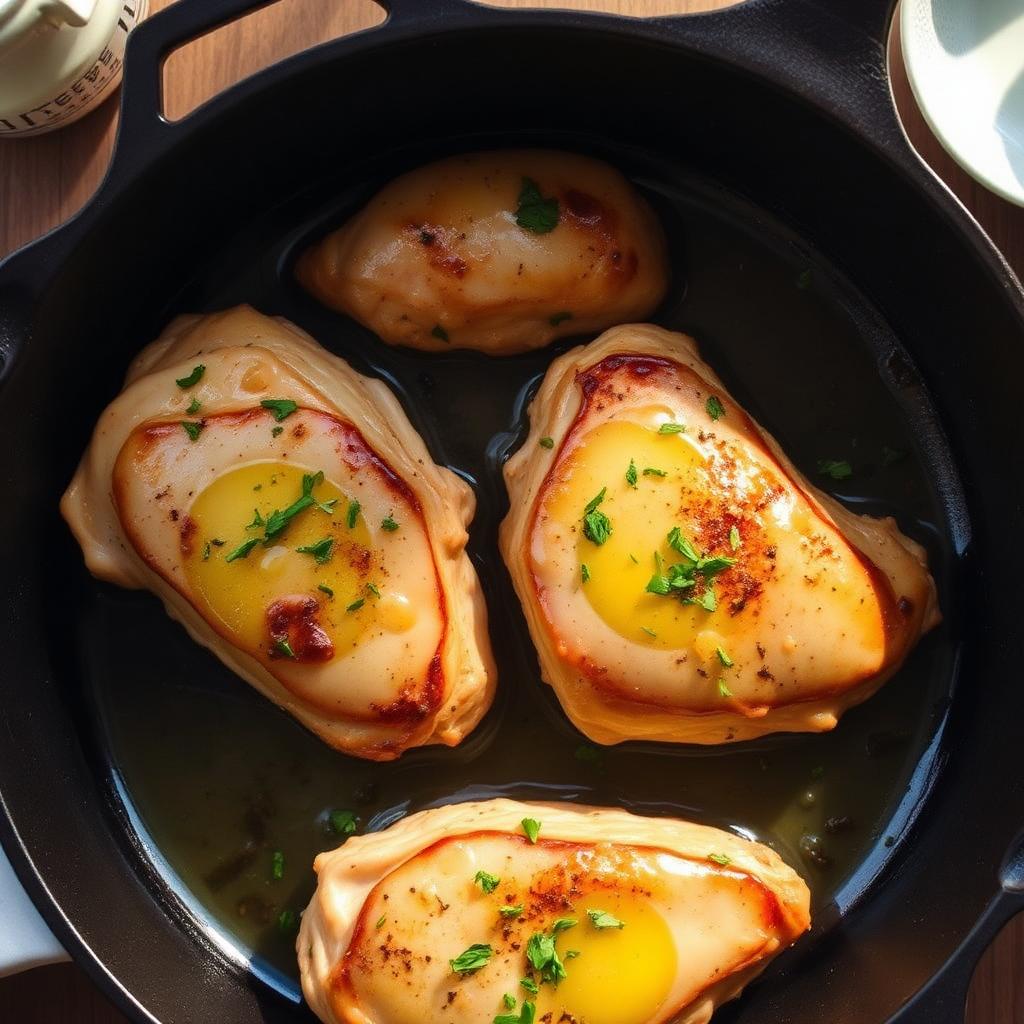
Garlic Butter Chicken
Our 20-minute garlic butter chicken is a restaurant-style meal you can make in one skillet. This easy chicken recipe uses simple ingredients to create a rich, savory pan sauce.
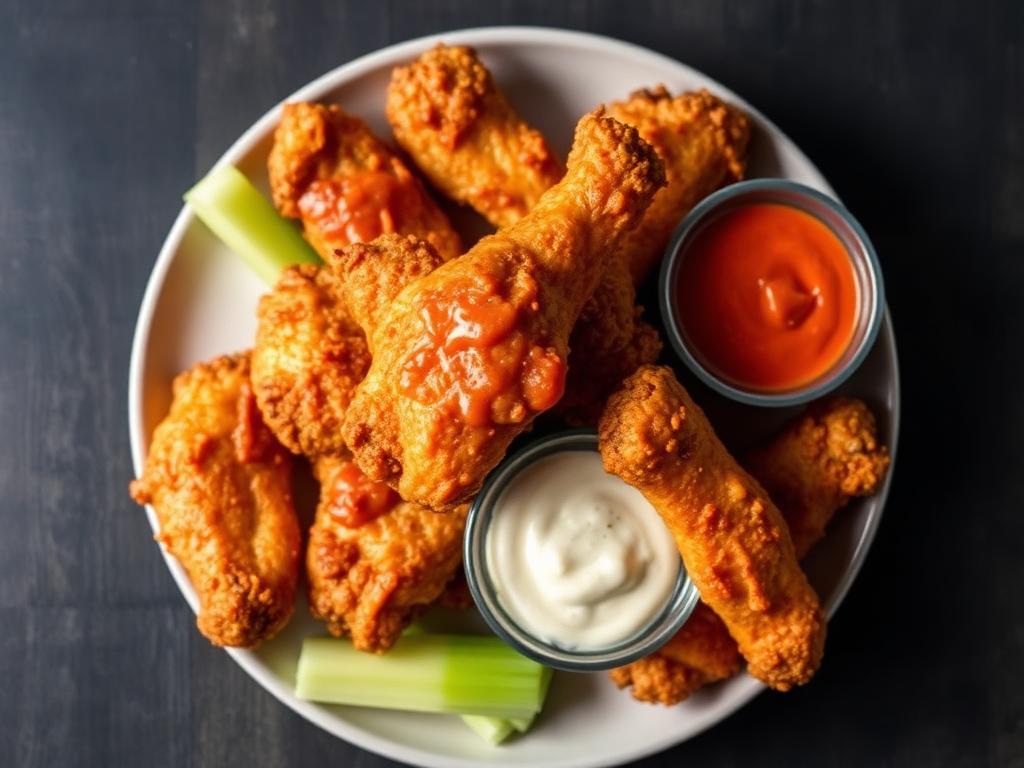
Crispy Air Fryer Chicken Wings
Stop settling for soggy wings and try these air fryer chicken wings. These crispy wings use no flour or breading, making them the perfect keto chicken wings for your next party.
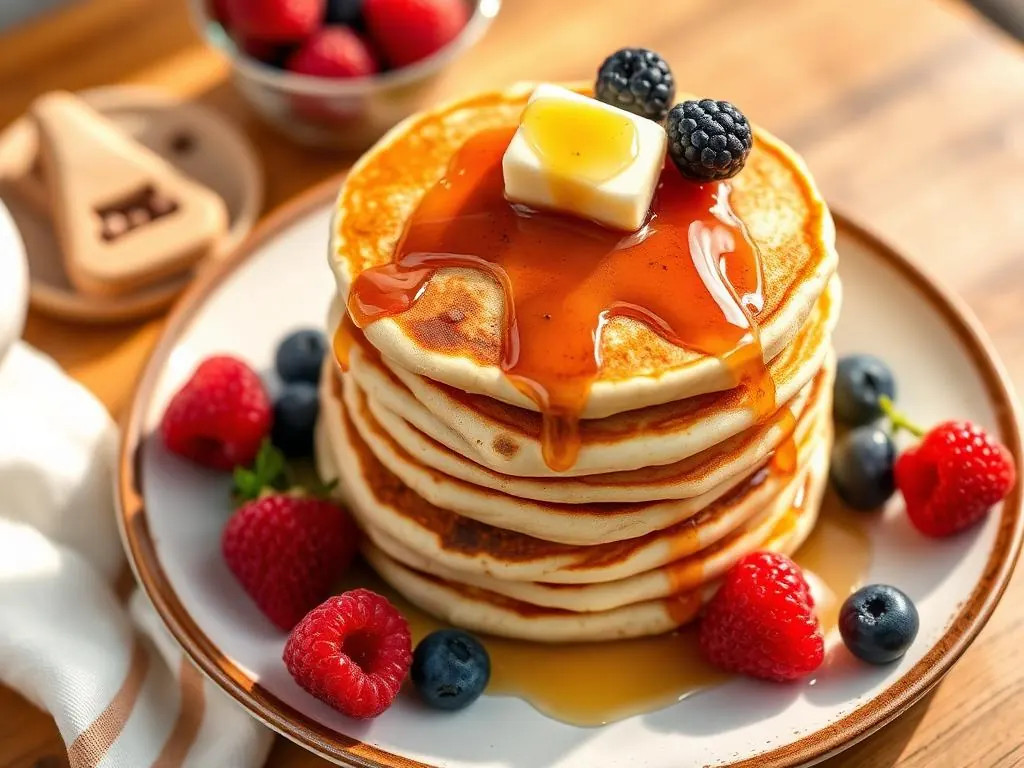
Fluffy Buttermilk Pancakes
Master the art of Sunday morning with these classic Buttermilk Pancakes. These tall, fluffy pancakes are made from scratch and serve as the foundation for the ultimate homemade breakfast.