Bacon Mac and Cheese Skillet
Smoky, salty, and ultra-rich, this bacon mac and cheese is cooked in a single skillet. By using rendered bacon fat in the triple cheddar sauce, we have created the most flavorful, creamy bacon pasta imaginable.
Prep
10 min
Cook
25 min
Total
35 min
Servings
6
Calories
680
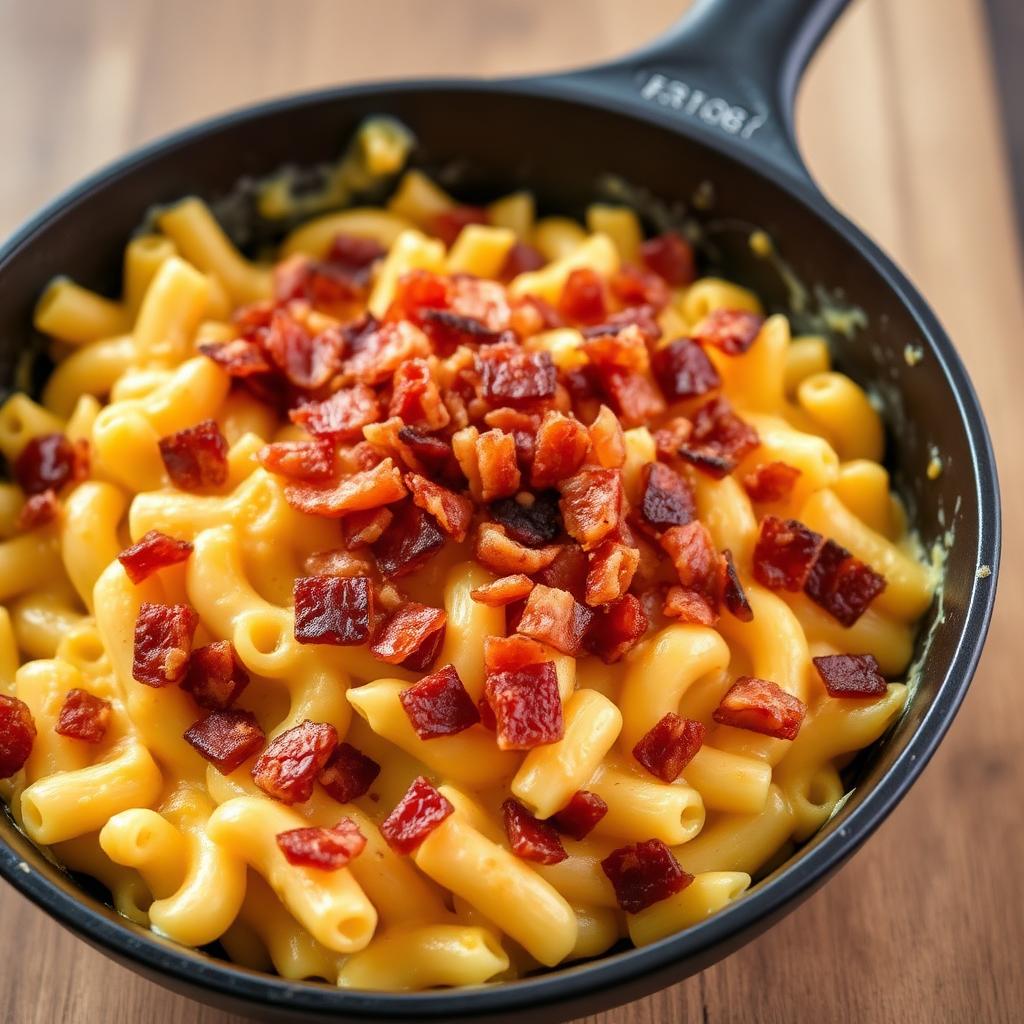
Why This Bacon Mac and Cheese Skillet Works
At RecipeNest, we believe comfort food should be both incredibly satisfying and approachable. Our Bacon Mac and Cheese Skillet is the epitome of this philosophy, masterfully blending classic techniques with smart shortcuts to deliver an unforgettable meal directly from your stovetop. We've harnessed the power of a single cast iron skillet, not just for convenience, but for building layers of profound flavor that transform a simple dish into a culinary event.
The secret to its success lies in leveraging the rendered bacon fat. Instead of discarding this flavorful foundation, we use it to create a smoky roux – the bedrock of our rich, velvety cheese sauce. This isn't just about adding bacon bits; it's about infusing every creamy strand of macaroni with that irresistible savory depth right from the start. The result is a sauce so integrated with the bacon's essence, it tastes like it's been simmering for hours, yet comes together in minutes.
We've also meticulously selected a trio of cheeses: sharp yellow cheddar for its iconic tang and vibrant color, white cheddar for a clean, sharp finish, and Gruyère for its nutty complexity and superior melt. This combination ensures a multidimensional cheese profile that’s both familiar and sophisticated. Paired with perfectly al dente elbow macaroni, which finishes cooking in the sauce, each bite offers an ideal balance of texture and taste.
This recipe isn't just about the components; it's about the harmony they create. From the crispy bacon topping that adds a crucial textural contrast to the fresh chives that cut through the richness, every element serves a purpose. It's a testament to how thoughtful development can elevate a beloved classic into something truly extraordinary, making it a staple in your dinner rotation.
Why You'll Love This Recipe
- Unbeatable Flavor Depth: The bacon fat roux and three-cheese blend create a complex, savory sauce that's anything but one-note.
- One-Skillet Wonder: Minimizes cleanup as both bacon and sauce are prepared in a single cast iron skillet.
- Crispy Bacon Every Time: Our method ensures your bacon topping stays delightfully crunchy, even amidst creamy pasta.
- Perfectly Cooked Pasta: The macaroni finishes cooking in the cheese sauce, absorbing all its delicious flavor and achieving an ideal al dente texture.
- Customizable Comfort: Easy to adapt with different cheeses or add-ins to suit your family's preferences.
- Quick & Easy Weeknight Meal: Ready in just 35 minutes, making it a fantastic option for busy evenings.
- Satisfying & Hearty: A truly comforting meal that will please even the pickiest eaters and leave everyone full.
Ingredient Notes
Thick-Cut Bacon
We specify thick-cut bacon for a reason. Its substantial fat renders beautifully, providing ample flavorful grease for the roux, and its meatier texture holds up better against the creamy sauce, yielding those satisfyingly chewy-crispy bits. Thin bacon can overcook quickly and become too brittle, losing its distinct presence. Choose a good quality, smoked bacon for the best flavor infusion.
Elbow Macaroni
Elbow macaroni is the classic choice for a reason – its curved shape and hollow interior are perfect for cradling and soaking up the rich cheese sauce. We boil it just shy of al dente; this critical step allows it to finish cooking in the simmering cheese sauce, absorbing all that incredible flavor and thickening the sauce beautifully. Do not overcook your pasta initially, or it will turn mushy.
Whole Milk & Heavy Cream
The combination of whole milk and heavy cream is essential for achieving our desired rich, luscious, and stable cheese sauce. Whole milk provides the necessary liquid volume and creamy texture, while heavy cream adds an unparalleled richness and helps prevent the sauce from breaking. Warmed milk is crucial; adding cold milk to a hot roux can cause lumps and slow down the cooking process significantly.
Dijon Mustard, Smoked Paprika, & Garlic Powder
These three seasonings are flavor powerhouses. Dijon mustard doesn't make the mac and cheese taste like mustard; instead, its subtle tang brightens the sauce and enhances the savory notes of the cheese, preventing it from tasting flat. Smoked paprika deepens the bacon's smoky undertones and adds a hint of warmth and color, while garlic powder provides a foundational aromatic without the raw bite of fresh garlic.
Sharp Yellow Cheddar, White Cheddar, & Gruyère
Our carefully curated cheese blend is the heart of this dish. Sharp yellow cheddar offers that familiar, robust, tangy cheddar flavor and a beautiful golden hue. White cheddar contributes a clean, sharp, and slightly less oily melt. Gruyère, with its nutty, earthy, and sweet notes, melts exceptionally smoothly, adding a sophisticated depth and silkiness to the sauce that elevates it beyond standard mac and cheese. Always shred your own cheese for the best melt!
Fresh Chives
Don't skip the fresh chives! These delicate, oniony herbs are more than just a garnish. Their bright, slightly piquant flavor provides a much-needed fresh counterpoint to the richness of the bacon and cheese, lifting the entire dish and adding a pop of color and herbaceous aroma that makes every bite feel complete.
The Roux Revolution: Mastering Your Mac and Cheese Sauce
| Common Mac and Cheese Problem | How Our Method Solves It | Why It Works |
|---|---|---|
| Grainy or Separated Sauce | Uses a bacon fat roux and freshly shredded, gradually added cheeses. | The roux provides a stable base, and proper cheese melting at a lower temperature prevents protein coagulation. |
| Lumpy Sauce | Adds warm milk slowly while whisking constantly into the roux. | Gradual addition and whisking allow the flour to fully incorporate and thicken smoothly without clumping. |
| Bland or One-Dimensional Flavor | Utilizes bacon fat as the roux base, a three-cheese blend, and strategic spices like Dijon and smoked paprika. | Layers of flavor from the rendered bacon, complex cheese combination, and balanced seasonings create depth. |
| Thin, Runny Sauce | Employs a precise flour-to-fat ratio in the roux and finishes pasta cooking in the sauce. | The roux thickens effectively, and pasta starches released during final cooking help bind and enrich the sauce. |
| Cheesy Sauce That Doesn't Coat Pasta Well | Achieves optimal sauce consistency by simmering to coat a spoon's back and using al dente pasta. | A properly thickened béchamel base clings to pasta, and al dente pasta provides the right surface for sauce adhesion. |
| Bacon Gets Soggy in the Sauce | Reserves most crispy bacon for topping and mixes only a portion into the pasta. | Keeping bacon separate until serving or folding in just before ensures maximum crispness where it counts. |
Baker's Tip
For the silkiest sauce, ensure your cheeses are at room temperature before adding them. This promotes even melting and reduces the chance of the sauce splitting.
Ingredients
- 8 slices thick-cut bacon, chopped
- 1 lb elbow macaroni
- 3 tbsp all-purpose flour
- 3 cups whole milk, warmed
- 1/2 cup heavy cream
- 1 tsp Dijon mustard
- 1/2 tsp smoked paprika
- 1/2 tsp garlic powder
- 1/2 tsp kosher salt
- 1/4 tsp black pepper
- 8 oz sharp yellow cheddar, freshly shredded
- 4 oz white cheddar, freshly shredded
- 2 oz Gruyère or Monterey jack, freshly shredded
- 2 tbsp chopped fresh chives, for serving
Instructions
- 1
Cook the chopped bacon in a large oven-safe cast iron skillet over medium heat until crispy, 8–10 minutes. Transfer to a paper towel–lined plate, leaving about 3 tablespoons of bacon fat in the skillet.
- 2
While the bacon cooks, boil the pasta in salted water until 1 minute shy of al dente. Reserve 1/2 cup pasta water, drain, and set aside.
- 3
Return the skillet with bacon fat to medium heat. Whisk in the flour and cook 1 minute — this is your smoky roux.
- 4
Slowly stream in the warm milk while whisking, followed by the heavy cream. Simmer 3–4 minutes until the sauce coats the back of a spoon.
- 5
Stir in the Dijon, smoked paprika, garlic powder, salt, and pepper. Remove from heat.
- 6
Add the yellow cheddar, white cheddar, and Gruyère one handful at a time, stirring until melted and glossy.
- 7
Fold in the pasta and about two-thirds of the bacon. Loosen with reserved pasta water if needed. Top with the remaining bacon and chives, and serve directly from the skillet.
Pro Tips from Our Test Kitchen
- Don't skimp on the bacon quality. Since its rendered fat forms the base of your sauce, a good quality, well-smoked bacon will contribute significantly more flavor. If you find your bacon isn't yielding enough fat, supplement with a teaspoon or two of unsalted butter to reach the 3 tablespoons for the roux.
- Warming your milk and cream is a game-changer. Adding cold liquids to a hot roux can cause it to seize and create lumps, making it harder to get a smooth sauce. Gently warm them in a separate saucepan or microwave before incorporating, but don't boil.
- Always shred your own cheese. Pre-shredded cheeses often contain anti-caking agents like cellulose or potato starch, which can make your cheese sauce grainy or prevent it from melting smoothly into a glossy consistency. Freshly shredded cheese melts beautifully and results in a far superior sauce.
- Stir the cheese off the heat. After removing the sauce from the heat, add the shredded cheese in handfuls, stirring continuously until each addition is fully melted and incorporated before adding the next. This prevents the cheese proteins from seizing and ensures a velvety, unbroken sauce.
- Master the pasta water. The reserved pasta water is your secret weapon for adjusting sauce consistency. If your mac and cheese is too thick after adding the pasta and bacon, slowly whisk in a tablespoon or two of pasta water at a time until it reaches your desired creaminess. The starches in the pasta water also help the sauce cling to the macaroni.
- Serve immediately and directly from the skillet. Mac and cheese is always best fresh. Serving it from the skillet maintains warmth and minimizes cleanup. For a fun twist, try our Smoked Gouda Mac and Cheese if you're looking for a different cheesy profile, or explore other skillet meals like our One-Pan Lemon Garlic Chicken.
Substitutions
Bacon
If bacon isn't an option, you can achieve a similar smoky depth by using a high-quality smoked ham hock (cooked and shredded) or even smoked sausage. For a vegetarian option, replace bacon fat with butter for the roux and consider adding a pinch of liquid smoke to the sauce for a subtle smoky flavor.
Milk & Cream
While whole milk and heavy cream offer the best richness, you can substitute 2% milk for whole milk, though the sauce will be slightly less decadent. Evaporated milk can also be used in place of heavy cream for a concentrated creaminess, but be mindful of its slightly sweeter profile.
Pasta
Beyond elbow macaroni, other small pasta shapes like cavatappi, shells, or ditalini work wonderfully, as their nooks and crannies hold the sauce beautifully. Adjust cooking time for other pasta types to ensure they are 1 minute shy of al dente before adding to the sauce.
Cheeses
Feel free to experiment with other good melting cheeses. Colby Jack, Monterey Jack, Fontina, or even a mild Provolone can be used in place of white cheddar or Gruyère. Just aim for a balance of flavor and melt quality. For a spicier kick, introduce a touch of Pepper Jack or a dash of cayenne pepper.
Spices
If you don't have smoked paprika, regular paprika can be used, though you'll lose the distinct smoky note. A pinch of cayenne pepper can add a lovely warmth and subtle heat if you enjoy a little spice. Onion powder can be swapped for garlic powder if preferred.
Recipe Variations
Spicy Bacon Mac
Introduce heat by adding 1/4 teaspoon of cayenne pepper or a pinch of red pepper flakes along with the other spices. For even more fire, stir in a tablespoon of finely diced jalapeño or a dash of your favorite hot sauce with the cheese sauce.
Gourmet Mushroom & Bacon Mac
Sauté 4 ounces of sliced cremini or shiitake mushrooms in a separate pan until golden brown and tender. Stir them into the mac and cheese along with the pasta and bacon for an earthy, umami boost.
Broccoli Cheddar Bacon Mac
Steam or blanch 1 cup of chopped broccoli florets until tender-crisp. Fold them into the mac and cheese with the pasta and bacon for added nutrition and a pop of color and texture. This is a great way to sneak in some veggies!
Smoky BBQ Bacon Mac
Add 1-2 tablespoons of your favorite BBQ sauce to the cheese sauce along with the Dijon and spices. This introduces a tangy, sweet, and smoky layer that pairs wonderfully with the bacon. Top with extra crispy fried onions for crunch.
Loaded Baked Potato Mac
Think beyond pasta! While not skillet mac, use the same cheese sauce concept over cooked diced potatoes. Stir in a dollop of sour cream or Greek yogurt with the pasta water to loosen, then top with extra bacon, chives, and even a sprinkle of green onions. This would also be a great side for Italian Sausage Stuffed Bell Peppers.
Chicken Bacon Ranch Mac
Stir in 1-2 cups of cooked, shredded chicken (rotisserie chicken works perfectly) along with 2-3 tablespoons of ranch seasoning mix when you add the spices. This transforms the dish into a hearty, full meal with a beloved flavor profile, similar to a Creamy Chicken Pot Pie in its satisfying nature.
Common Mistakes to Avoid
| Mistake | What Happens | Fix |
|---|---|---|
| Overcooking the bacon | Bacon becomes too brittle, burns easily, and contributes a bitter taste to the fat. | Cook bacon only until crispy, then immediately remove it. Residual heat will continue to crisp it slightly. |
| Not warming milk/cream | Causes sauce to become lumpy, takes longer to thicken, and can cool the roux too rapidly. | Always gently warm the milk and cream before streaming into the roux. |
| Adding cold cheese or pre-shredded cheese | Results in a grainy, oily, or clumpy sauce that separates easily. | Always use freshly shredded cheese at room temperature for the smoothest, glossiest sauce. |
| Adding all cheese at once to hot sauce | Cheese can seize, become stringy, or separate, leading to a greasy sauce. | Remove sauce from heat, then add cheese gradually, stirring until melted after each addition. |
| Overcooking pasta initially | Pasta becomes mushy and loses its texture once combined with the sauce. | Boil pasta only 1 minute shy of al dente; it will finish cooking in the hot cheese sauce. |
| Skipping Dijon mustard or smoked paprika | Sauce lacks depth, brightness, or a crucial smoky undertone, tasting flat. | Even small amounts of Dijon and smoked paprika significantly enhance the flavor profile and balance the richness. |
Baker's Tip
When in doubt, err on the side of undercooking your pasta slightly before adding it to the sauce. It's always easier to cook it a little longer in the sauce than to reverse mushy pasta.
Troubleshooting
My sauce is too thick!
If your mac and cheese is overly thick, slowly whisk in reserved pasta water, 1-2 tablespoons at a time, until you reach your desired creamy consistency. The starches in the pasta water will help it blend seamlessly without diluting flavor. You can also add a splash of warm milk or cream.
My sauce is lumpy!
Lumps usually occur from adding cold liquid too quickly to the roux or not whisking enough. If it's just a few lumps, continue whisking vigorously over low heat. For stubborn lumps, you can pass the sauce through a fine-mesh sieve or use an immersion blender to smooth it out before adding cheese.
My sauce is grainy or oily!
This is often a sign of using pre-shredded cheese or adding cheese to a sauce that's too hot, causing the proteins to separate. Try adding a teaspoon of Dijon mustard or a splash of lemon juice; the acidity can sometimes help emulsify the sauce. Ensure you're adding cheese off the heat and gradually.
My bacon isn't crispy!
For consistently crispy bacon, ensure you're cooking it over medium heat, not too high or too low, and stirring occasionally. Once cooked, transfer it to a paper towel-lined plate to drain excess fat. Airflow is key, so don't stack the bacon. For an extra crisp topping, broil the finished mac and cheese for 1-2 minutes with the reserved bacon on top (watch carefully!).
Serving Suggestions
This Bacon Mac and Cheese Skillet is a meal unto itself, rich and satisfying. For a balanced dinner, pair it with something fresh and light to cut through the richness. A simple side salad with a vinaigrette dressing, such as a mixed green salad with cherry tomatoes and cucumber, provides a welcome contrast in texture and flavor. Roasted asparagus or steamed green beans tossed with a little lemon zest are also excellent choices, adding a vibrant green to your plate.
Consider serving this mac and cheese alongside grilled chicken or a lean protein for an even heartier meal. It makes a fantastic accompaniment to a perfectly seared steak, or even as a side dish for a casual barbecue spread. The crispy bacon topping and fresh chives add a beautiful finish, so don't skip them! For a completely different but equally comforting meal, our Creamy Chicken Pot Pie offers similar warmth and satisfaction.
Storage Instructions
- Cool Completely: Allow the mac and cheese to cool to room temperature before storing.
- Airtight Container: Transfer leftovers to an airtight container.
- Refrigerate: Store in the refrigerator for up to 3-4 days.
- Reheating: For best results, reheat gently on the stovetop over low heat, adding a splash of milk or cream to restore creaminess. You can also microwave, stirring occasionally.
- Freezing (Not Recommended): While technically possible, mac and cheese with dairy-based sauces can become grainy or separate upon thawing and reheating. It's best enjoyed fresh or within a few days from the refrigerator.
Make-Ahead Tips
While this mac and cheese is truly best enjoyed fresh from the skillet, there are a couple of components you can prepare in advance to streamline your cooking process. This is particularly helpful for entertaining or busy weeknights.
You can pre-shred all your cheeses up to 2-3 days in advance and store them in an airtight container in the refrigerator. This saves a significant amount of time when you're ready to cook. You can also chop your bacon ahead of time and store it in the fridge. However, do not cook the bacon until just before you're ready to make the dish, as crispy bacon is key and reheated bacon rarely achieves the same crispness. Similarly, chop your chives and keep them in a damp paper towel in the fridge.
The sauce itself, once combined with pasta, doesn't hold up well for long periods before serving due to the pasta absorbing too much liquid and becoming mushy. Therefore, for optimal texture and creaminess, aim to assemble and serve the dish relatively quickly once the pasta is added. The beauty of this recipe is its swift cook time, making extensive make-ahead steps less necessary for a delicious outcome.
How We Tested This Recipe
In the RecipeNest test kitchen, our goal for this Bacon Mac and Cheese Skillet was to create a recipe that was simultaneously indulgent and incredibly easy. We ran through seven test batches, meticulously adjusting ratios and techniques. Our first few attempts involved adding all the cheese at once, resulting in a grainy, often broken sauce – a common pitfall we were determined to avoid. We quickly learned the importance of removing the skillet from the heat and adding the freshly shredded cheese gradually, stirring until each handful melted into a glossy pool before adding more.
We experimented with various bacon types, confirming that thick-cut yielded the best fat for the roux and held its texture most effectively. Early tests also highlighted the critical nature of warming the milk and cream; cold liquids consistently produced a lumpy sauce that took much longer to thicken. We also tried different pasta shapes, but elbow macaroni won't be beaten for that classic mac and cheese experience. For equipment, we primarily used a 12-inch cast iron skillet, finding its even heat distribution and ability to go from stovetop to table unbeatable. The biggest adjustment we made was perfecting the pasta cooking time – boiling it 1 minute shy of al dente was the sweet spot, allowing it to finish absorbing flavor and starch in the cheese sauce without becoming waterlogged or mushy. This iterative process ensured we landed on a truly foolproof and delicious recipe.
Nutrition Facts
Per serving · 680 calories
protein
30g
carbs
58g
fat
34g
fiber
2g
sugar
7g
sodium
890mg
Related Recipes
More dinner and similar dishes you'll love.
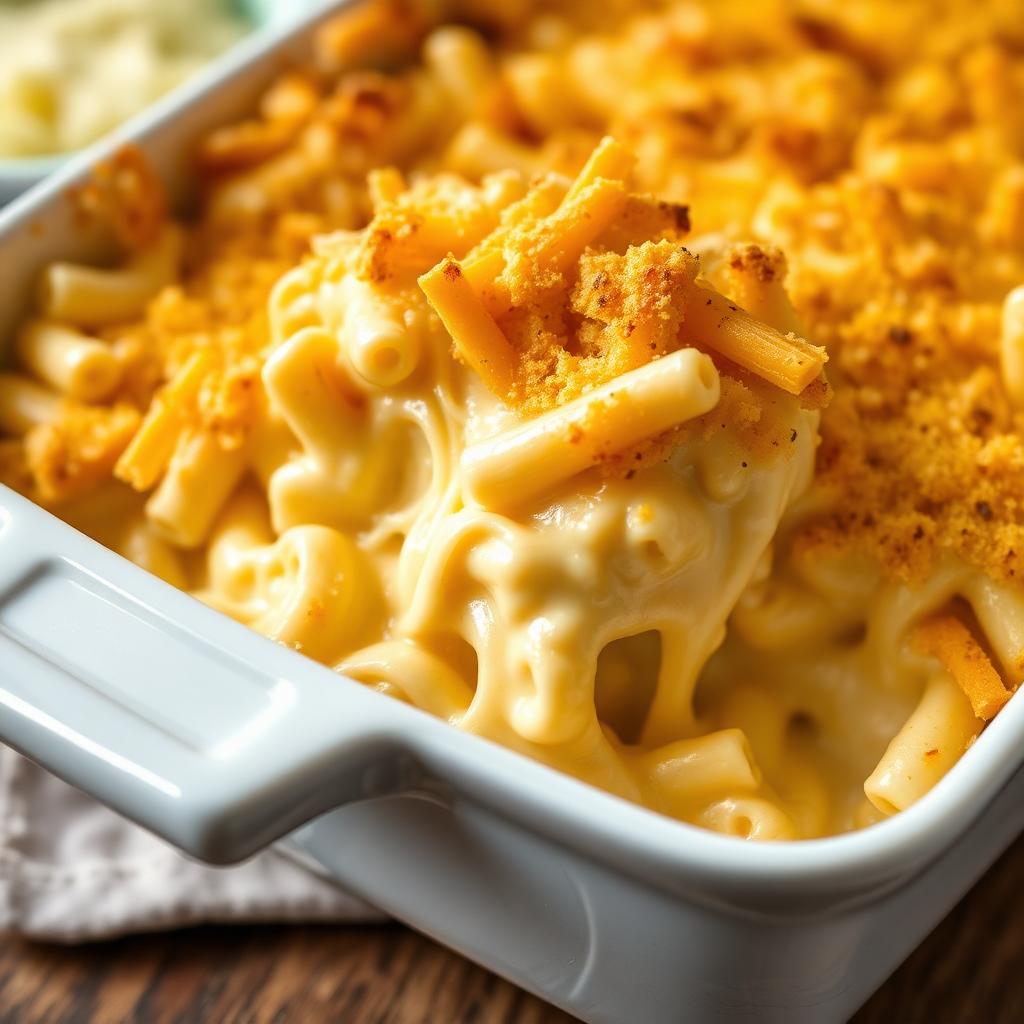
Three Cheese Mac and Cheese
Unlock the secret to the ultimate three cheese mac and cheese. This baked macaroni and cheese recipe uses a blend of sharp cheddar and Gruyère for the best homemade comfort food.
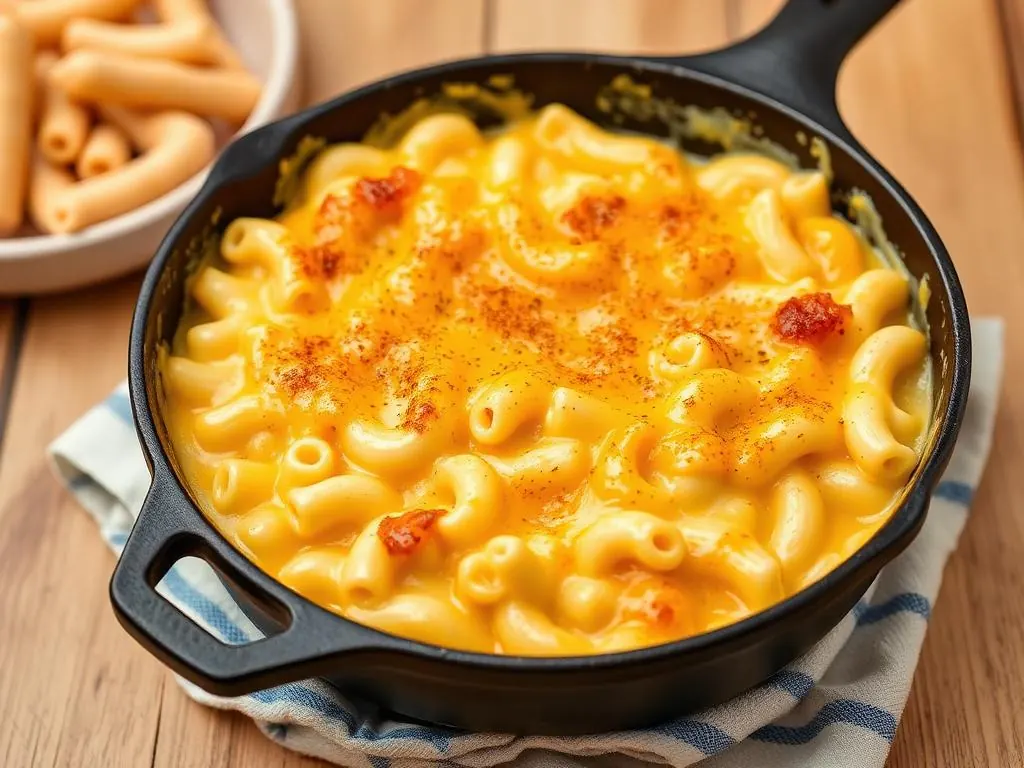
One Pot Mac and Cheese
Skip the box for this One Pot Mac and Cheese, our favorite easy comfort food. This stovetop recipe creates ultra-creamy macaroni in just 20 minutes for a simple weeknight win.
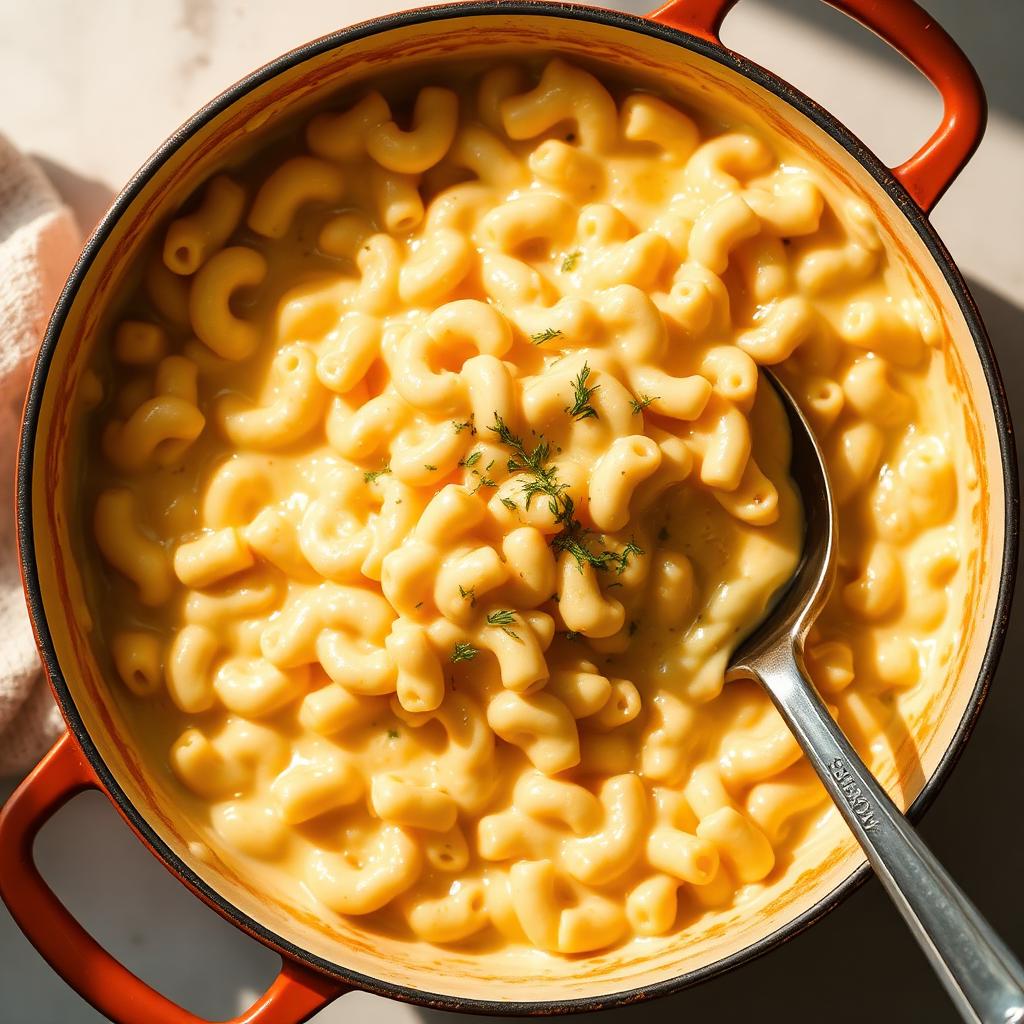
Creamy One Pot White Cheddar Mac and Cheese
Indulge in the ultimate one pot white cheddar mac and cheese. This creamy stovetop recipe uses sharp white cheddar to create a silky sauce in just 25 minutes, making it the perfect easy comfort food.
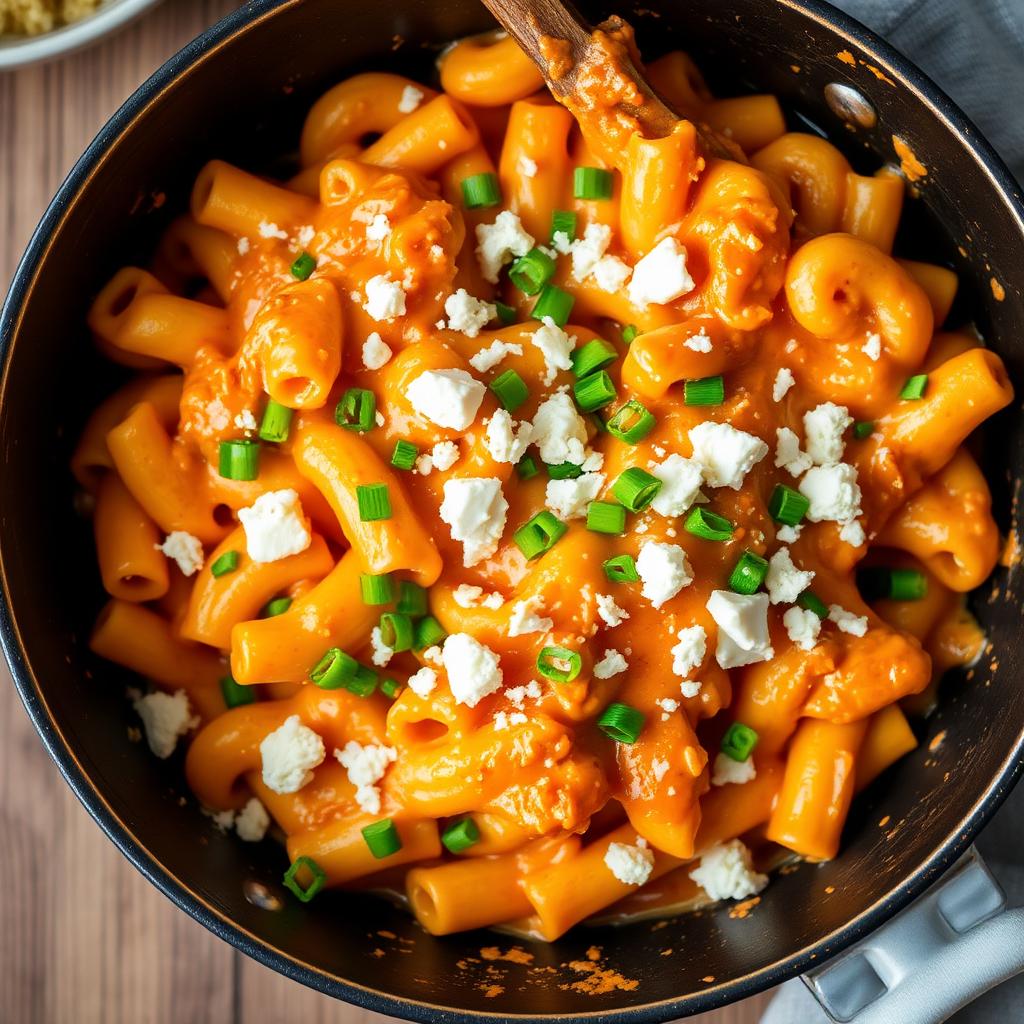
Buffalo Chicken Mac and Cheese
Combine wing night with pasta in this creamy buffalo chicken mac and cheese. This one-skillet dinner features tender shredded chicken and a tangy, spicy sauce for a bold twist on comfort food.
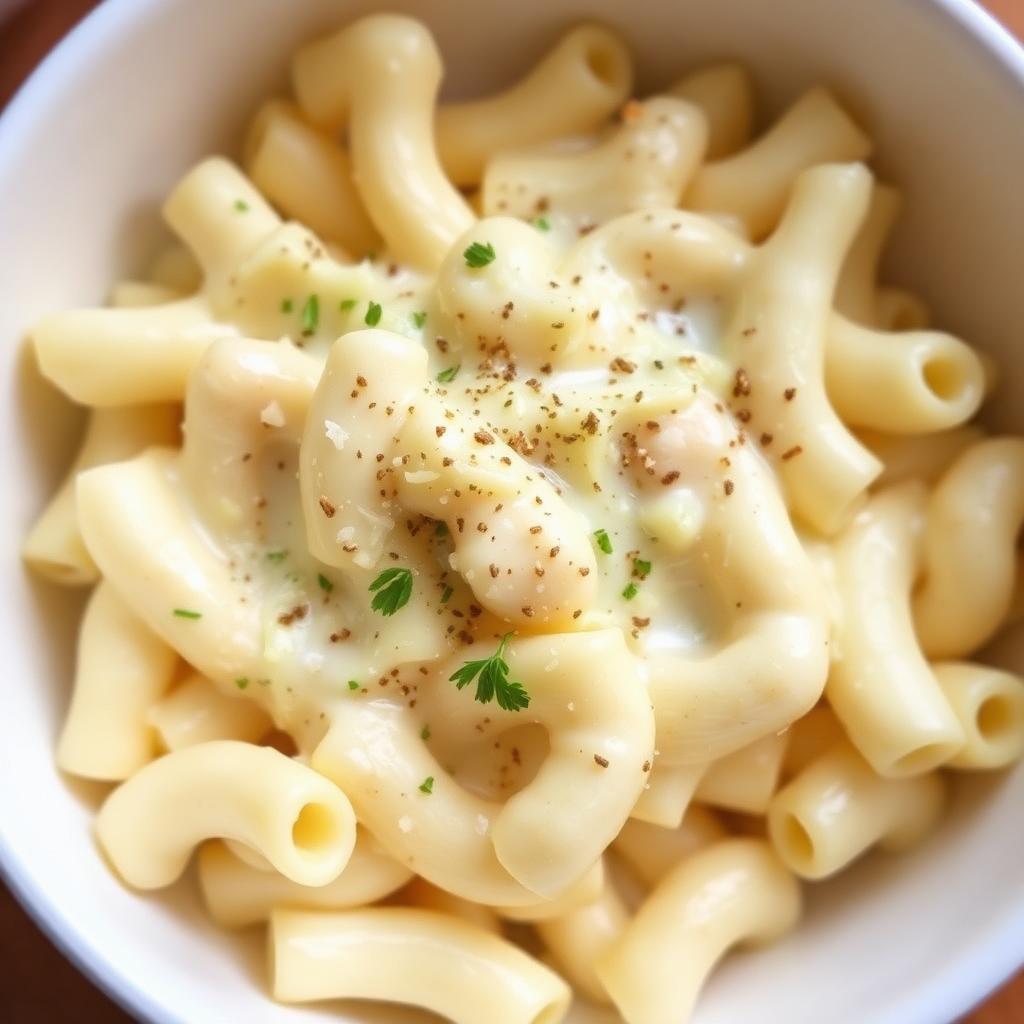
Garlic Parmesan Mac and Cheese
This garlic parmesan mac and cheese is a sophisticated take on a classic. Infused with roasted garlic and creamy parmesan, it offers a restaurant-quality gourmet pasta experience in just 30 minutes.
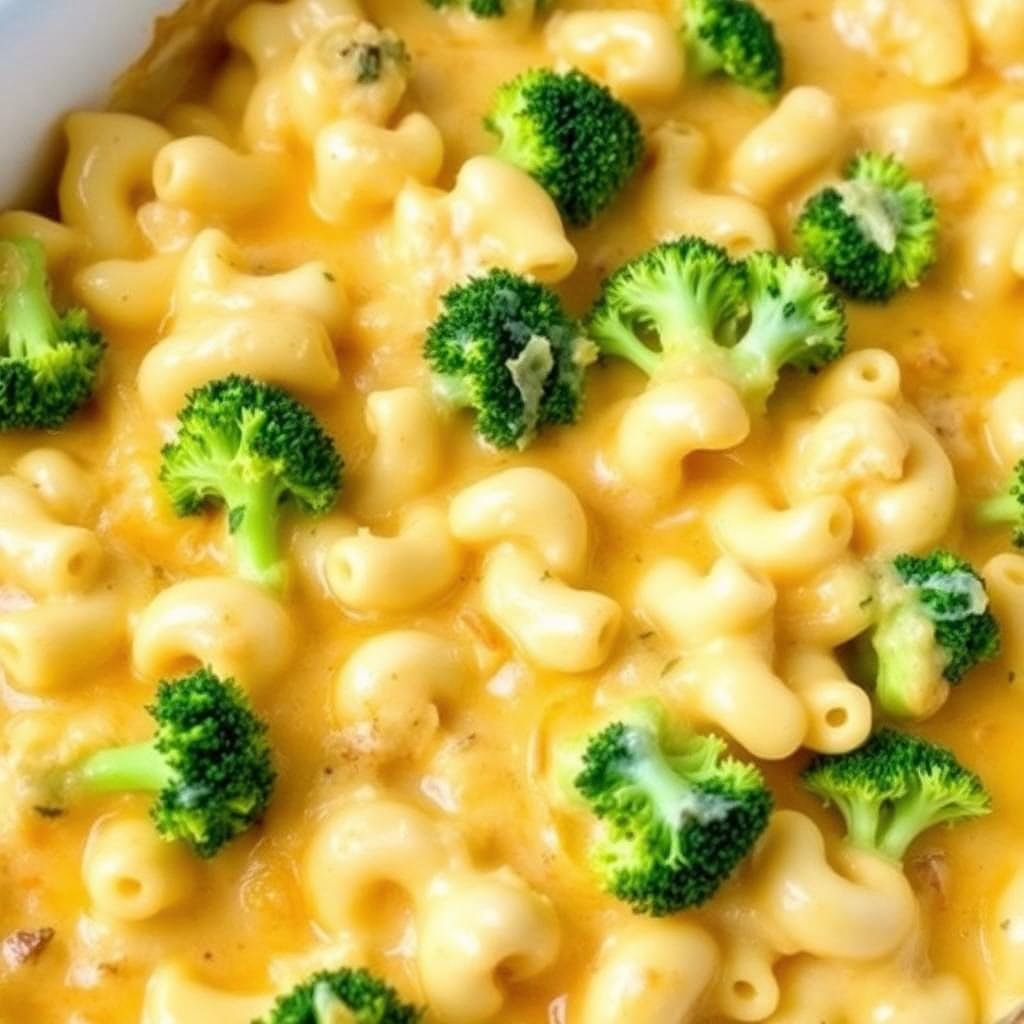
Broccoli Cheddar Mac and Cheese
Sneak some greens into your diet with this kid-friendly broccoli cheddar mac and cheese. This one-pot family meal features a silky sharp cheddar sauce that makes eating broccoli a total delight.
Frequently Asked Questions
Do I really need to build the sauce in the bacon fat?+
Yes — that's the whole point of a bacon mac and cheese skillet. The rendered fat carries smoky, salty flavor into every bite of the sauce. Substituting butter loses about 70% of the bacon character.
What's the best bacon for mac and cheese?+
Thick-cut applewood or hickory-smoked bacon gives the most flavor and stays crispy when folded in. Avoid pre-cooked or turkey bacon — they don't render enough fat for the roux.
Why cast iron?+
Cast iron holds heat evenly, keeps the mac warm at the table, and gives you the option to broil the top for a crispy cheese crust. A Dutch oven or any heavy oven-safe skillet works too.
Can I add a crunchy topping?+
Absolutely. Toss 1/2 cup panko with 2 tbsp melted butter, sprinkle over the finished mac, top with extra shredded cheddar, and broil for 2–3 minutes until golden brown.
How do I keep the bacon crispy after mixing?+
Fold in only two-thirds of the bacon and reserve the rest to sprinkle on top just before serving. The bacon inside softens beautifully; the bacon on top stays crunchy.
What sides pair with bacon mac and cheese?+
Something bright and acidic to cut the richness — a simple arugula salad with lemon vinaigrette, roasted broccoli, or pickled onions on the side.
Can I use different types of pasta?+
Yes, absolutely! While elbow macaroni is classic, small to medium-sized pasta shapes like cavatappi, shells, ditalini, or even penne can work well. Just be sure to boil them 1 minute shy of al dente to ensure they finish cooking perfectly in the cheese sauce.
What if I don't have a cast iron skillet?+
While a cast iron skillet is ideal for its heat retention and oven-safe properties, you can use any large, heavy-bottomed oven-safe pot or Dutch oven. Ensure it can hold all the ingredients comfortably and can withstand medium heat on the stovetop.
Can I make this gluten-free?+
To make this recipe gluten-free, you would need to substitute the all-purpose flour with a gluten-free all-purpose flour blend (one that contains xanthan gum works best) and use gluten-free elbow macaroni. The cooking times for the pasta might vary slightly, so follow package directions.
How can I prevent the cheese sauce from becoming grainy or separating?+
The key is to use freshly shredded cheese (pre-shredded often contains anti-caking agents) and to add the cheese off the heat, one handful at a time, stirring until fully melted and glossy after each addition. Ensure your milk and cream are warmed, and never let the sauce come to a rolling boil after cheese is added.
Can I add vegetables to this mac and cheese?+
Definitely! Steamed broccoli florets, peas, sautéed mushrooms, or even finely diced bell peppers would make excellent additions. Stir them in along with the cooked pasta and bacon, ensuring they are cooked al dente or tender-crisp beforehand so they don't overcook in the sauce.
Why is the pasta cooked '1 minute shy of al dente'?+
Cooking the pasta slightly undercooked initially ensures it has room to absorb the flavorful cheese sauce and finish cooking to a perfect al dente texture. This prevents it from becoming mushy and allows it to fully integrate with the sauce, picking up all those delicious flavors.
Can I bake this mac and cheese instead of serving it from the skillet?+
While this recipe is designed for a stovetop skillet serve, you absolutely can bake it. After folding in the pasta and two-thirds of the bacon, transfer it to a baking dish if not using an oven-safe skillet. Top with the remaining bacon and bake at 375°F (190°C) for 15-20 minutes, or until bubbly and lightly golden. For an extra crispy top, sprinkle with breadcrumbs before baking.

Recipe by Sarah Mitchell
Recipe developer · Practical family cooking
Get more recipes like this
Get a free collection of 15 easy family recipes delivered to your inbox.
You May Also Like
Hand-picked favorites from across RecipeNest.
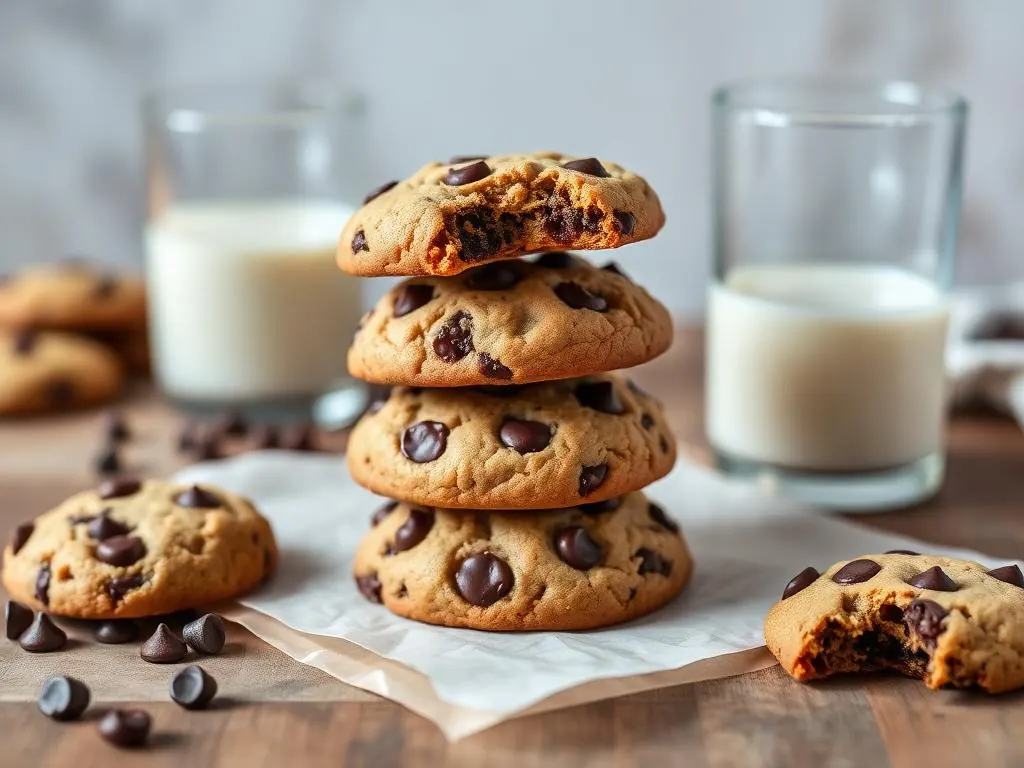
The Best Chocolate Chip Cookies
Stop searching for the best chocolate chip cookies. This recipe delivers a soft, chewy texture with buttery edges and gooey chocolate in every bite — the ultimate homemade cookie experience.
The Best Moist Banana Bread
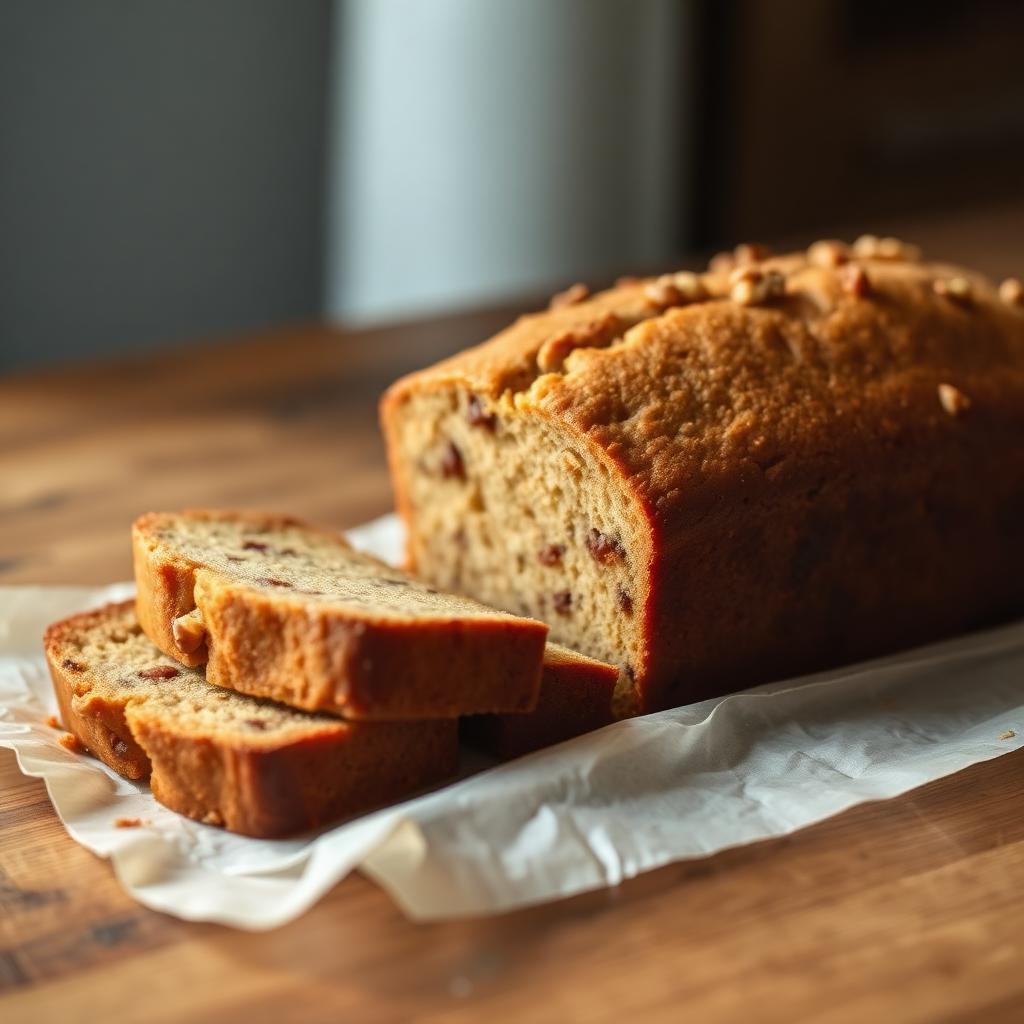
Discover how to make the best moist banana bread using only one bowl. This homemade banana bread recipe delivers a soft, bakery-style loaf that is perfect for utilizing overripe bananas.
Classic Chicken Soup
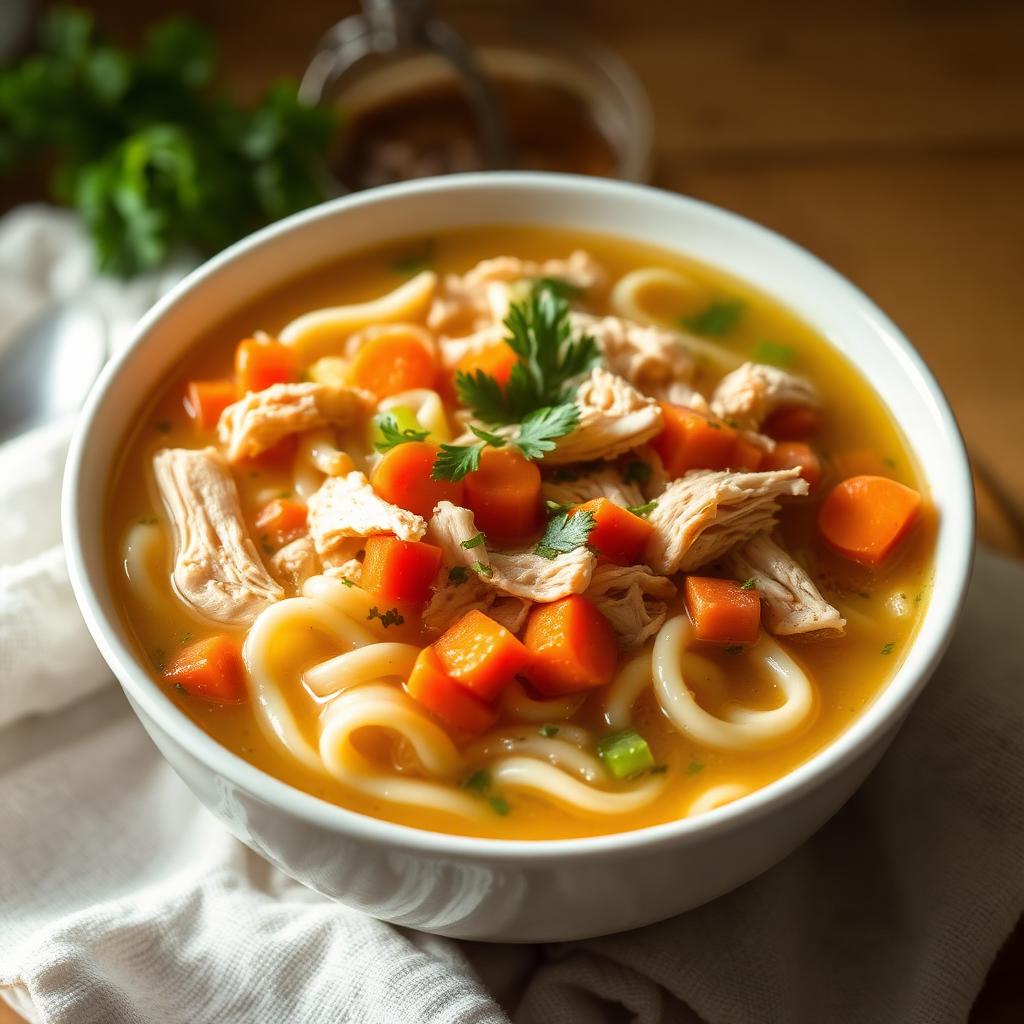
This classic chicken soup recipe is the ultimate homemade chicken noodle soup — cozy, restorative, and ready in under an hour. Made with tender shredded chicken, egg noodles, carrots, celery, and fresh herbs in a golden broth, this old-fashioned chicken soup is the go-to comfort food for cold days and sick days alike.
Crispy Air Fryer Chicken Wings
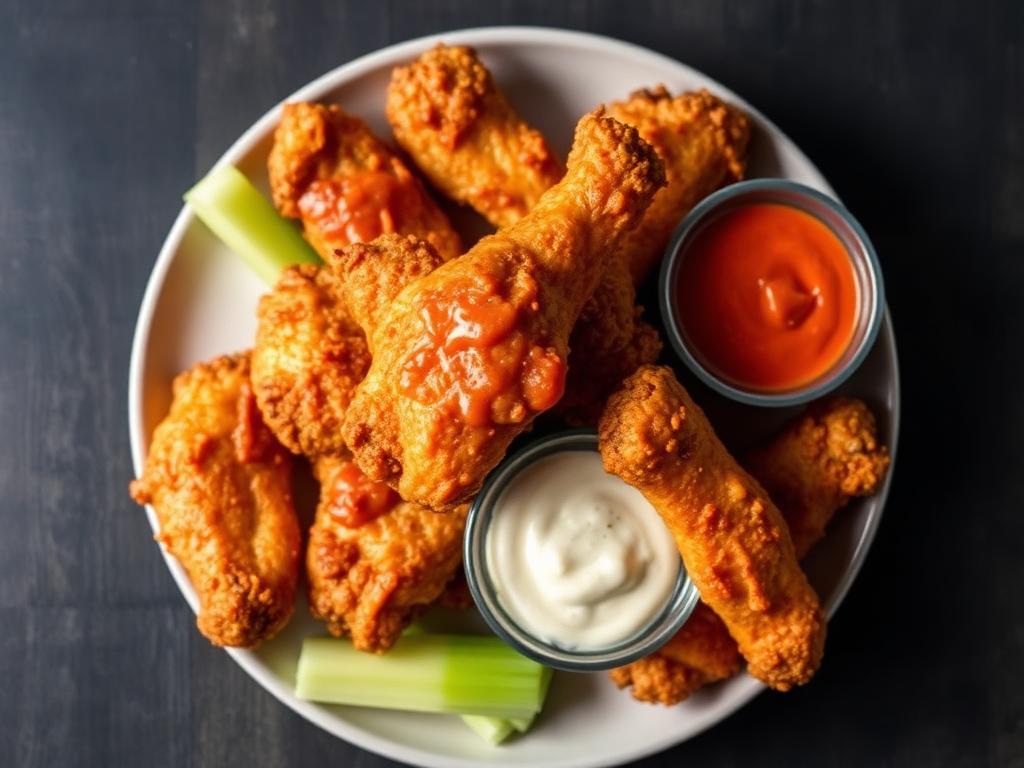
Stop settling for soggy wings and try these air fryer chicken wings. These crispy wings use no flour or breading, making them the perfect keto chicken wings for your next party.